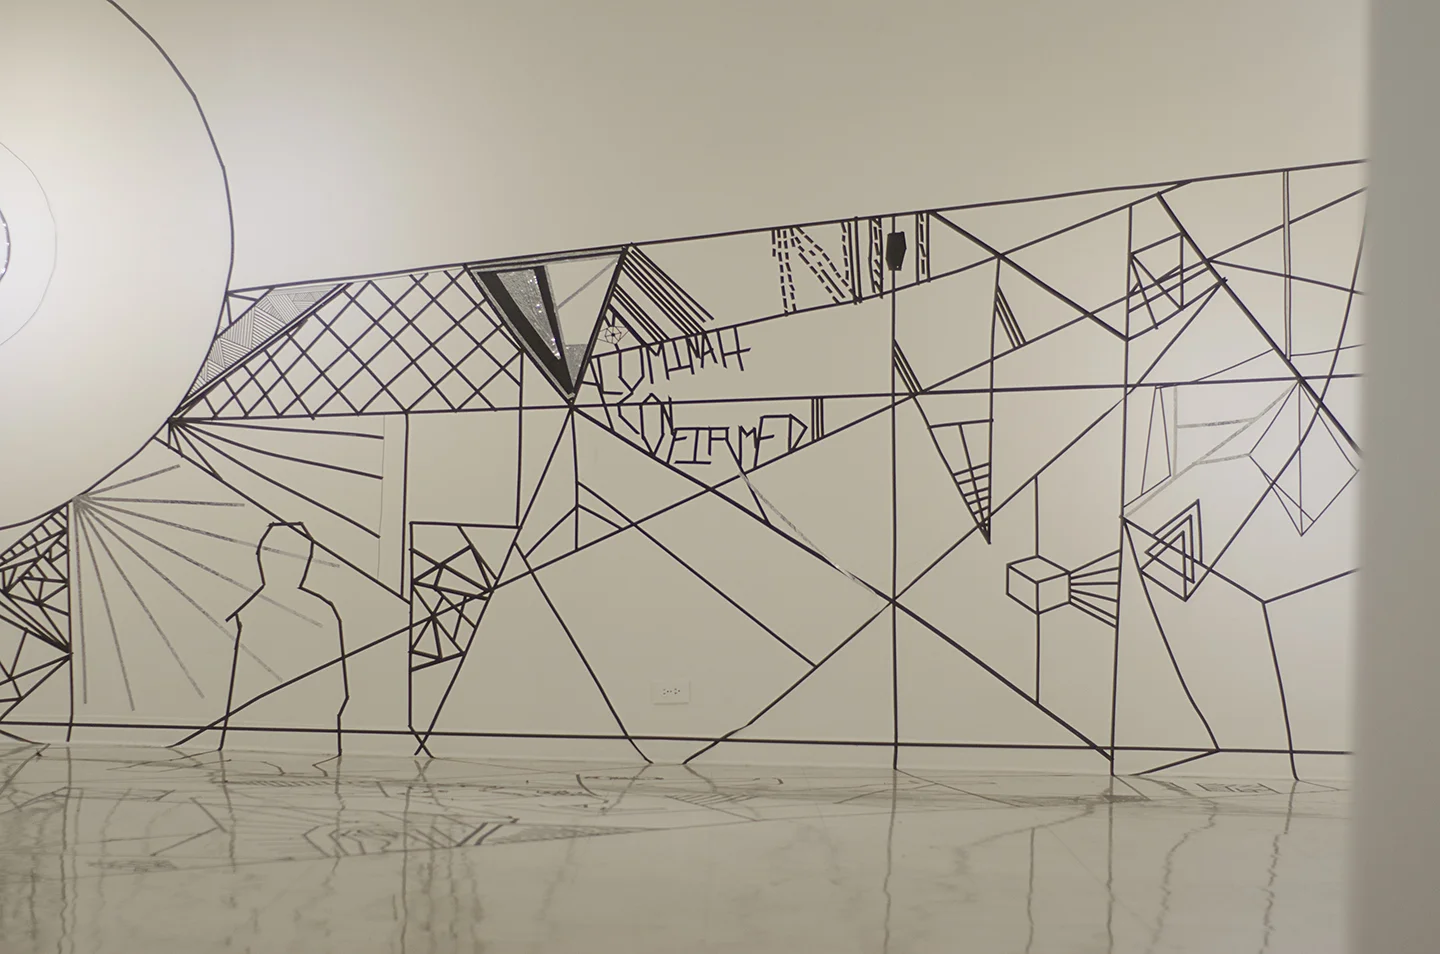
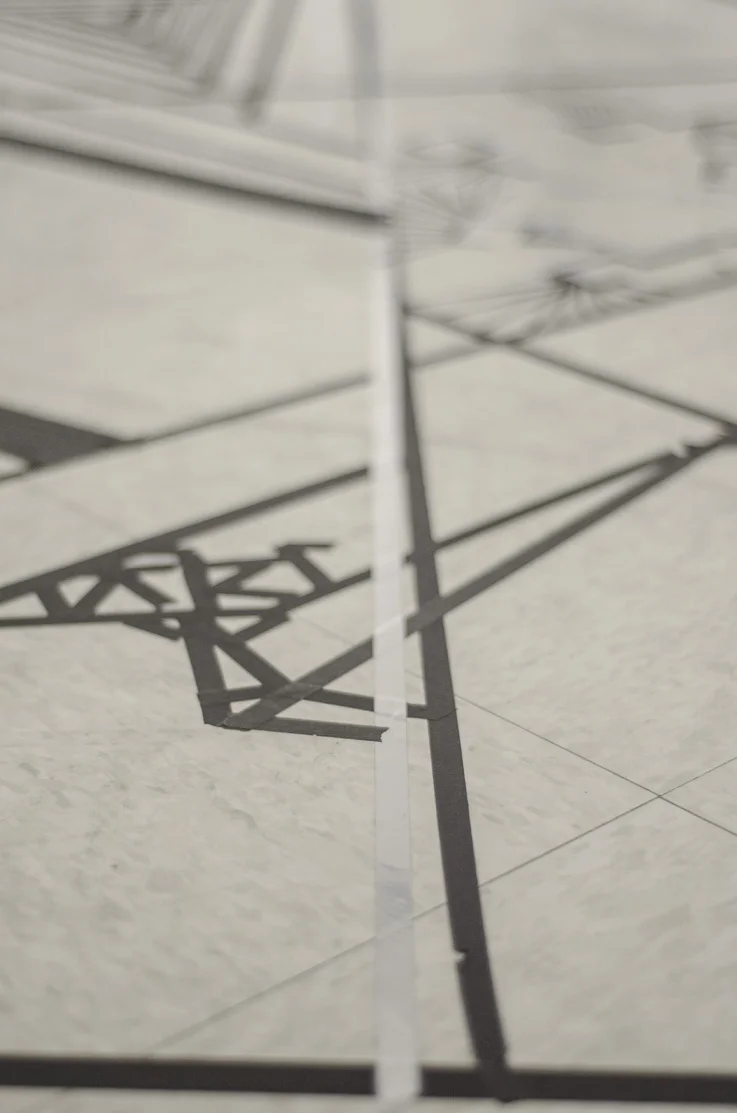
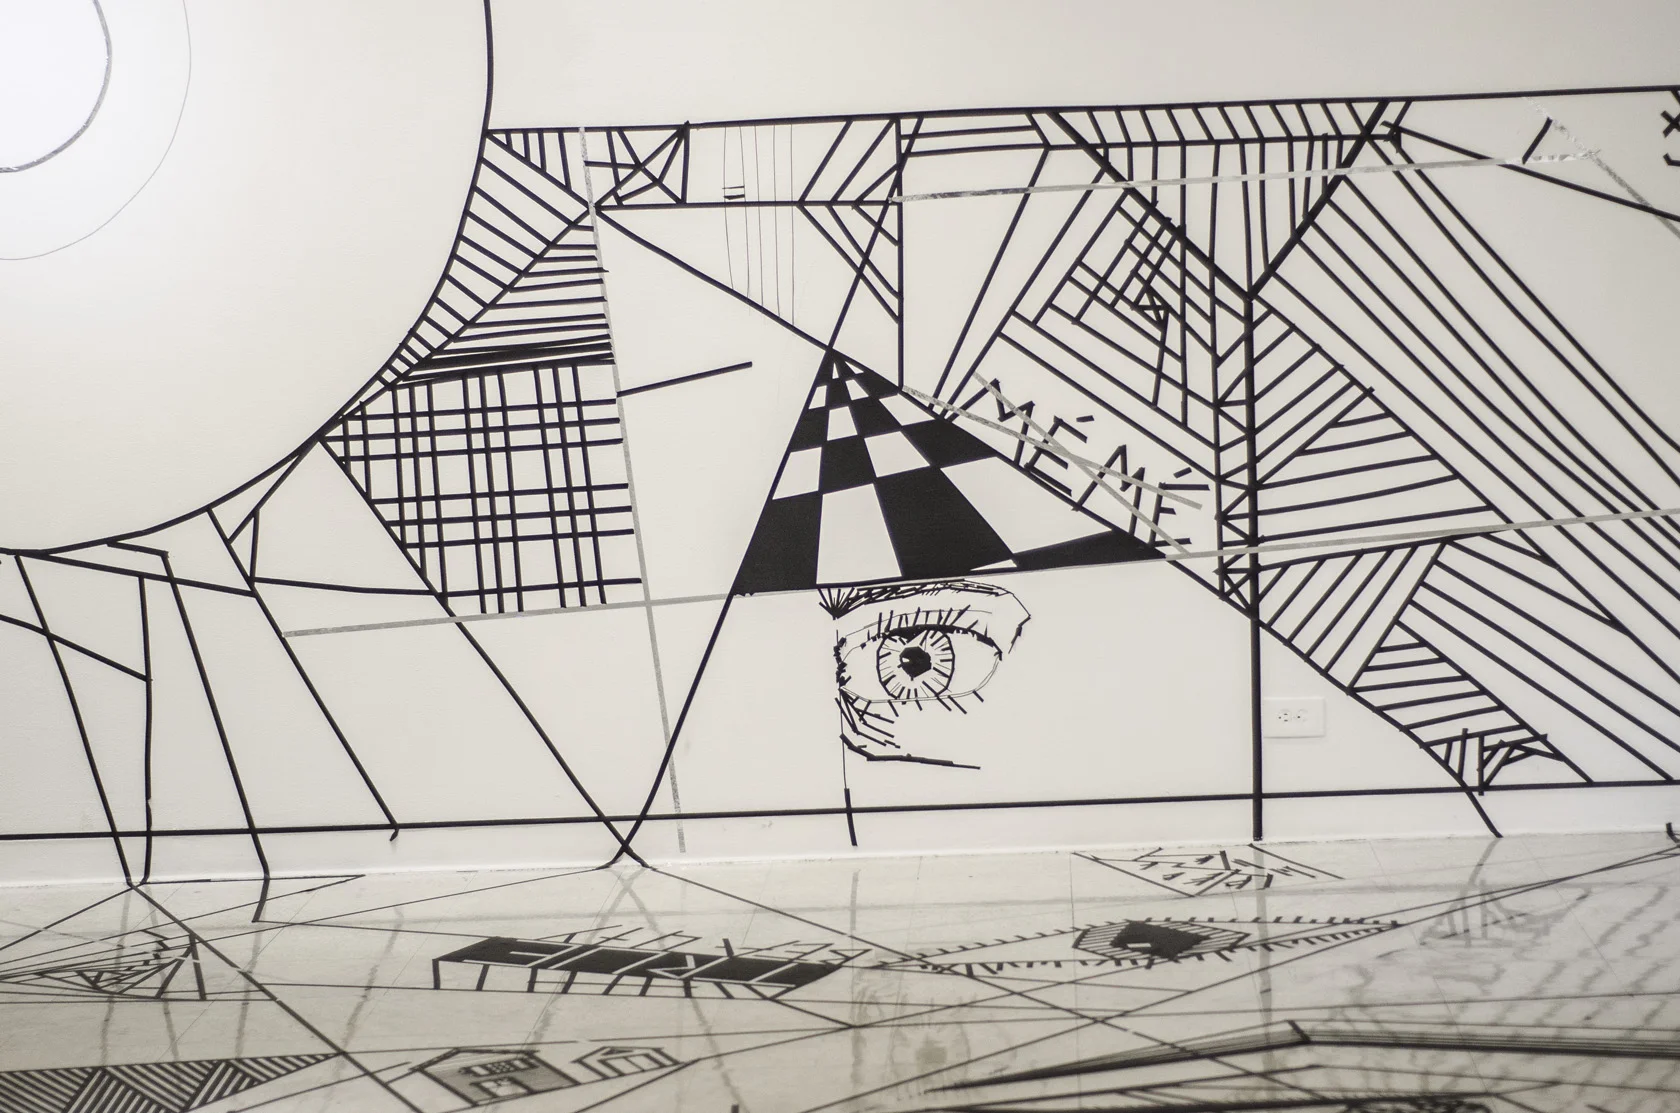
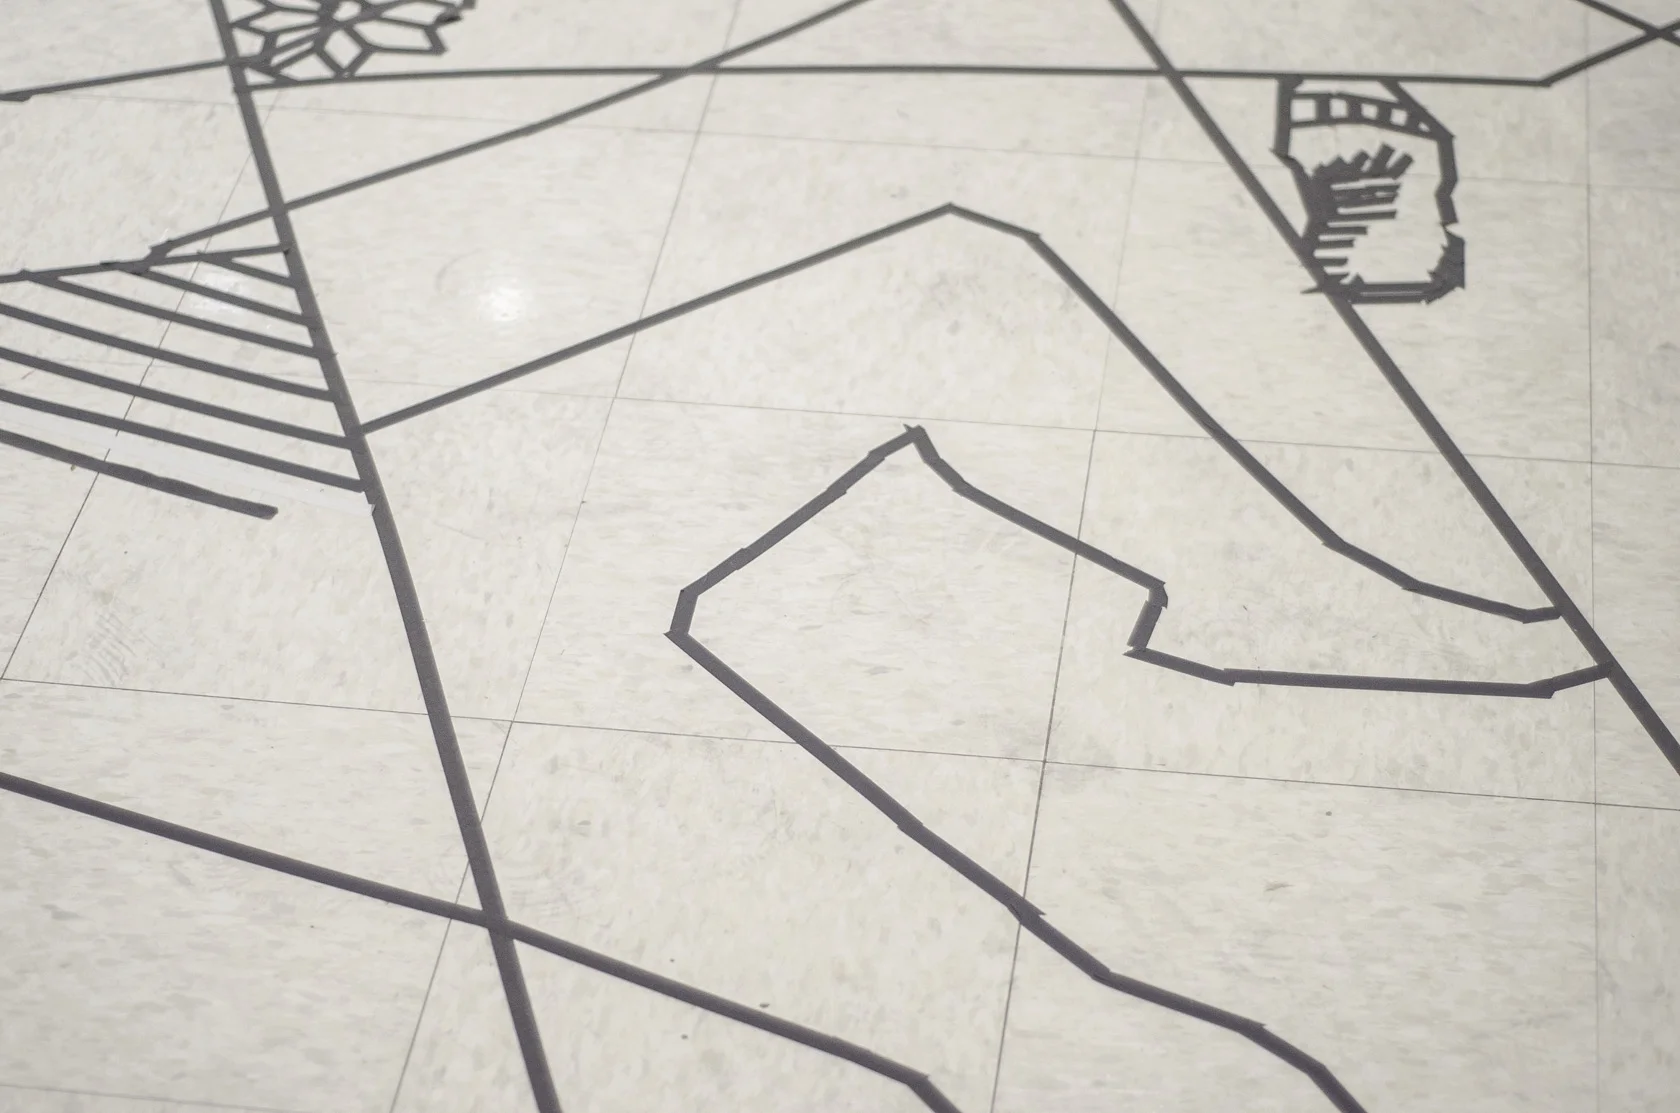
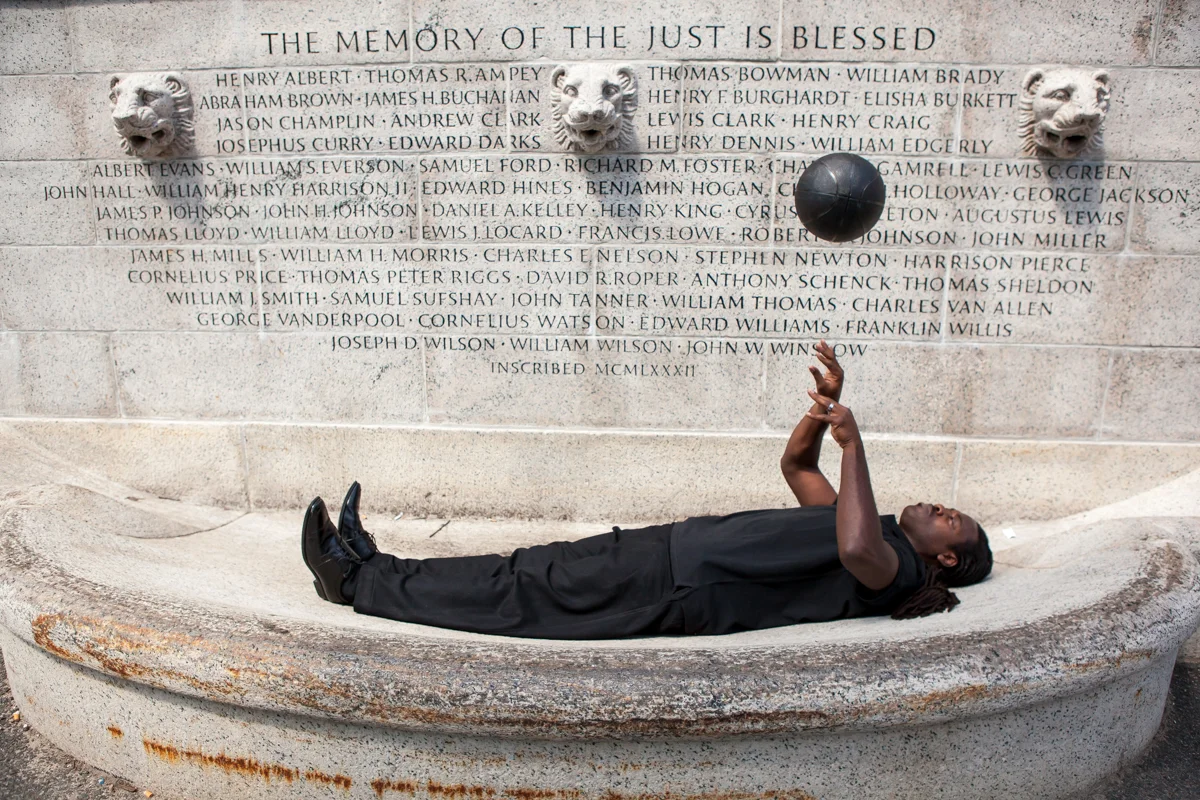
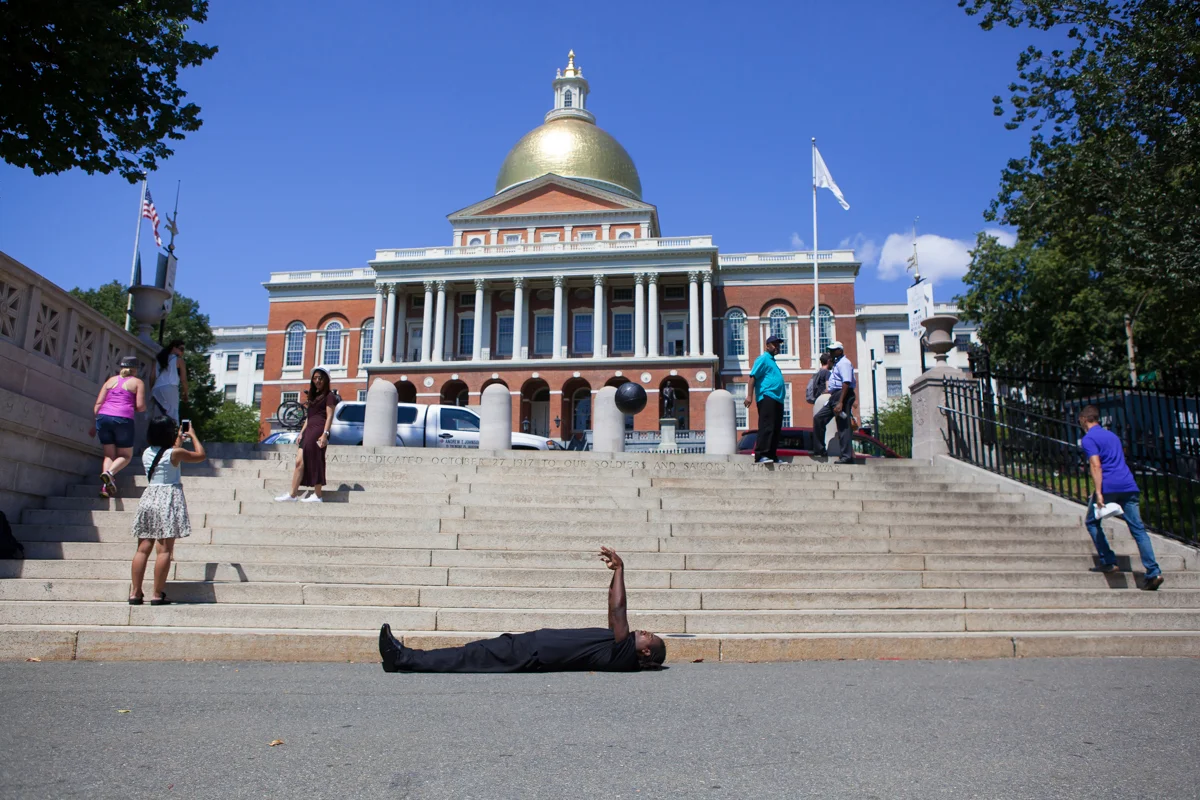
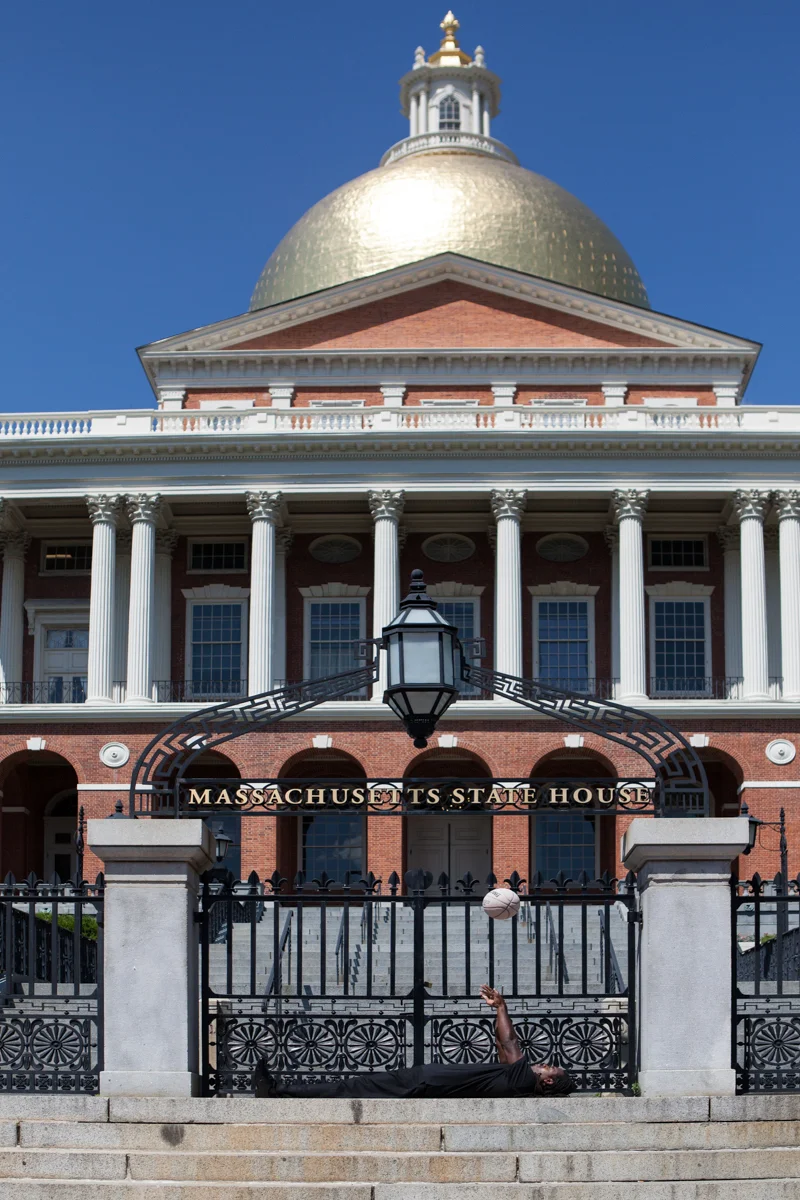
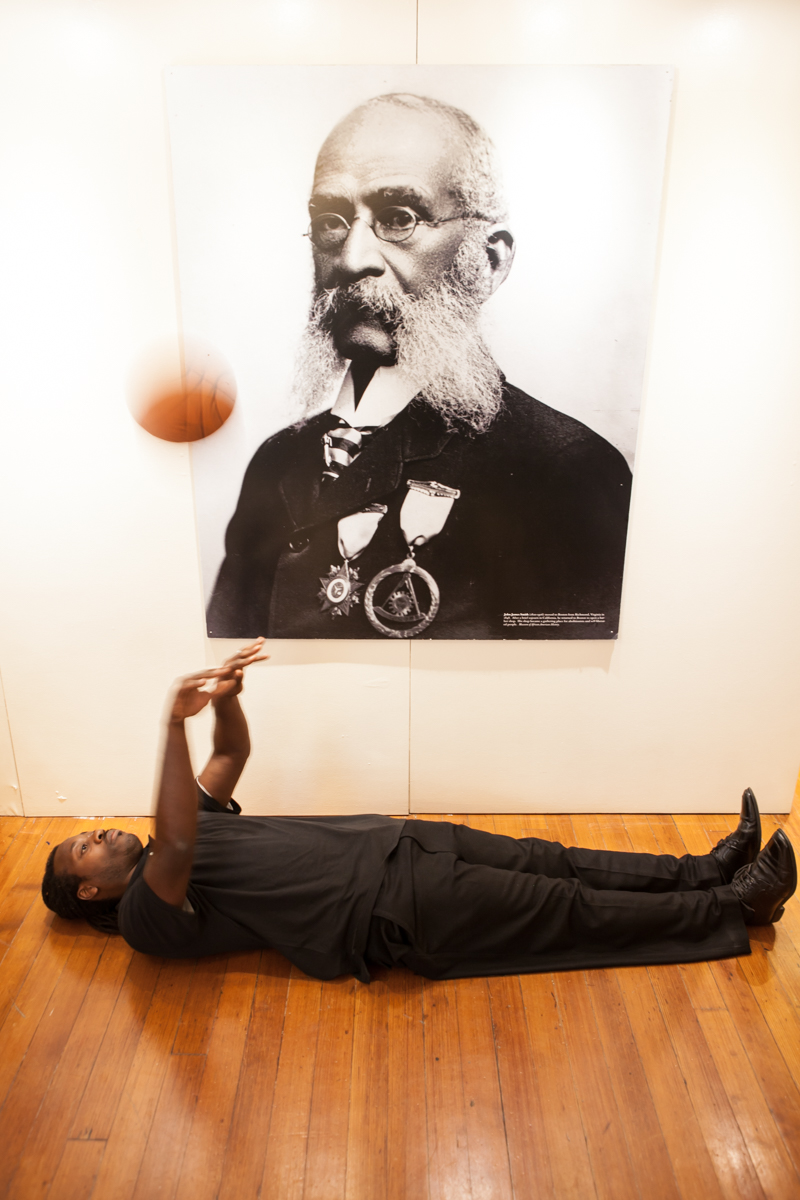
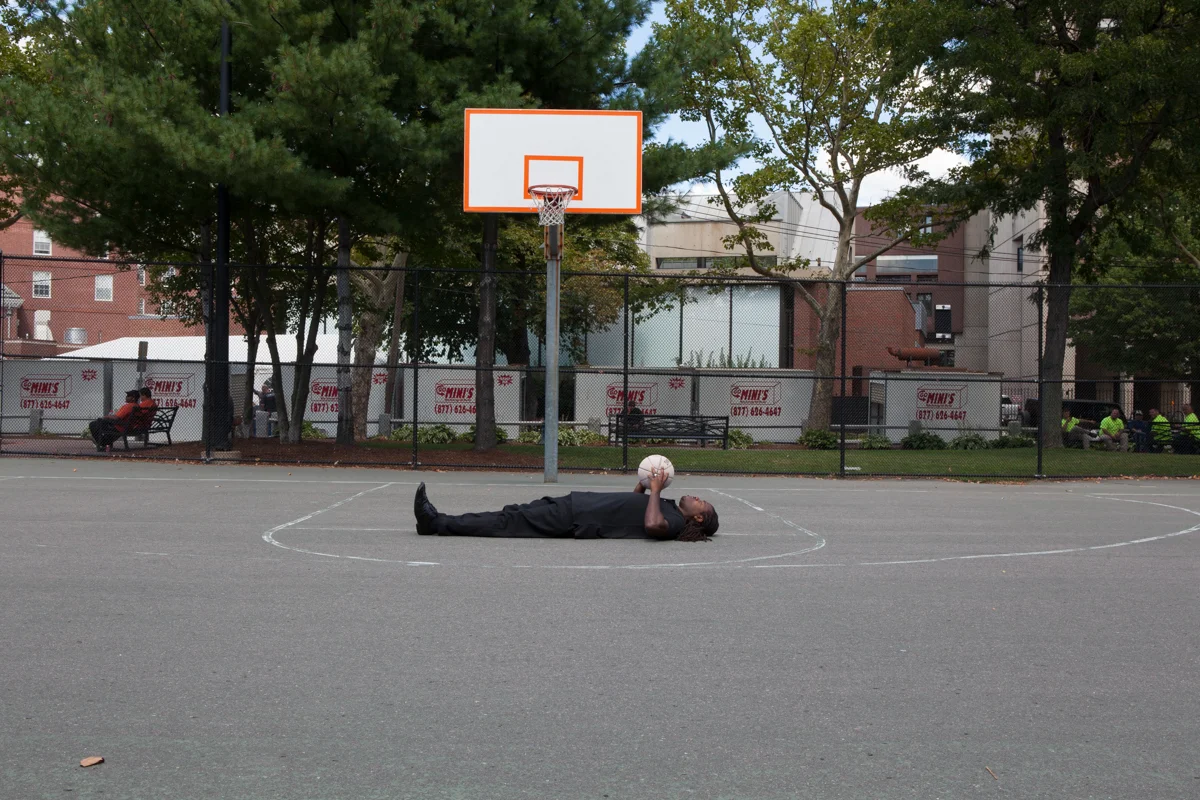
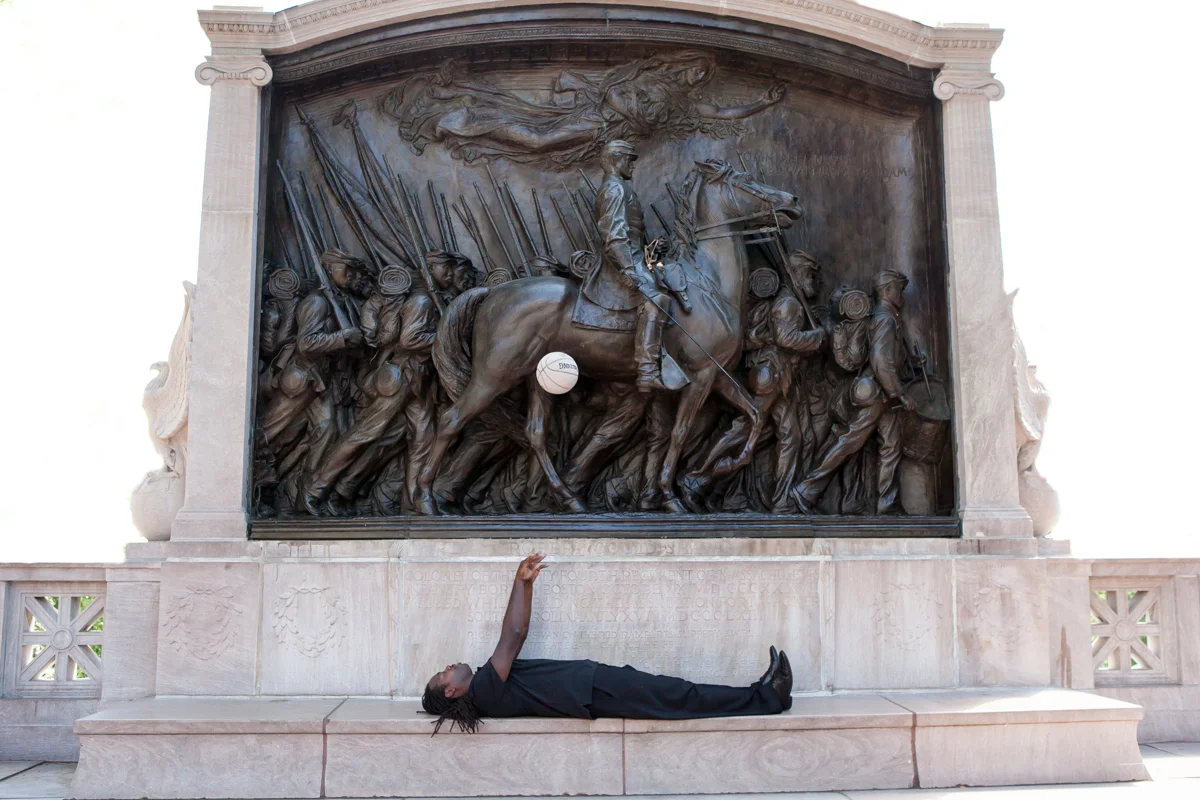
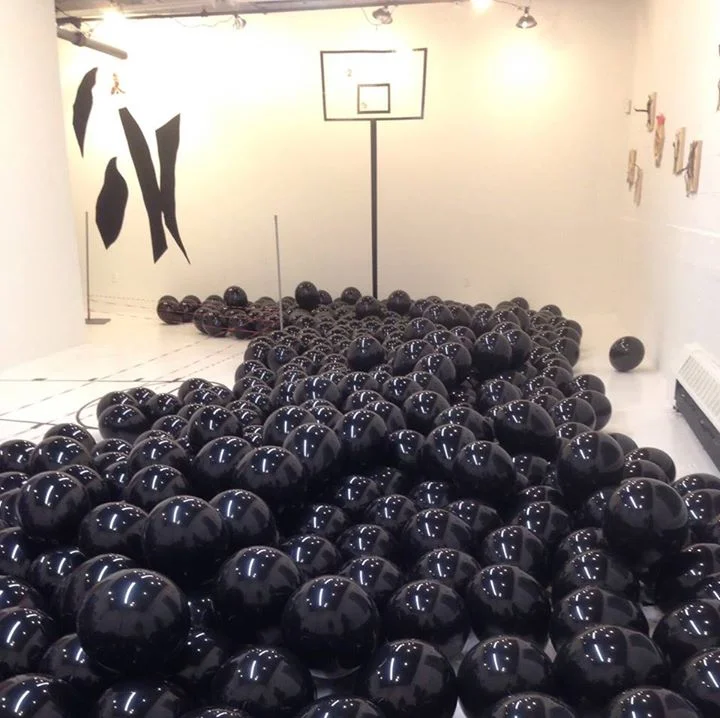
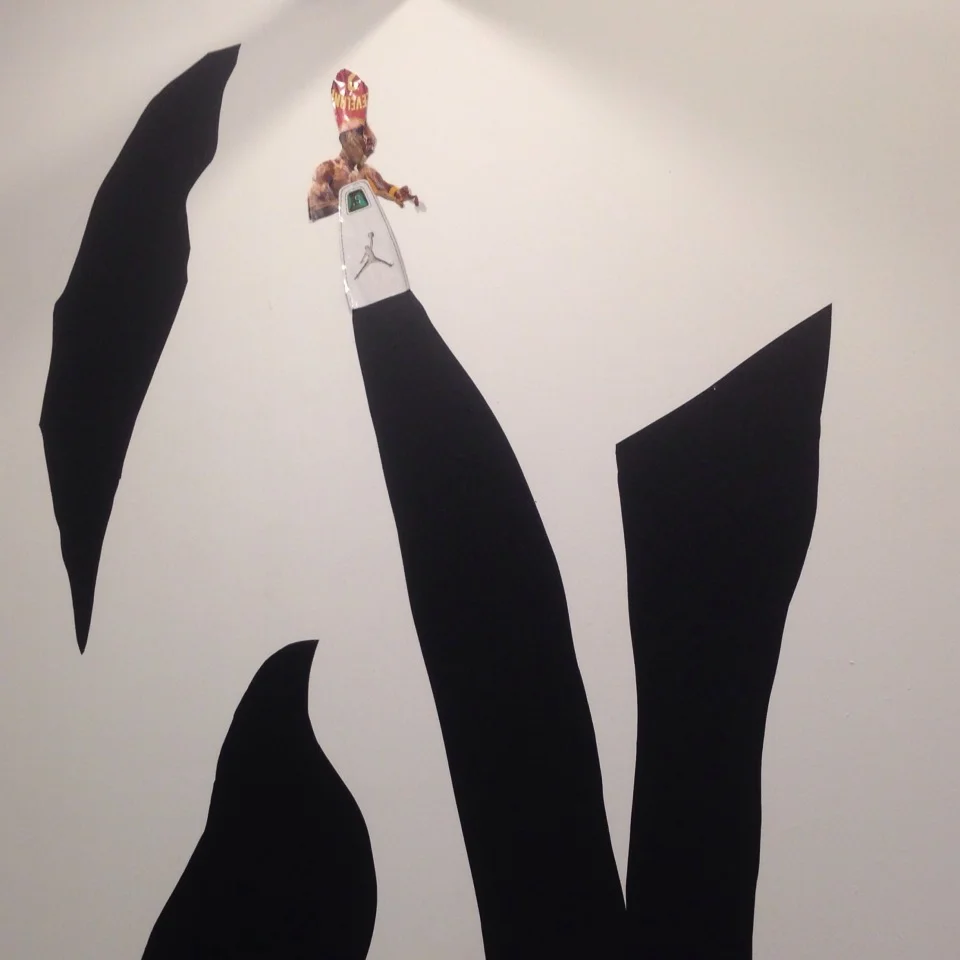
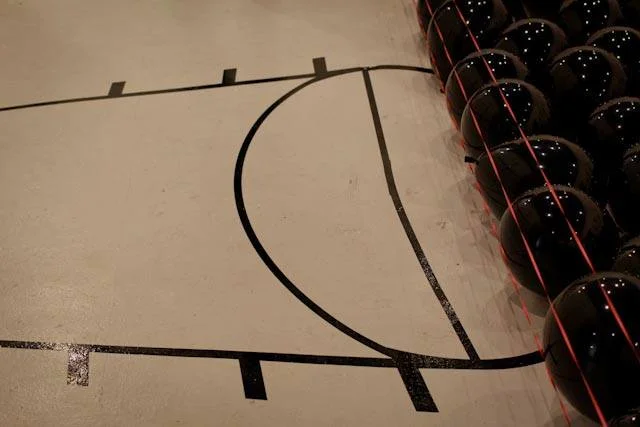
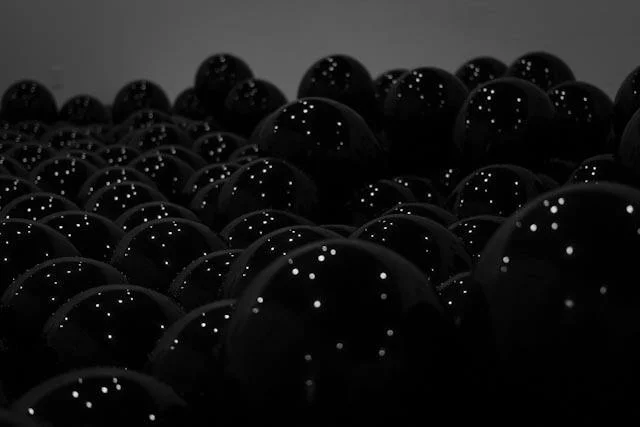
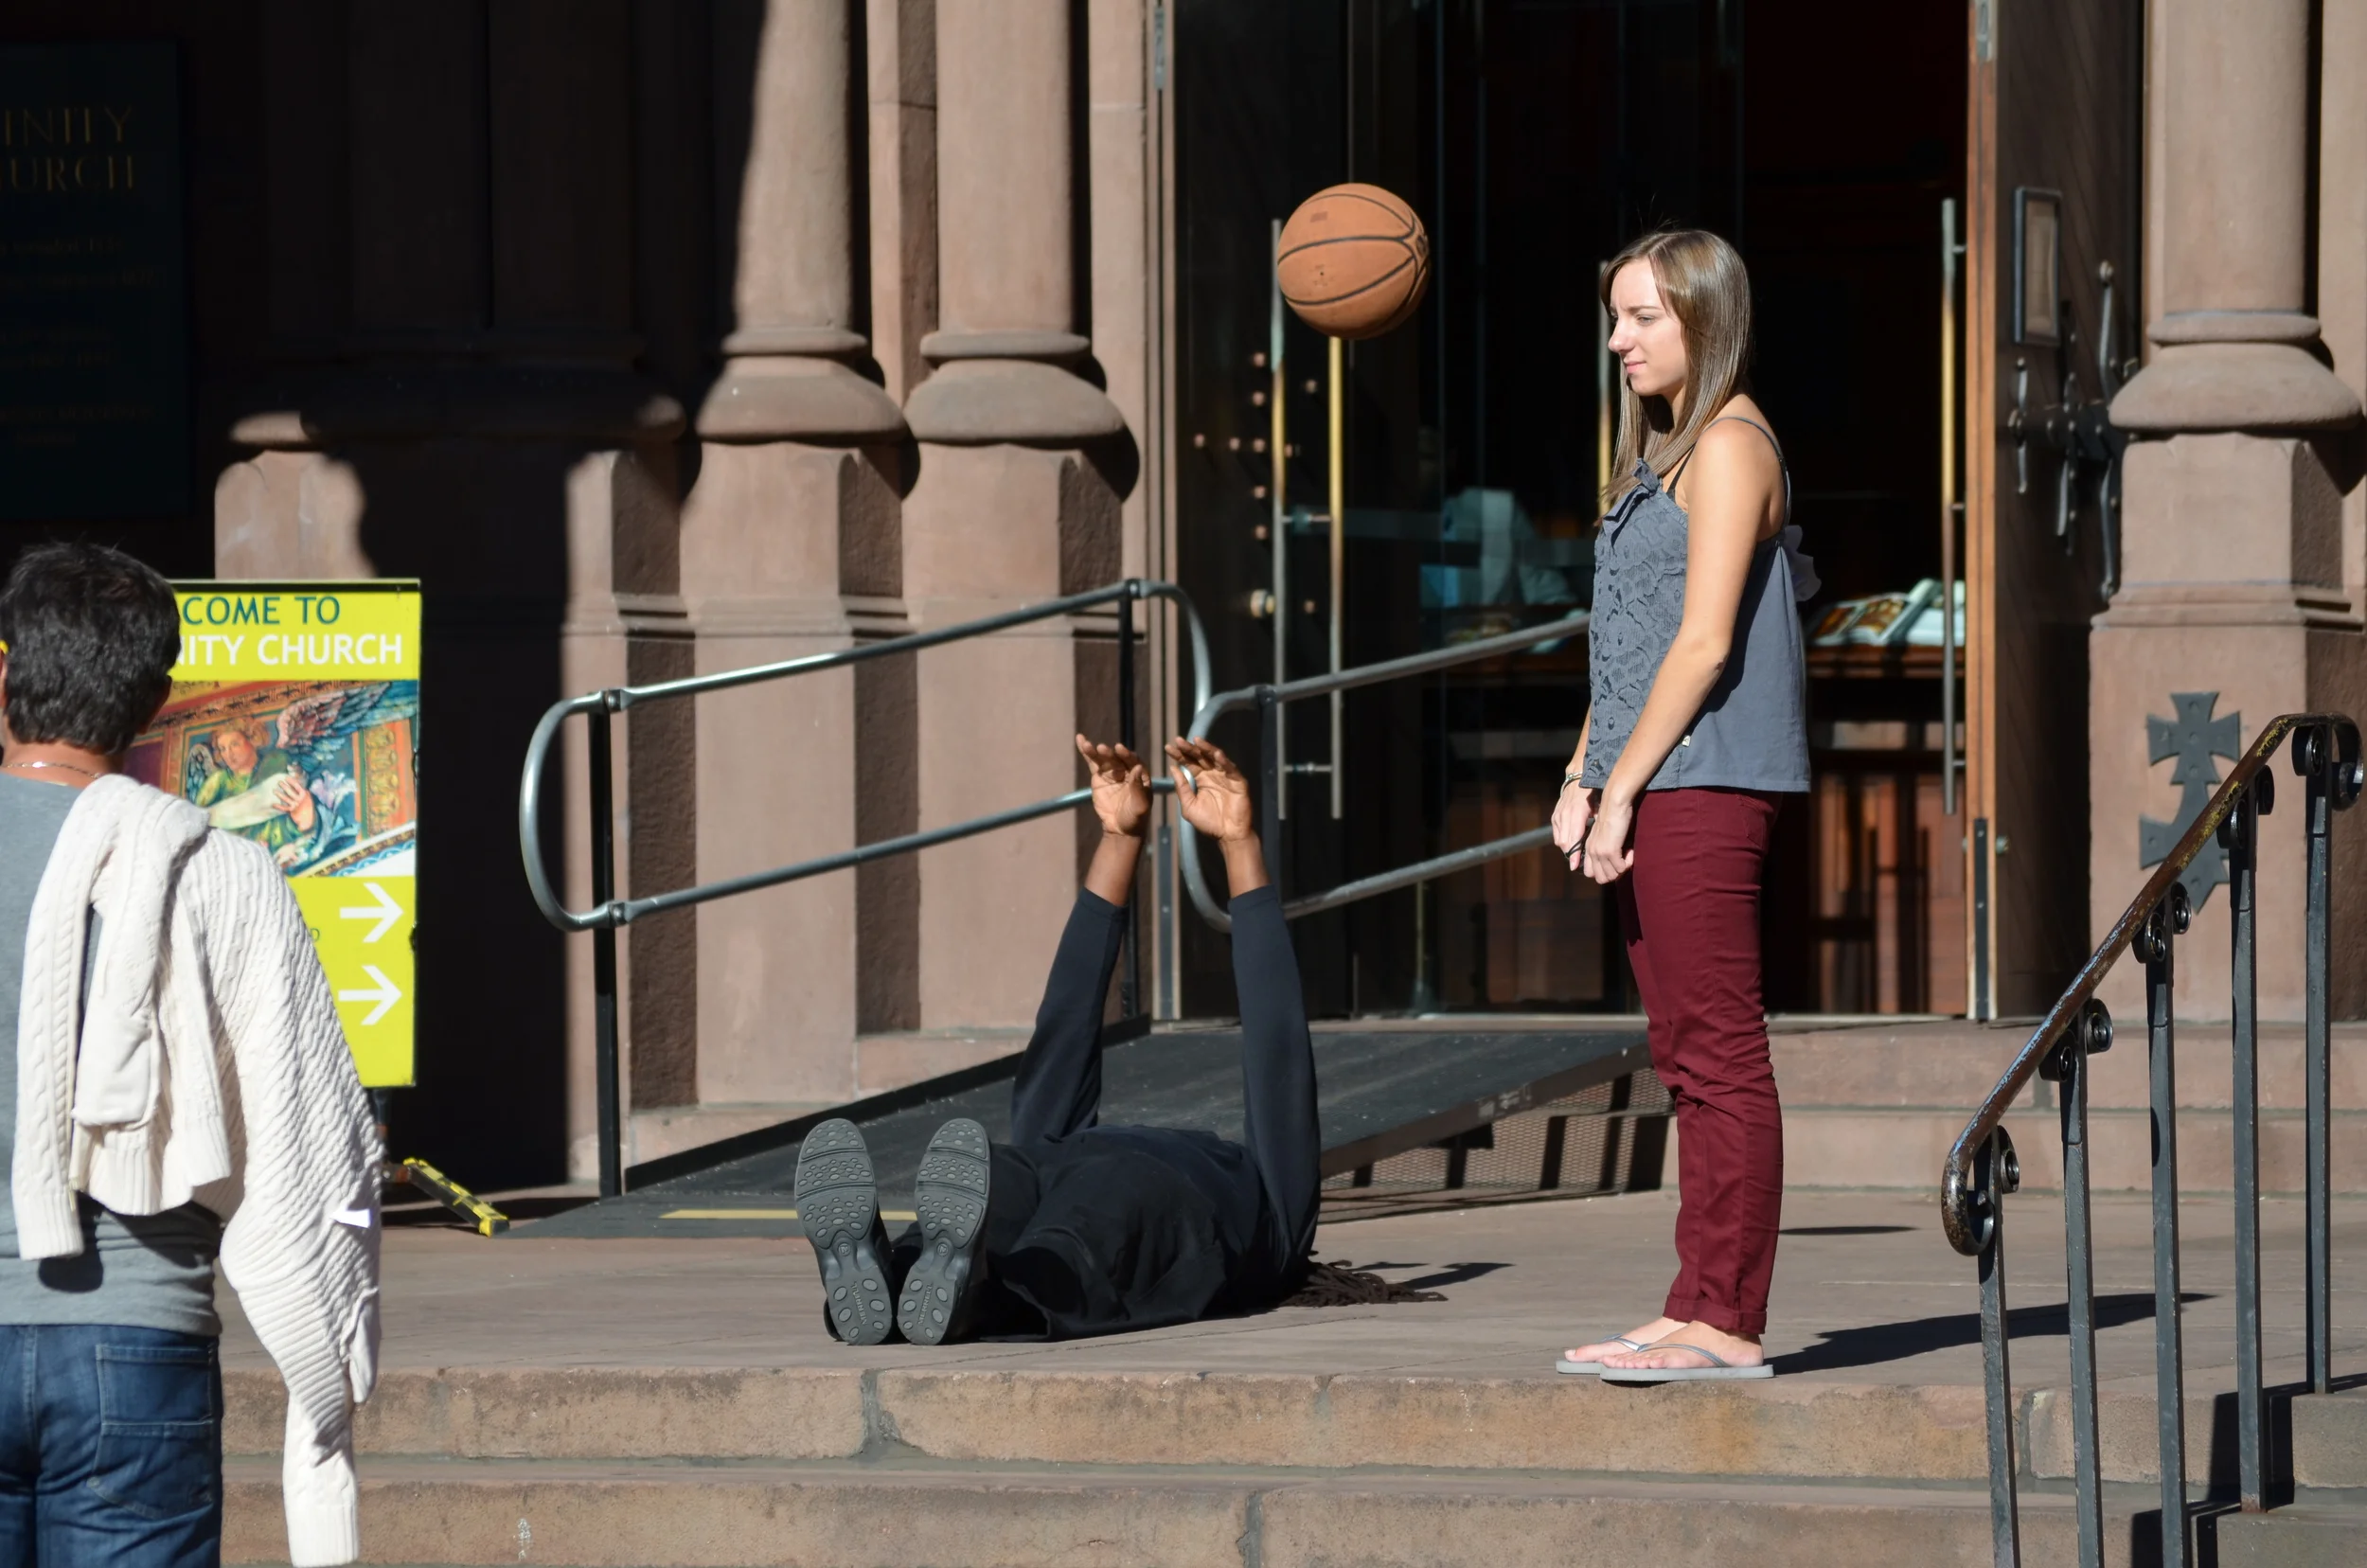
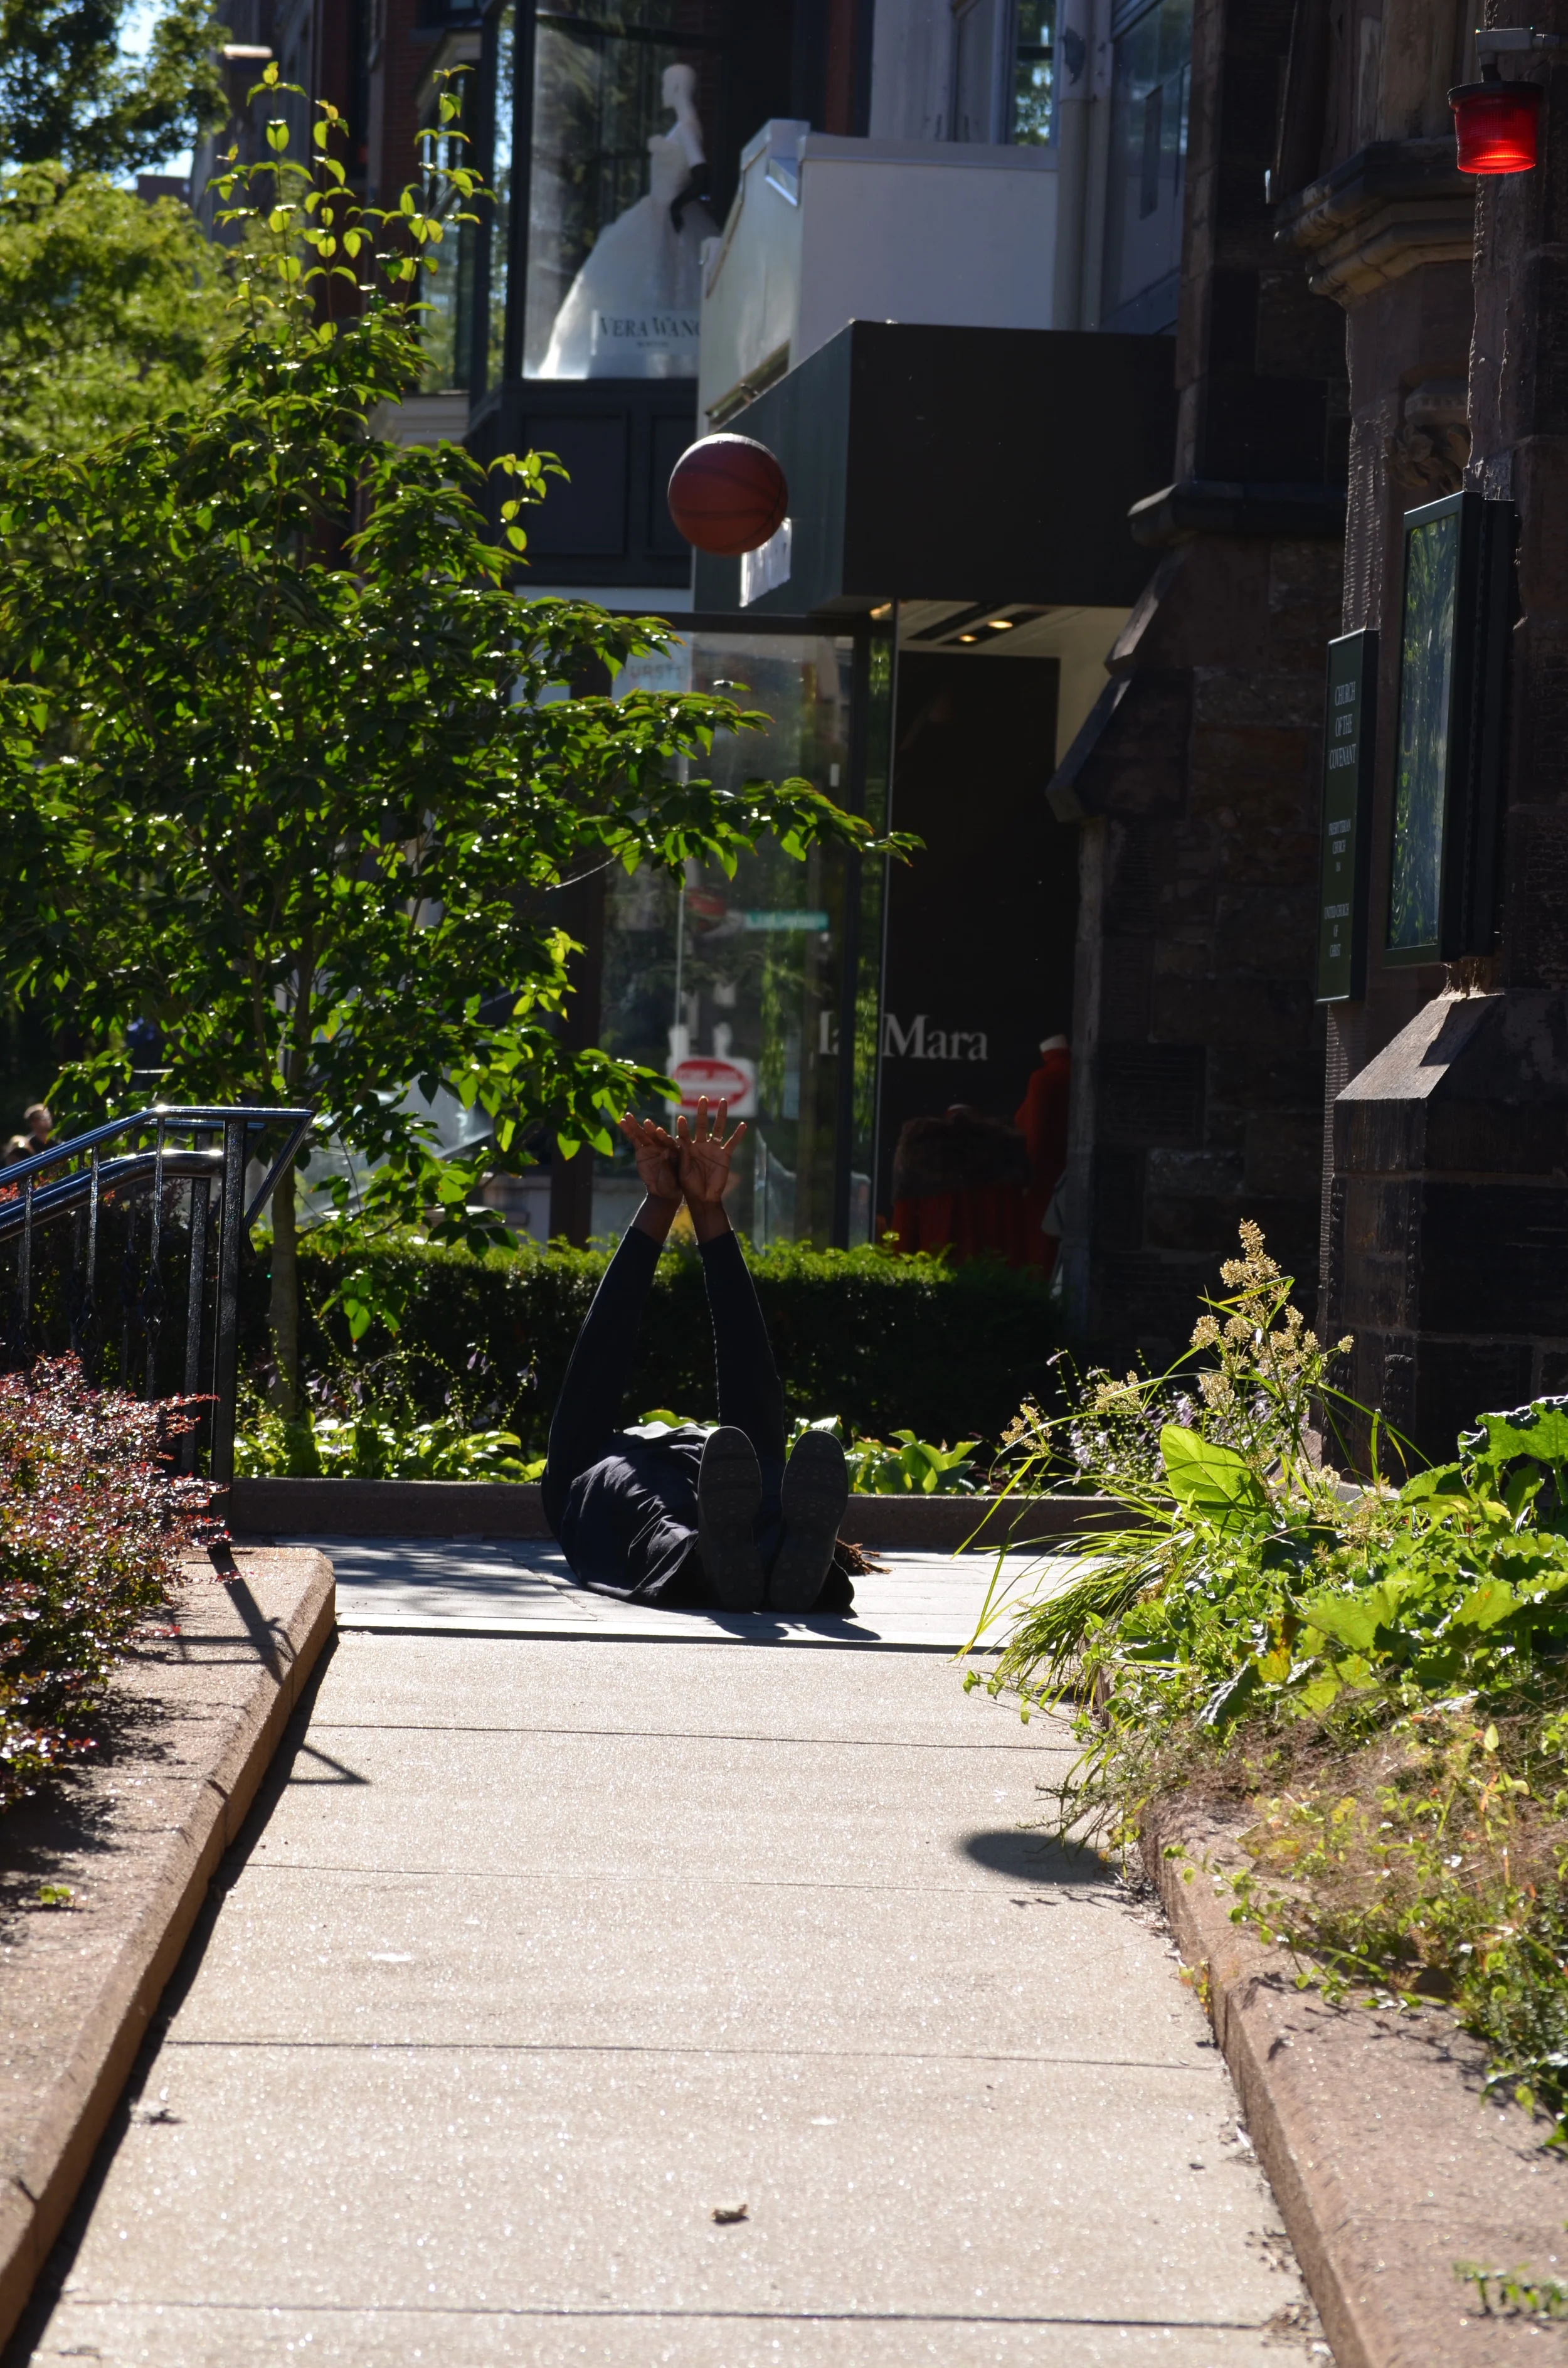
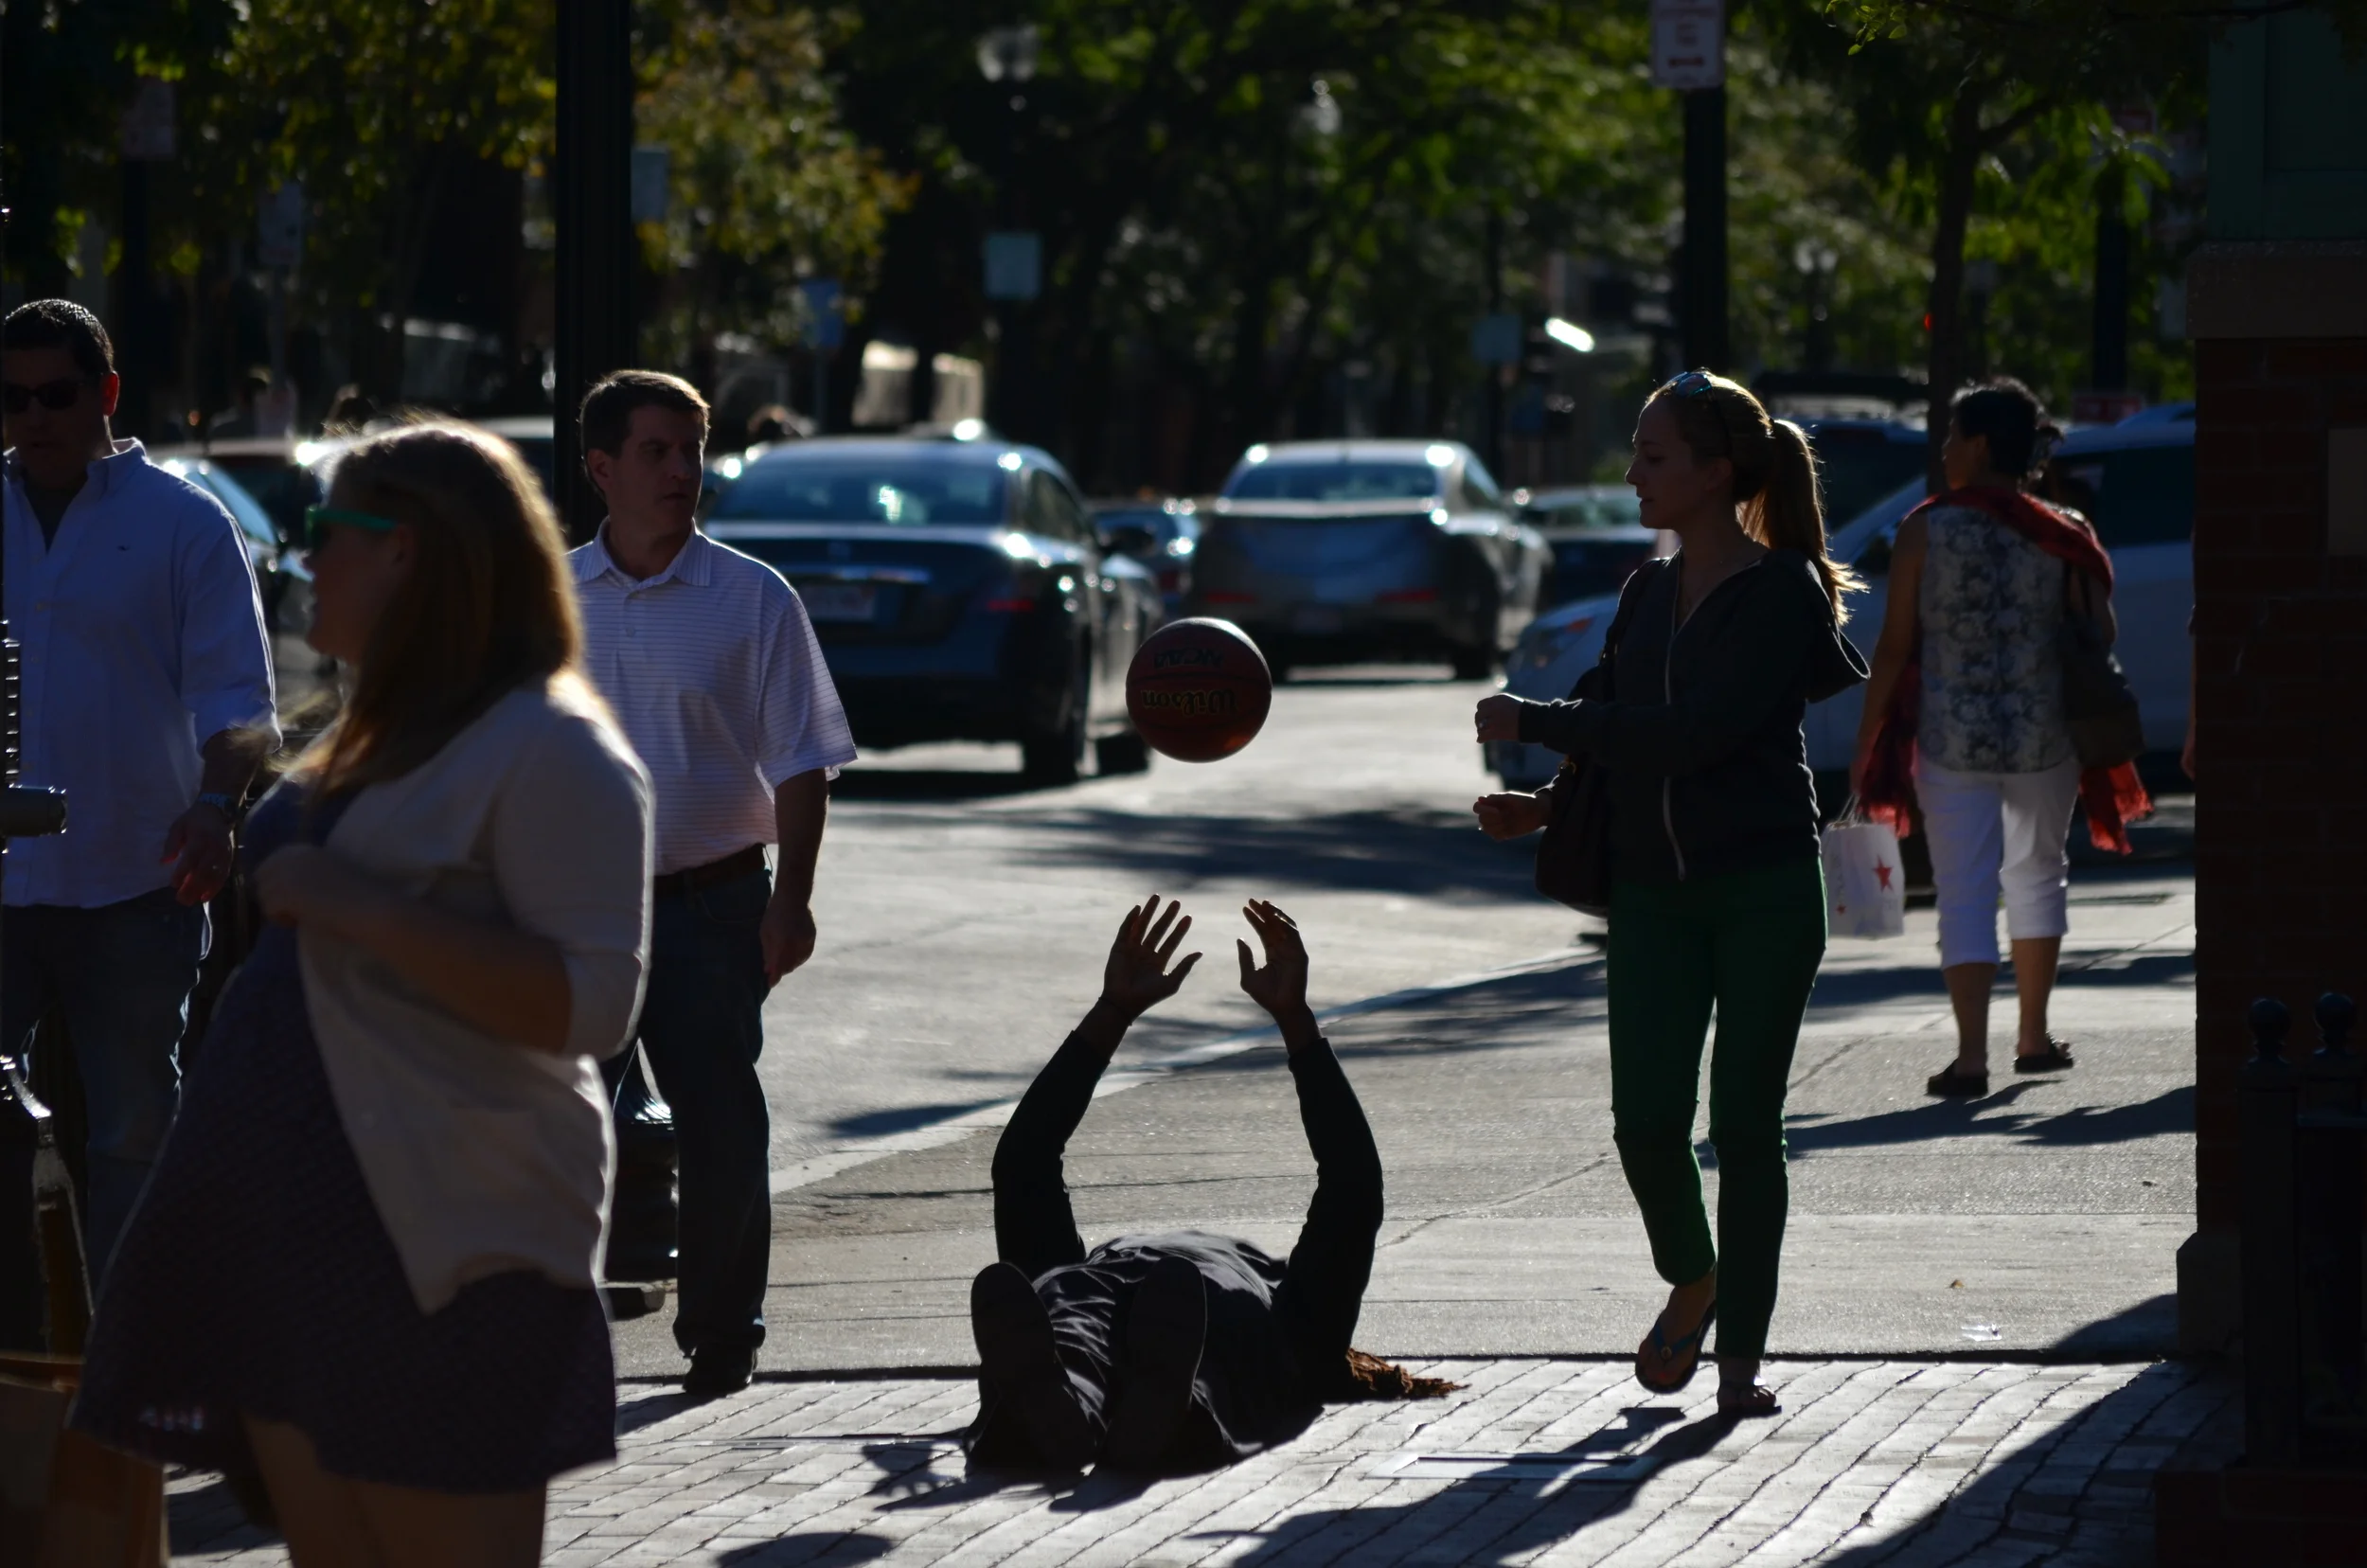
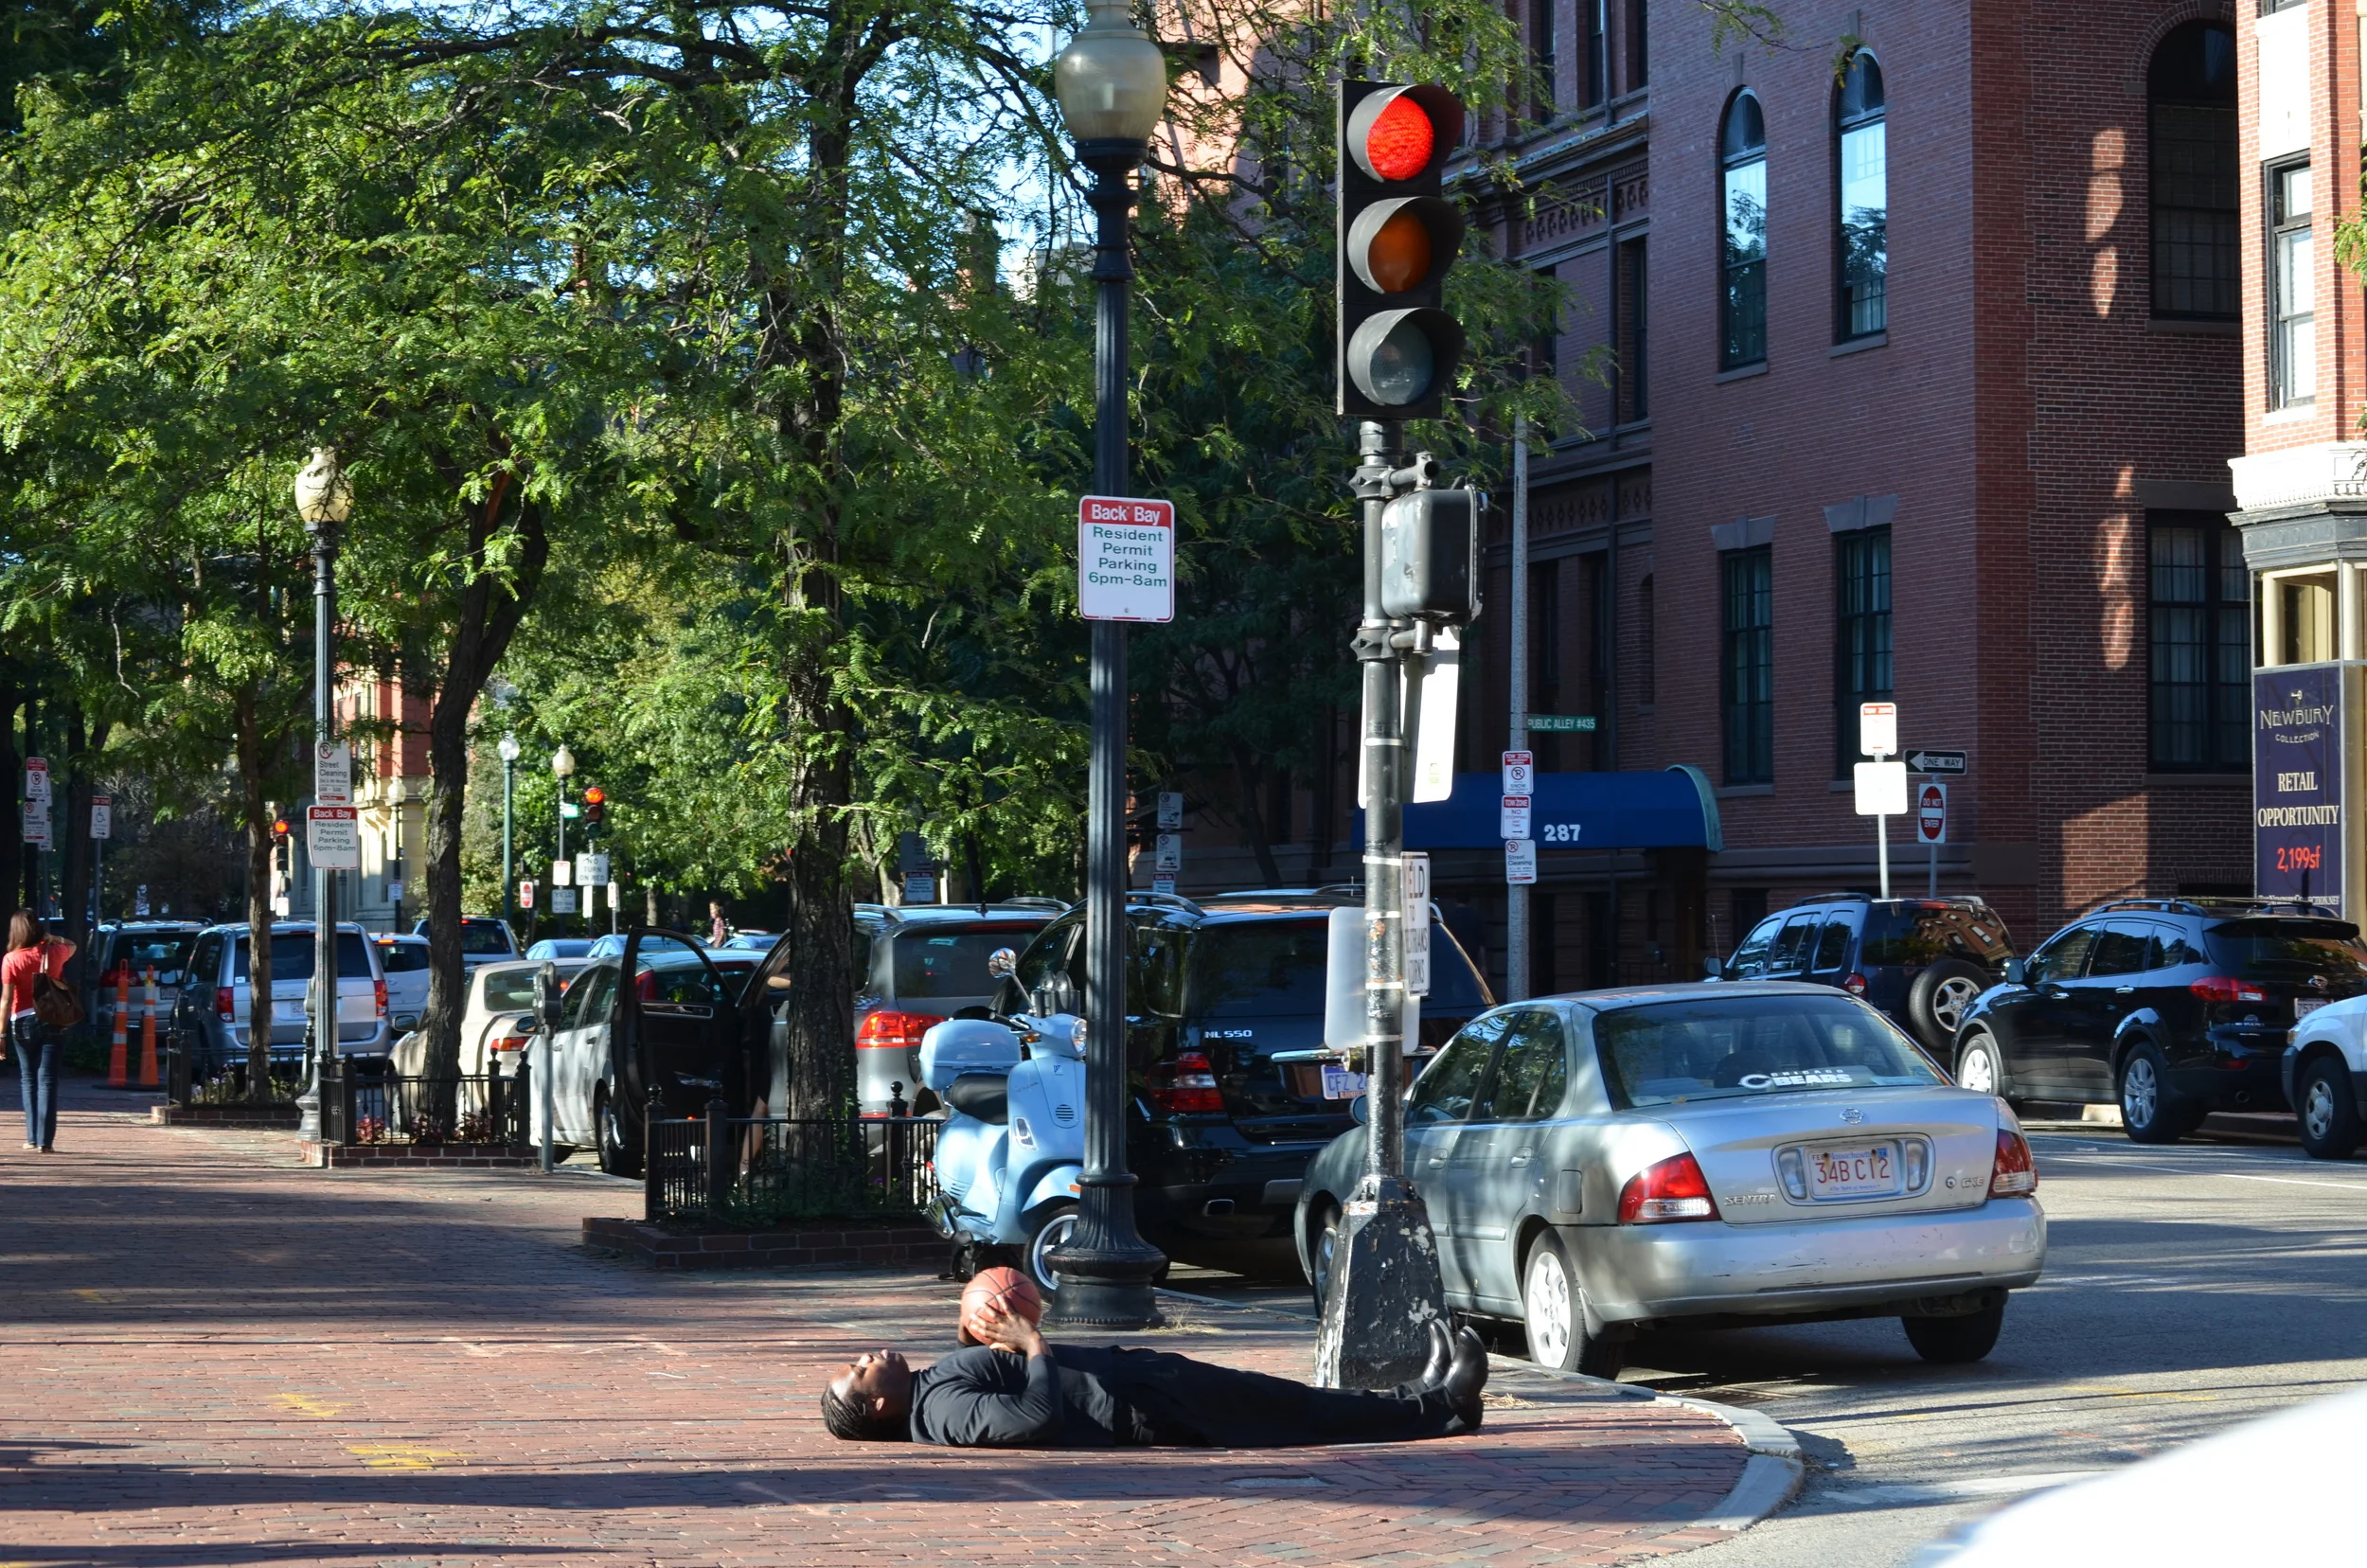
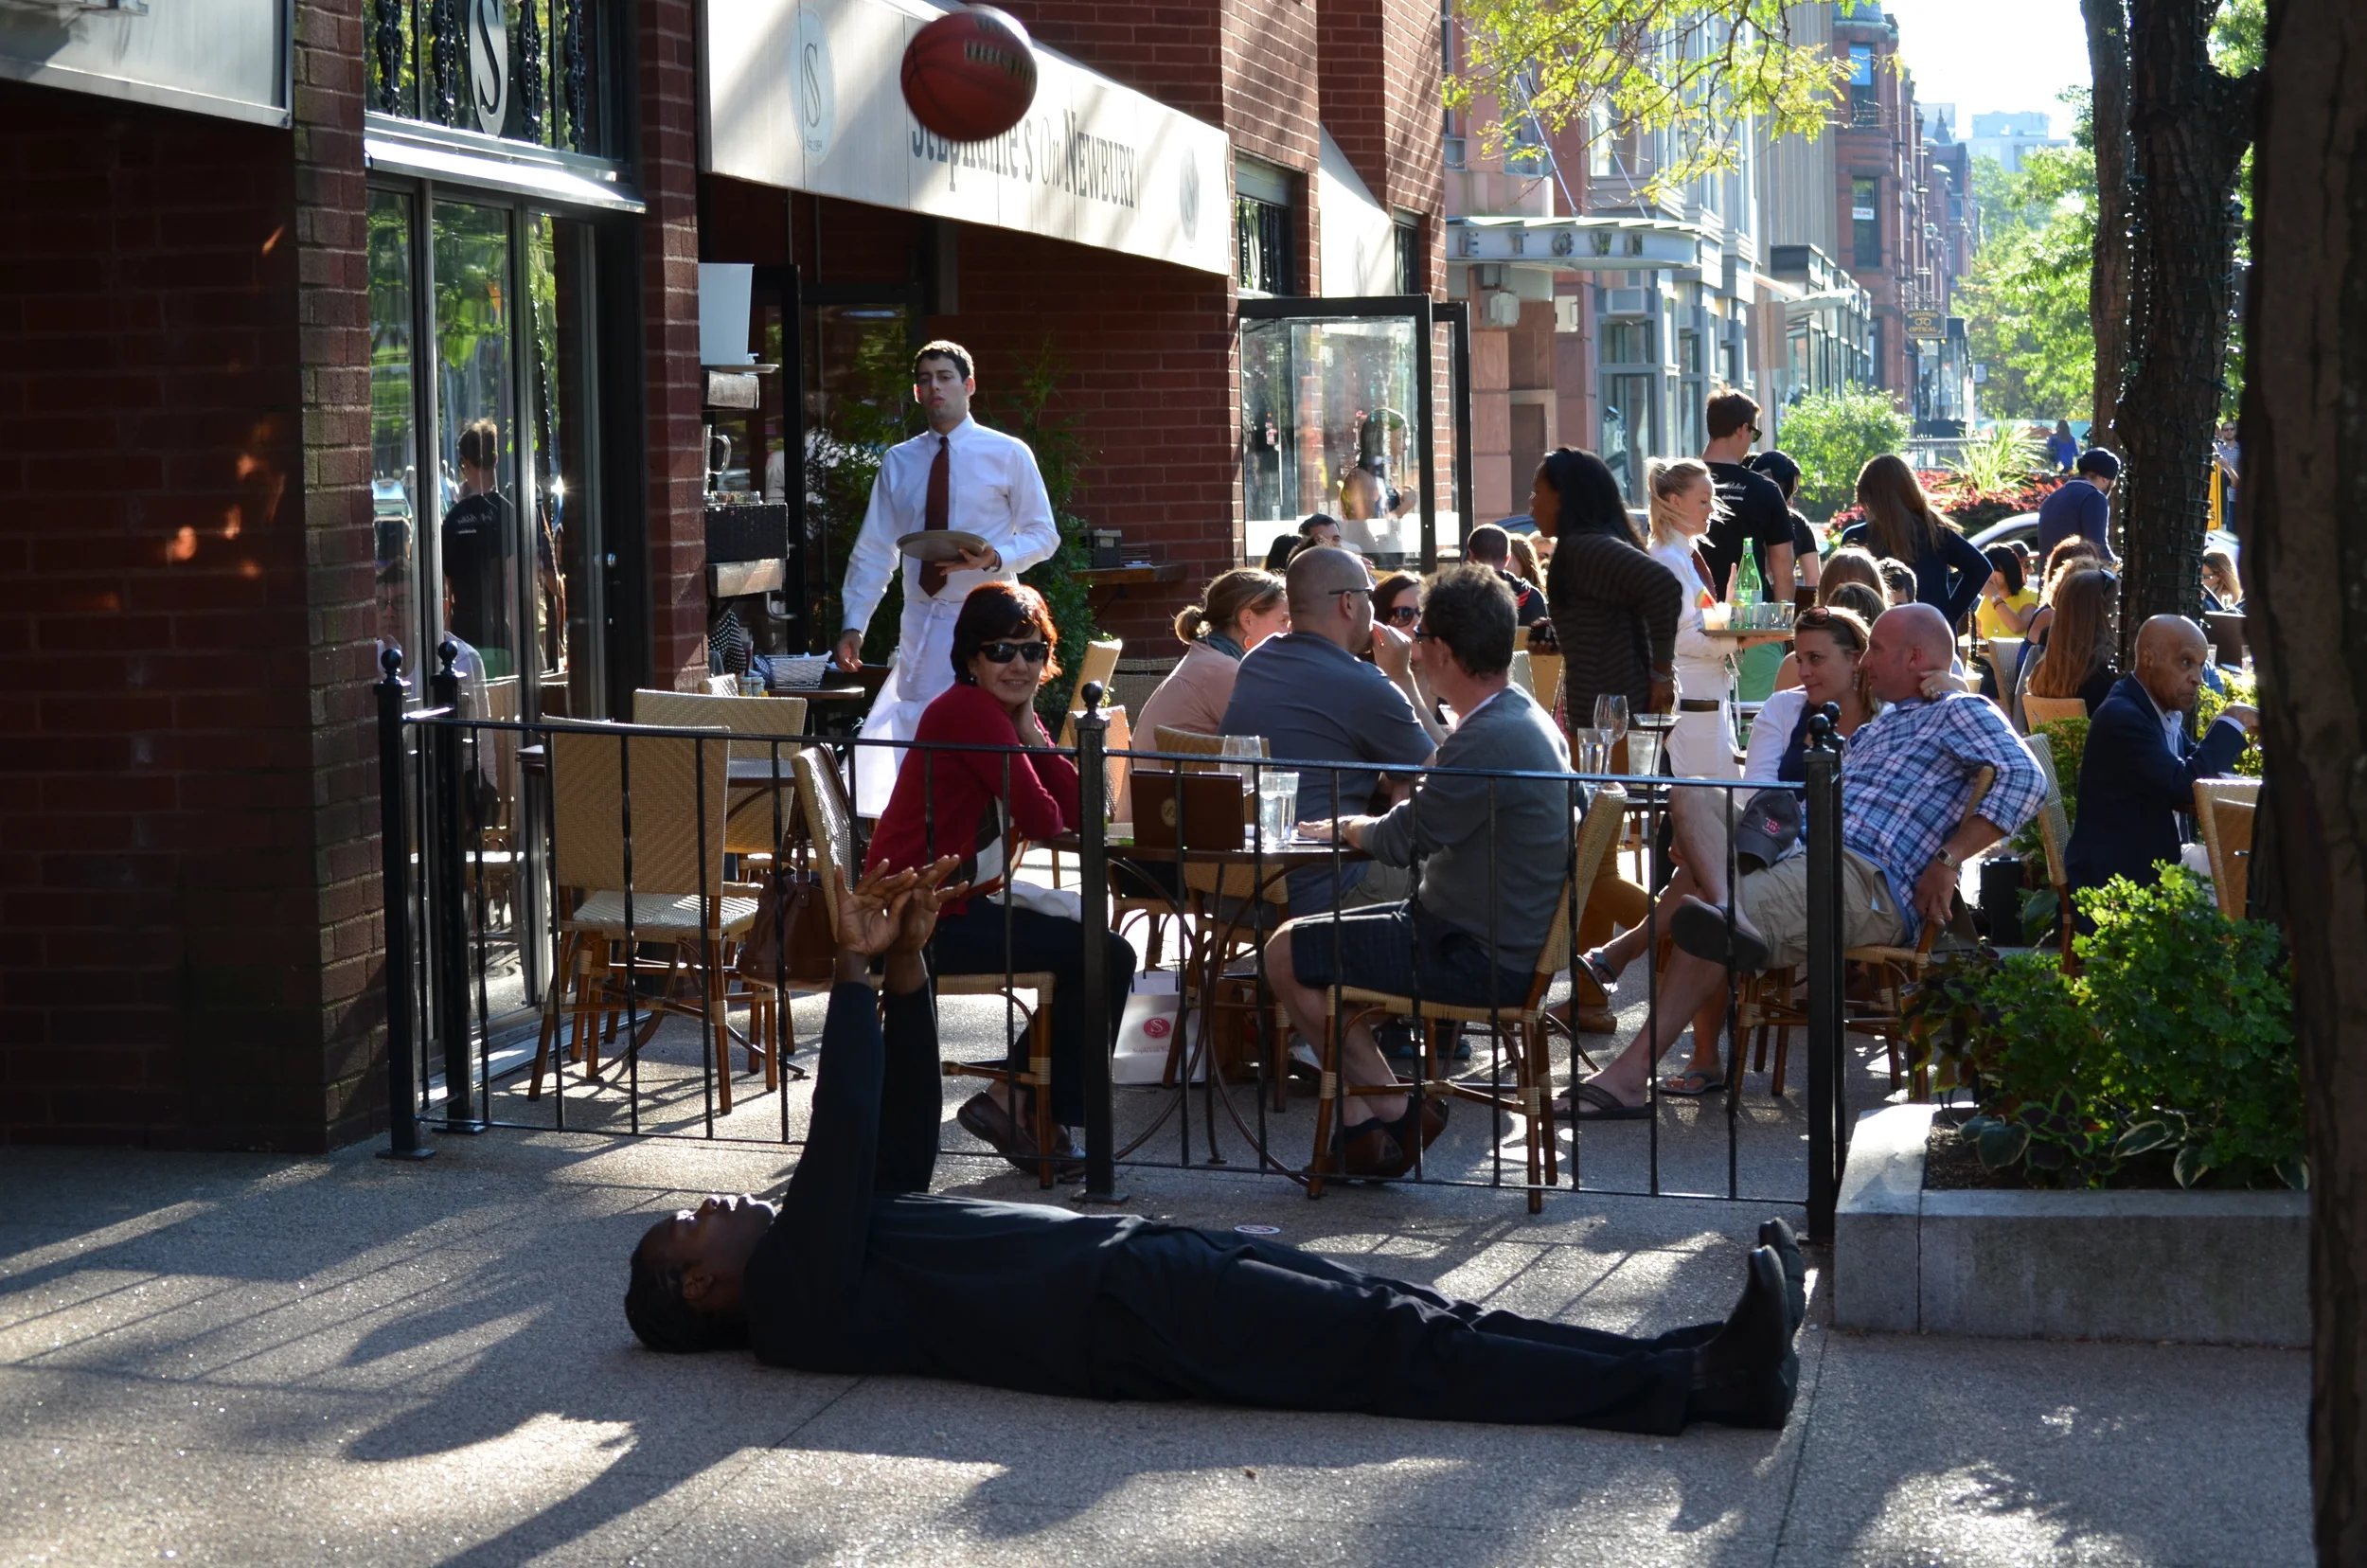
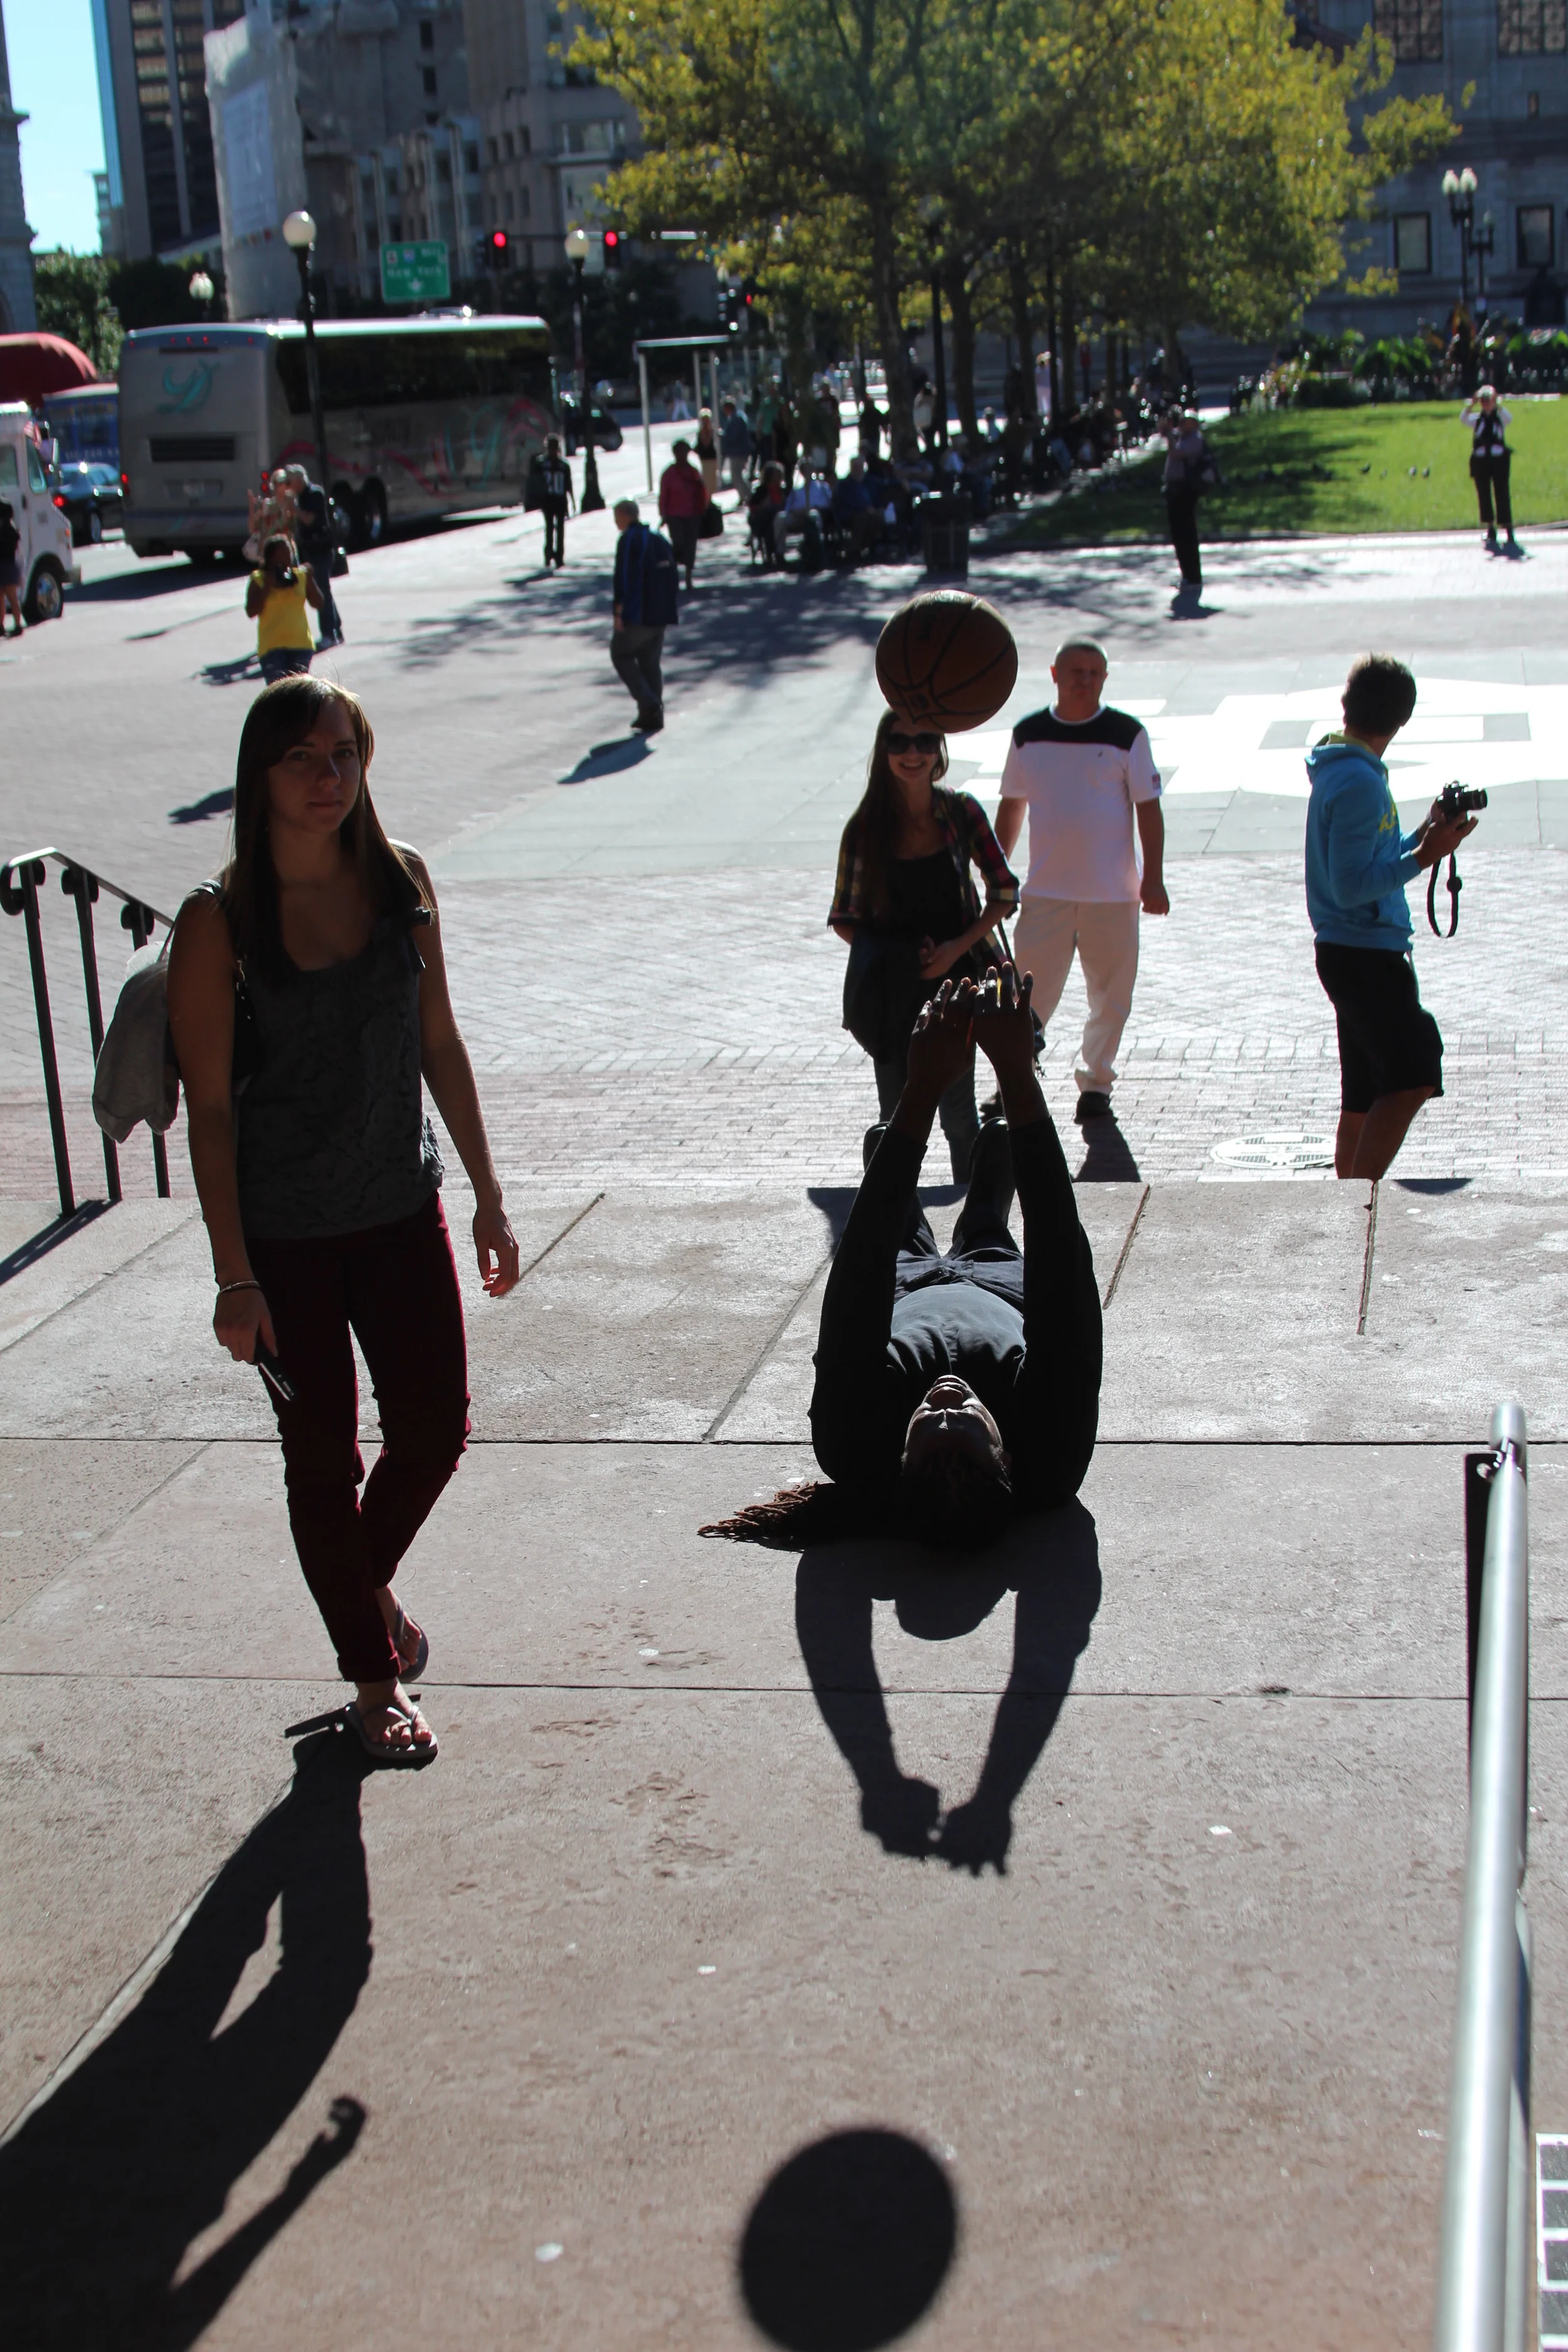
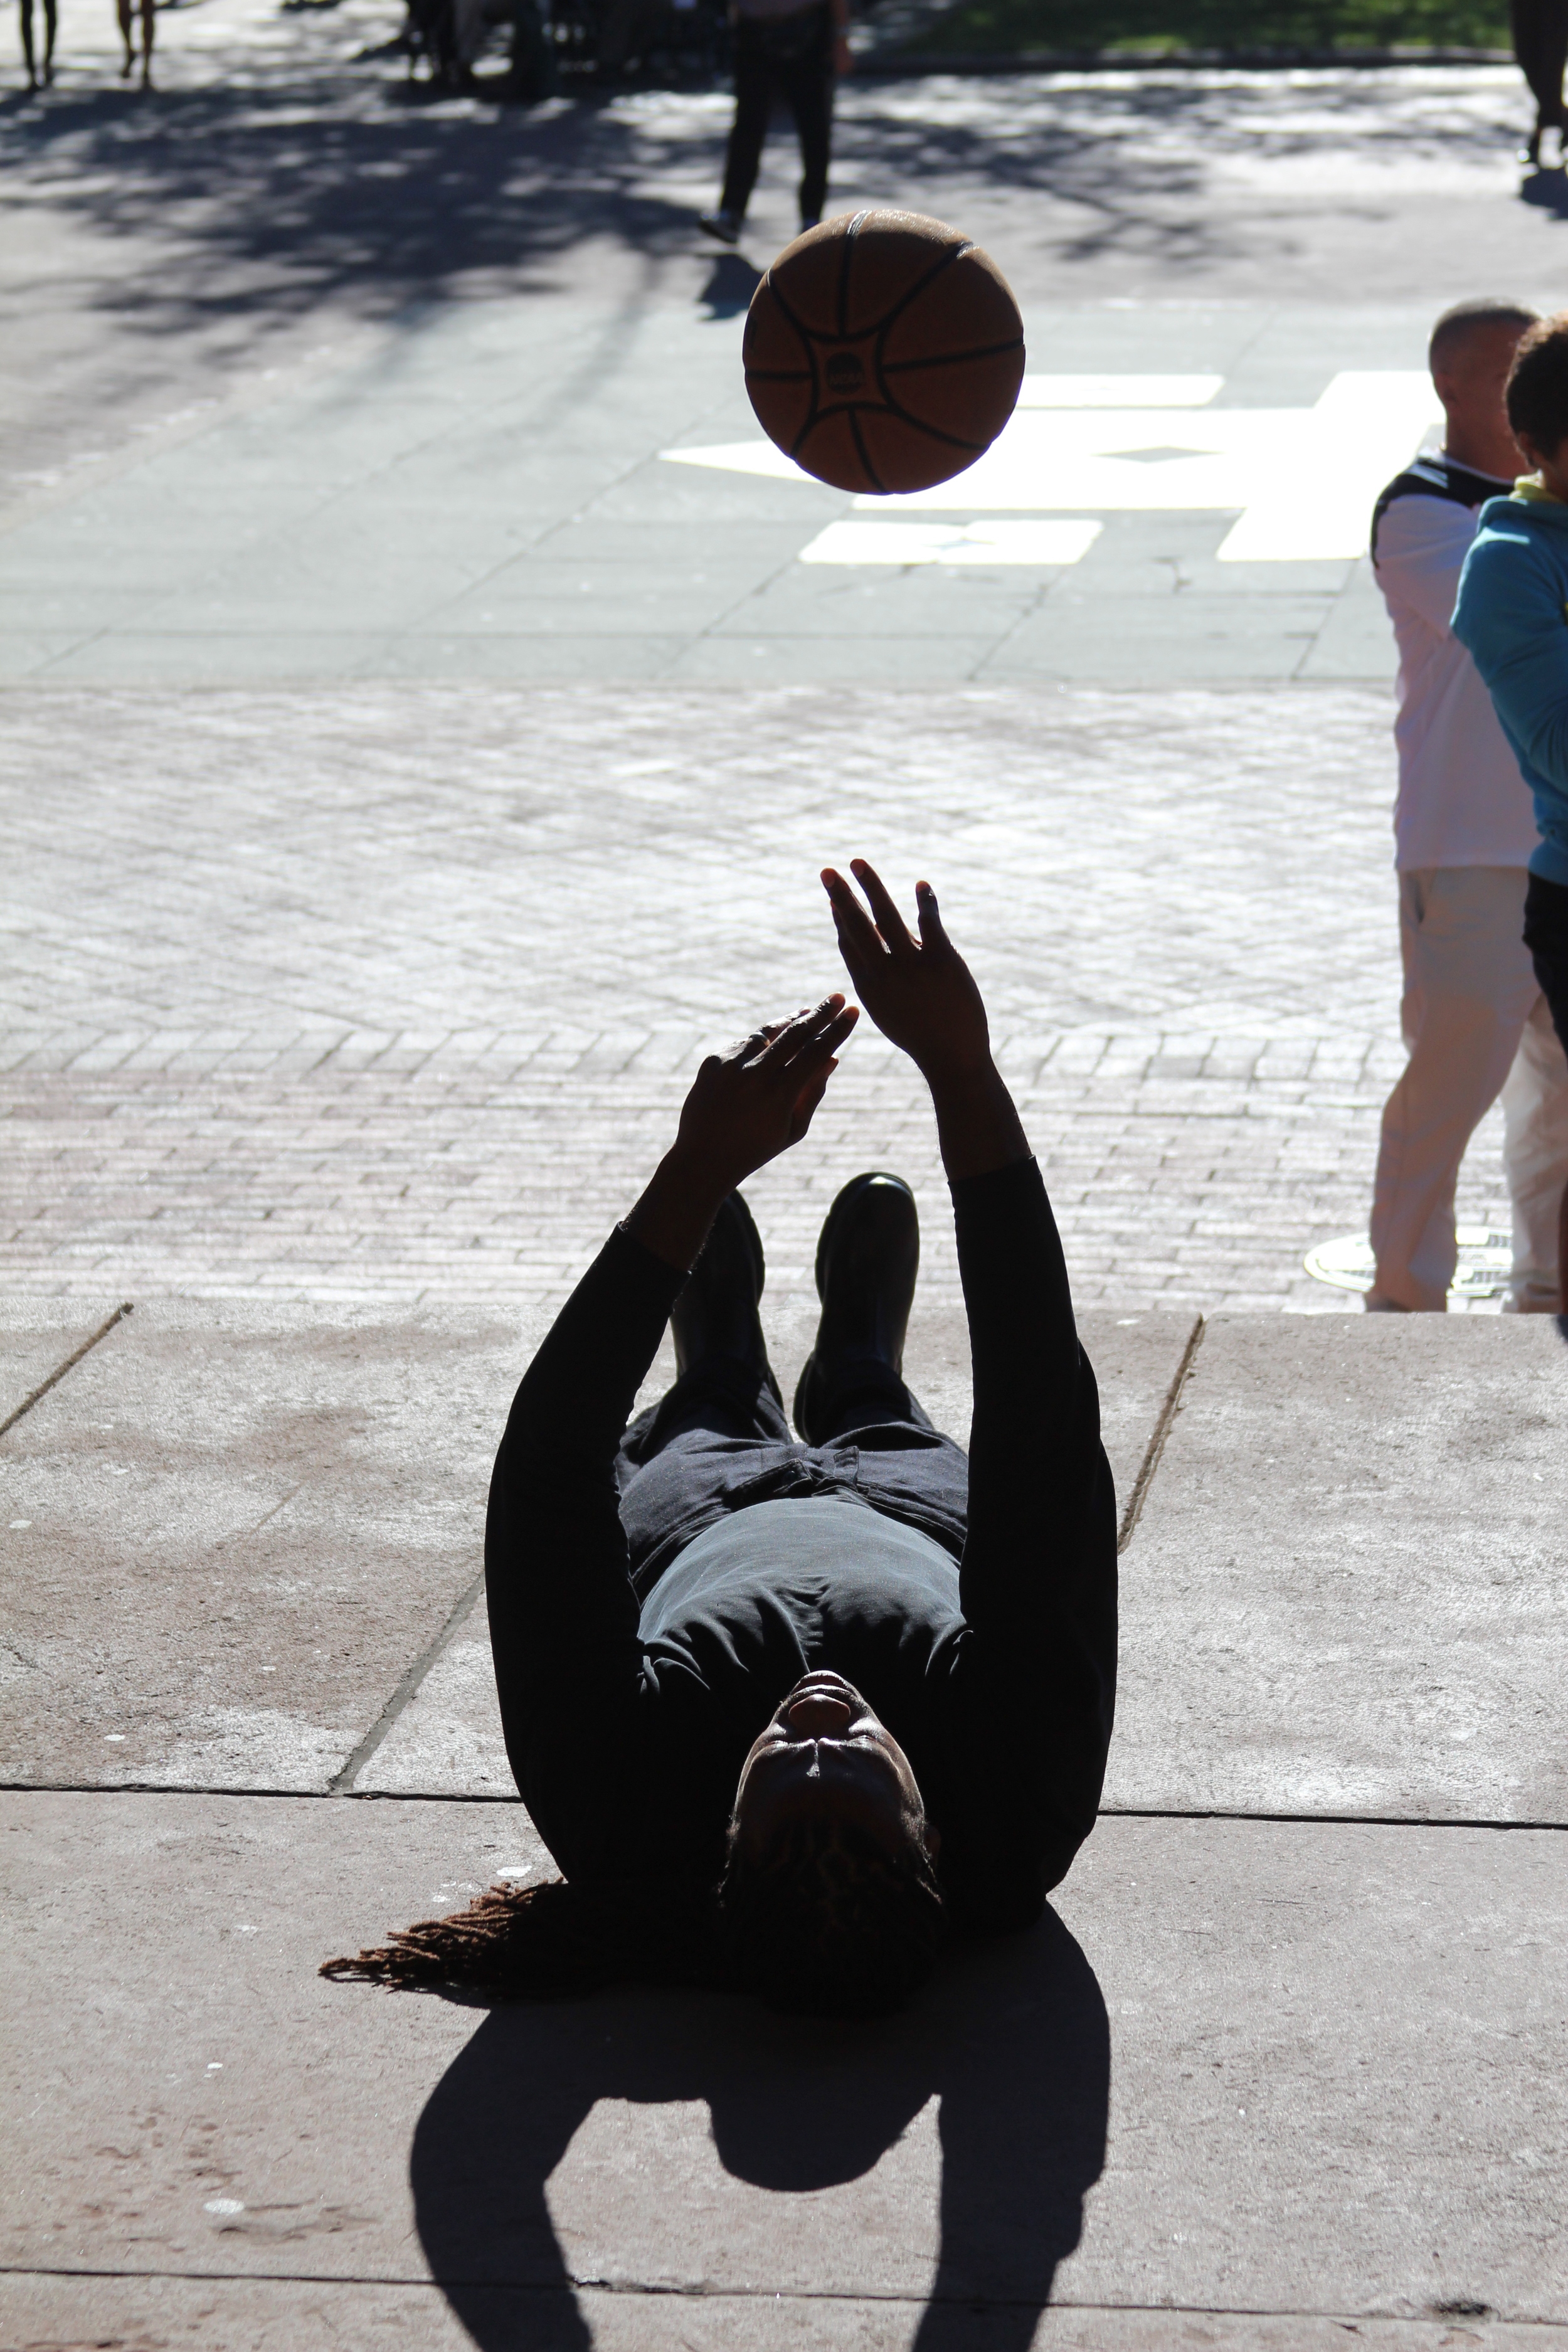
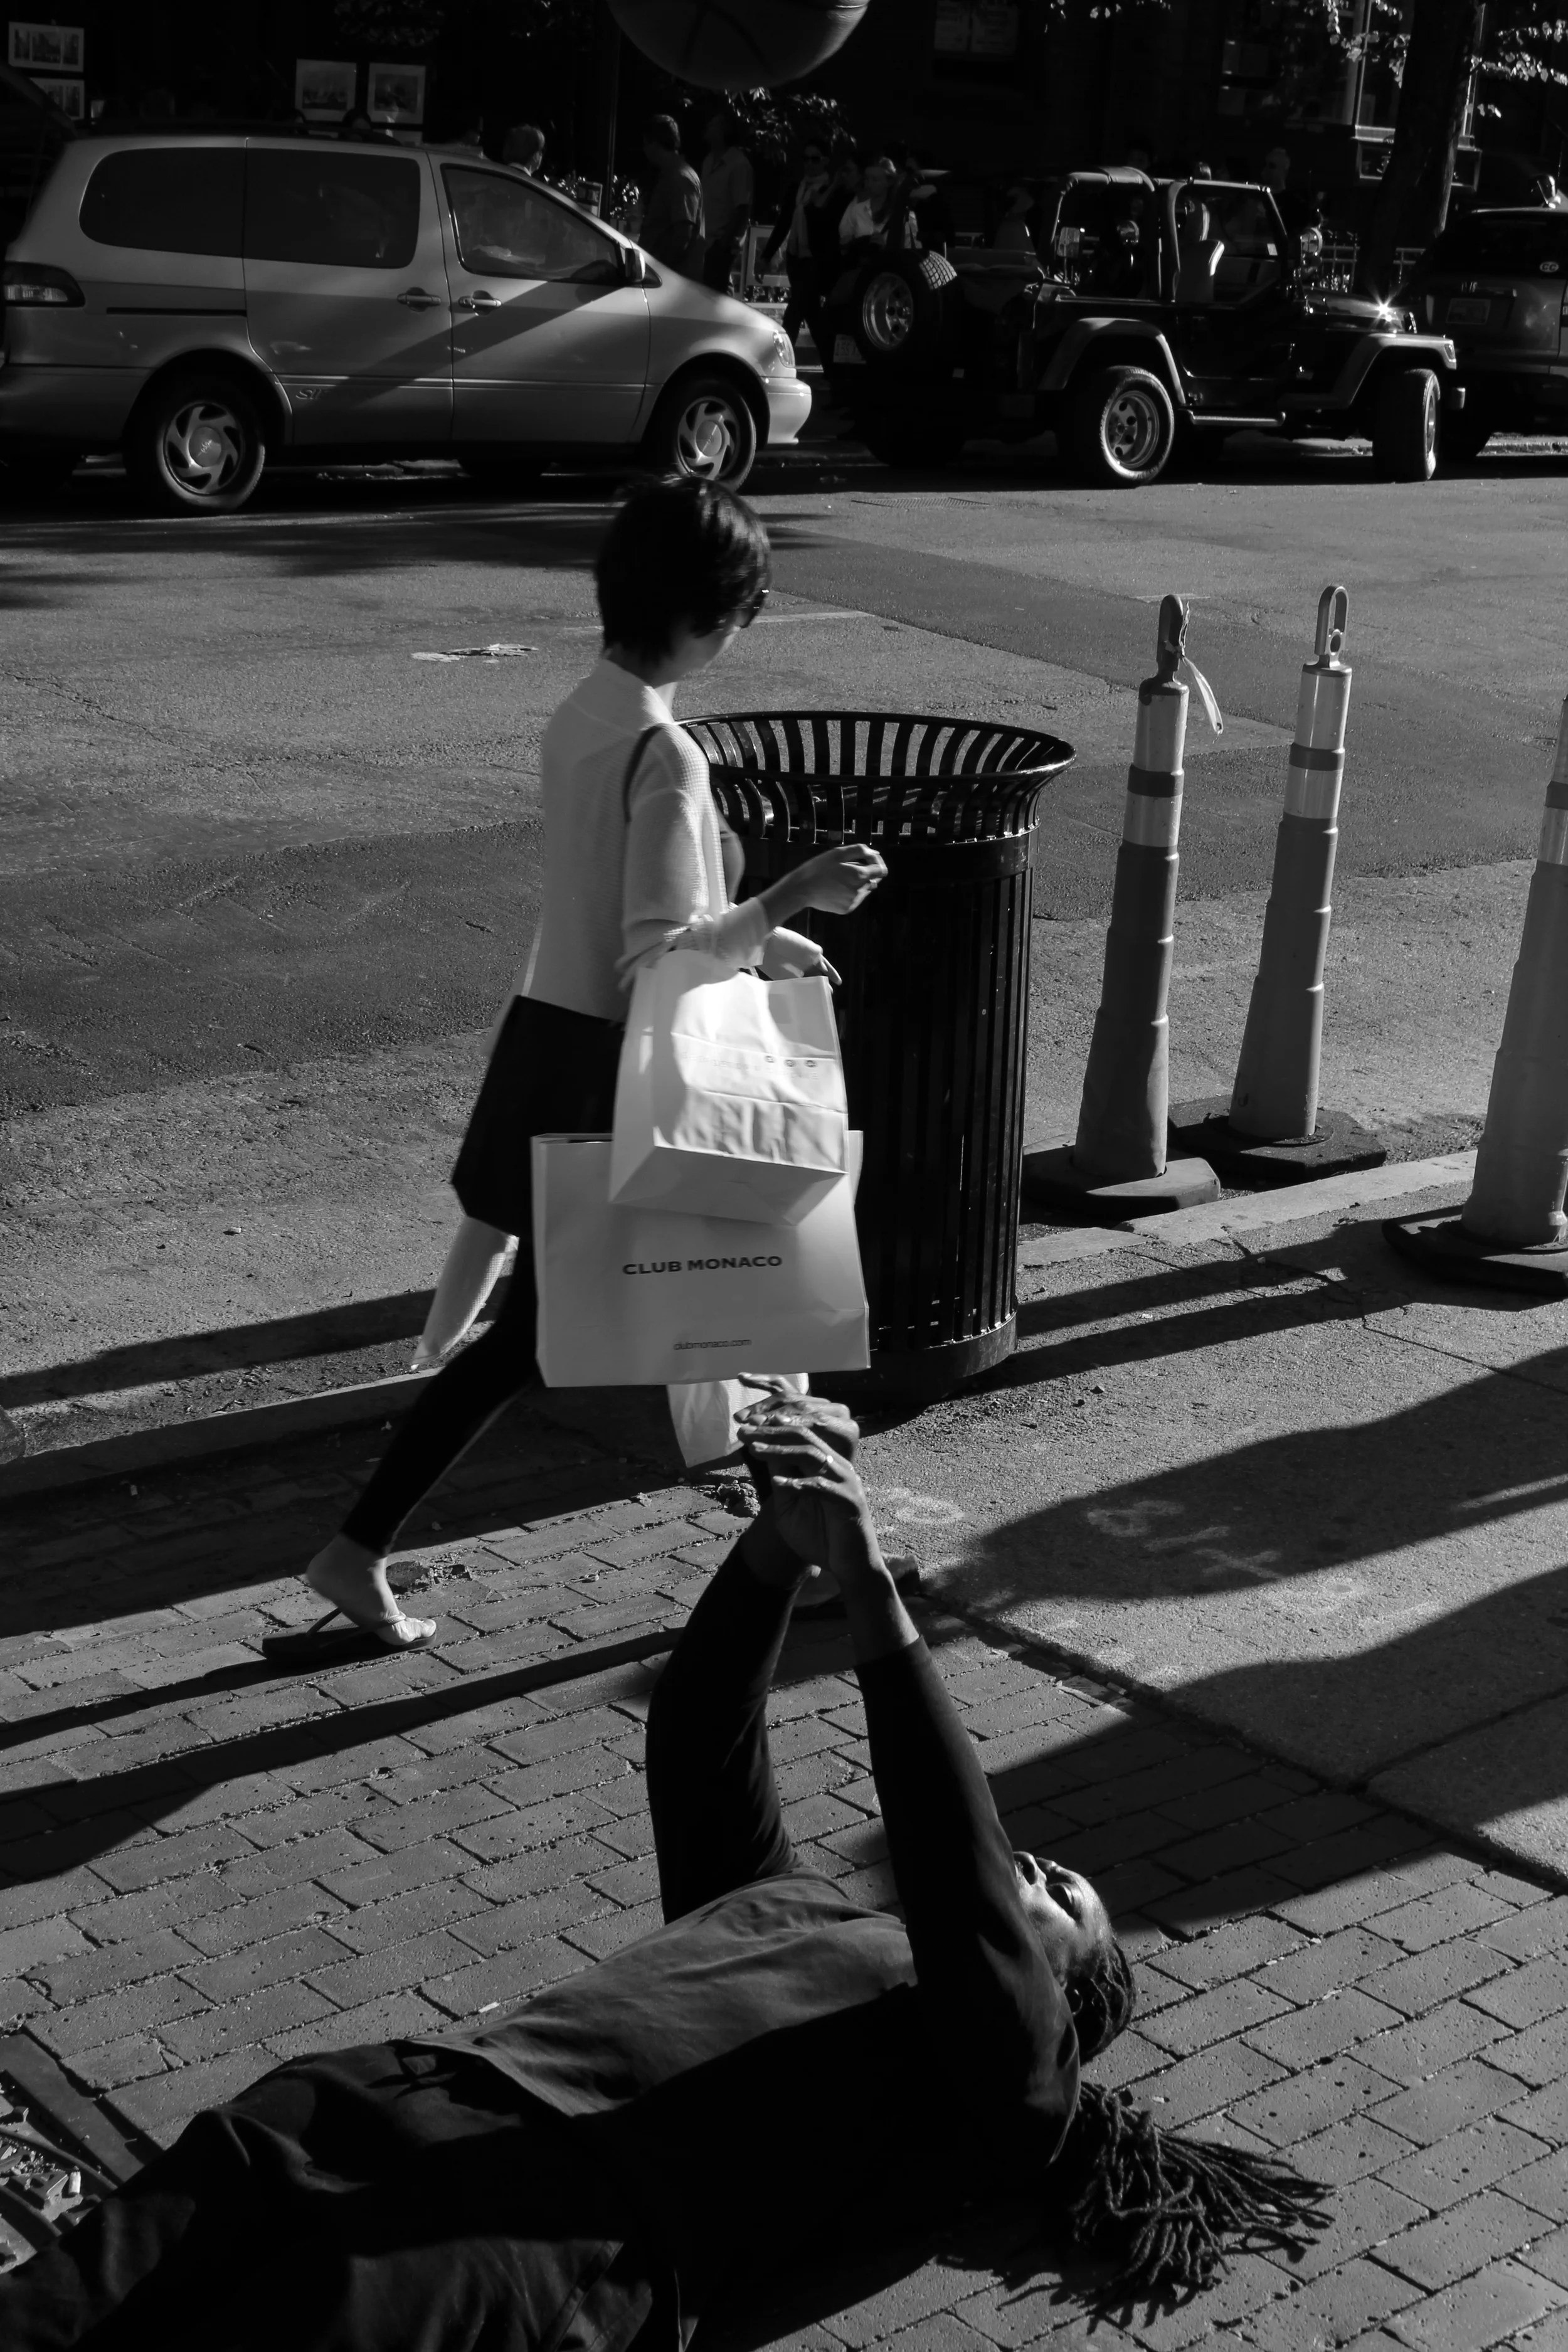
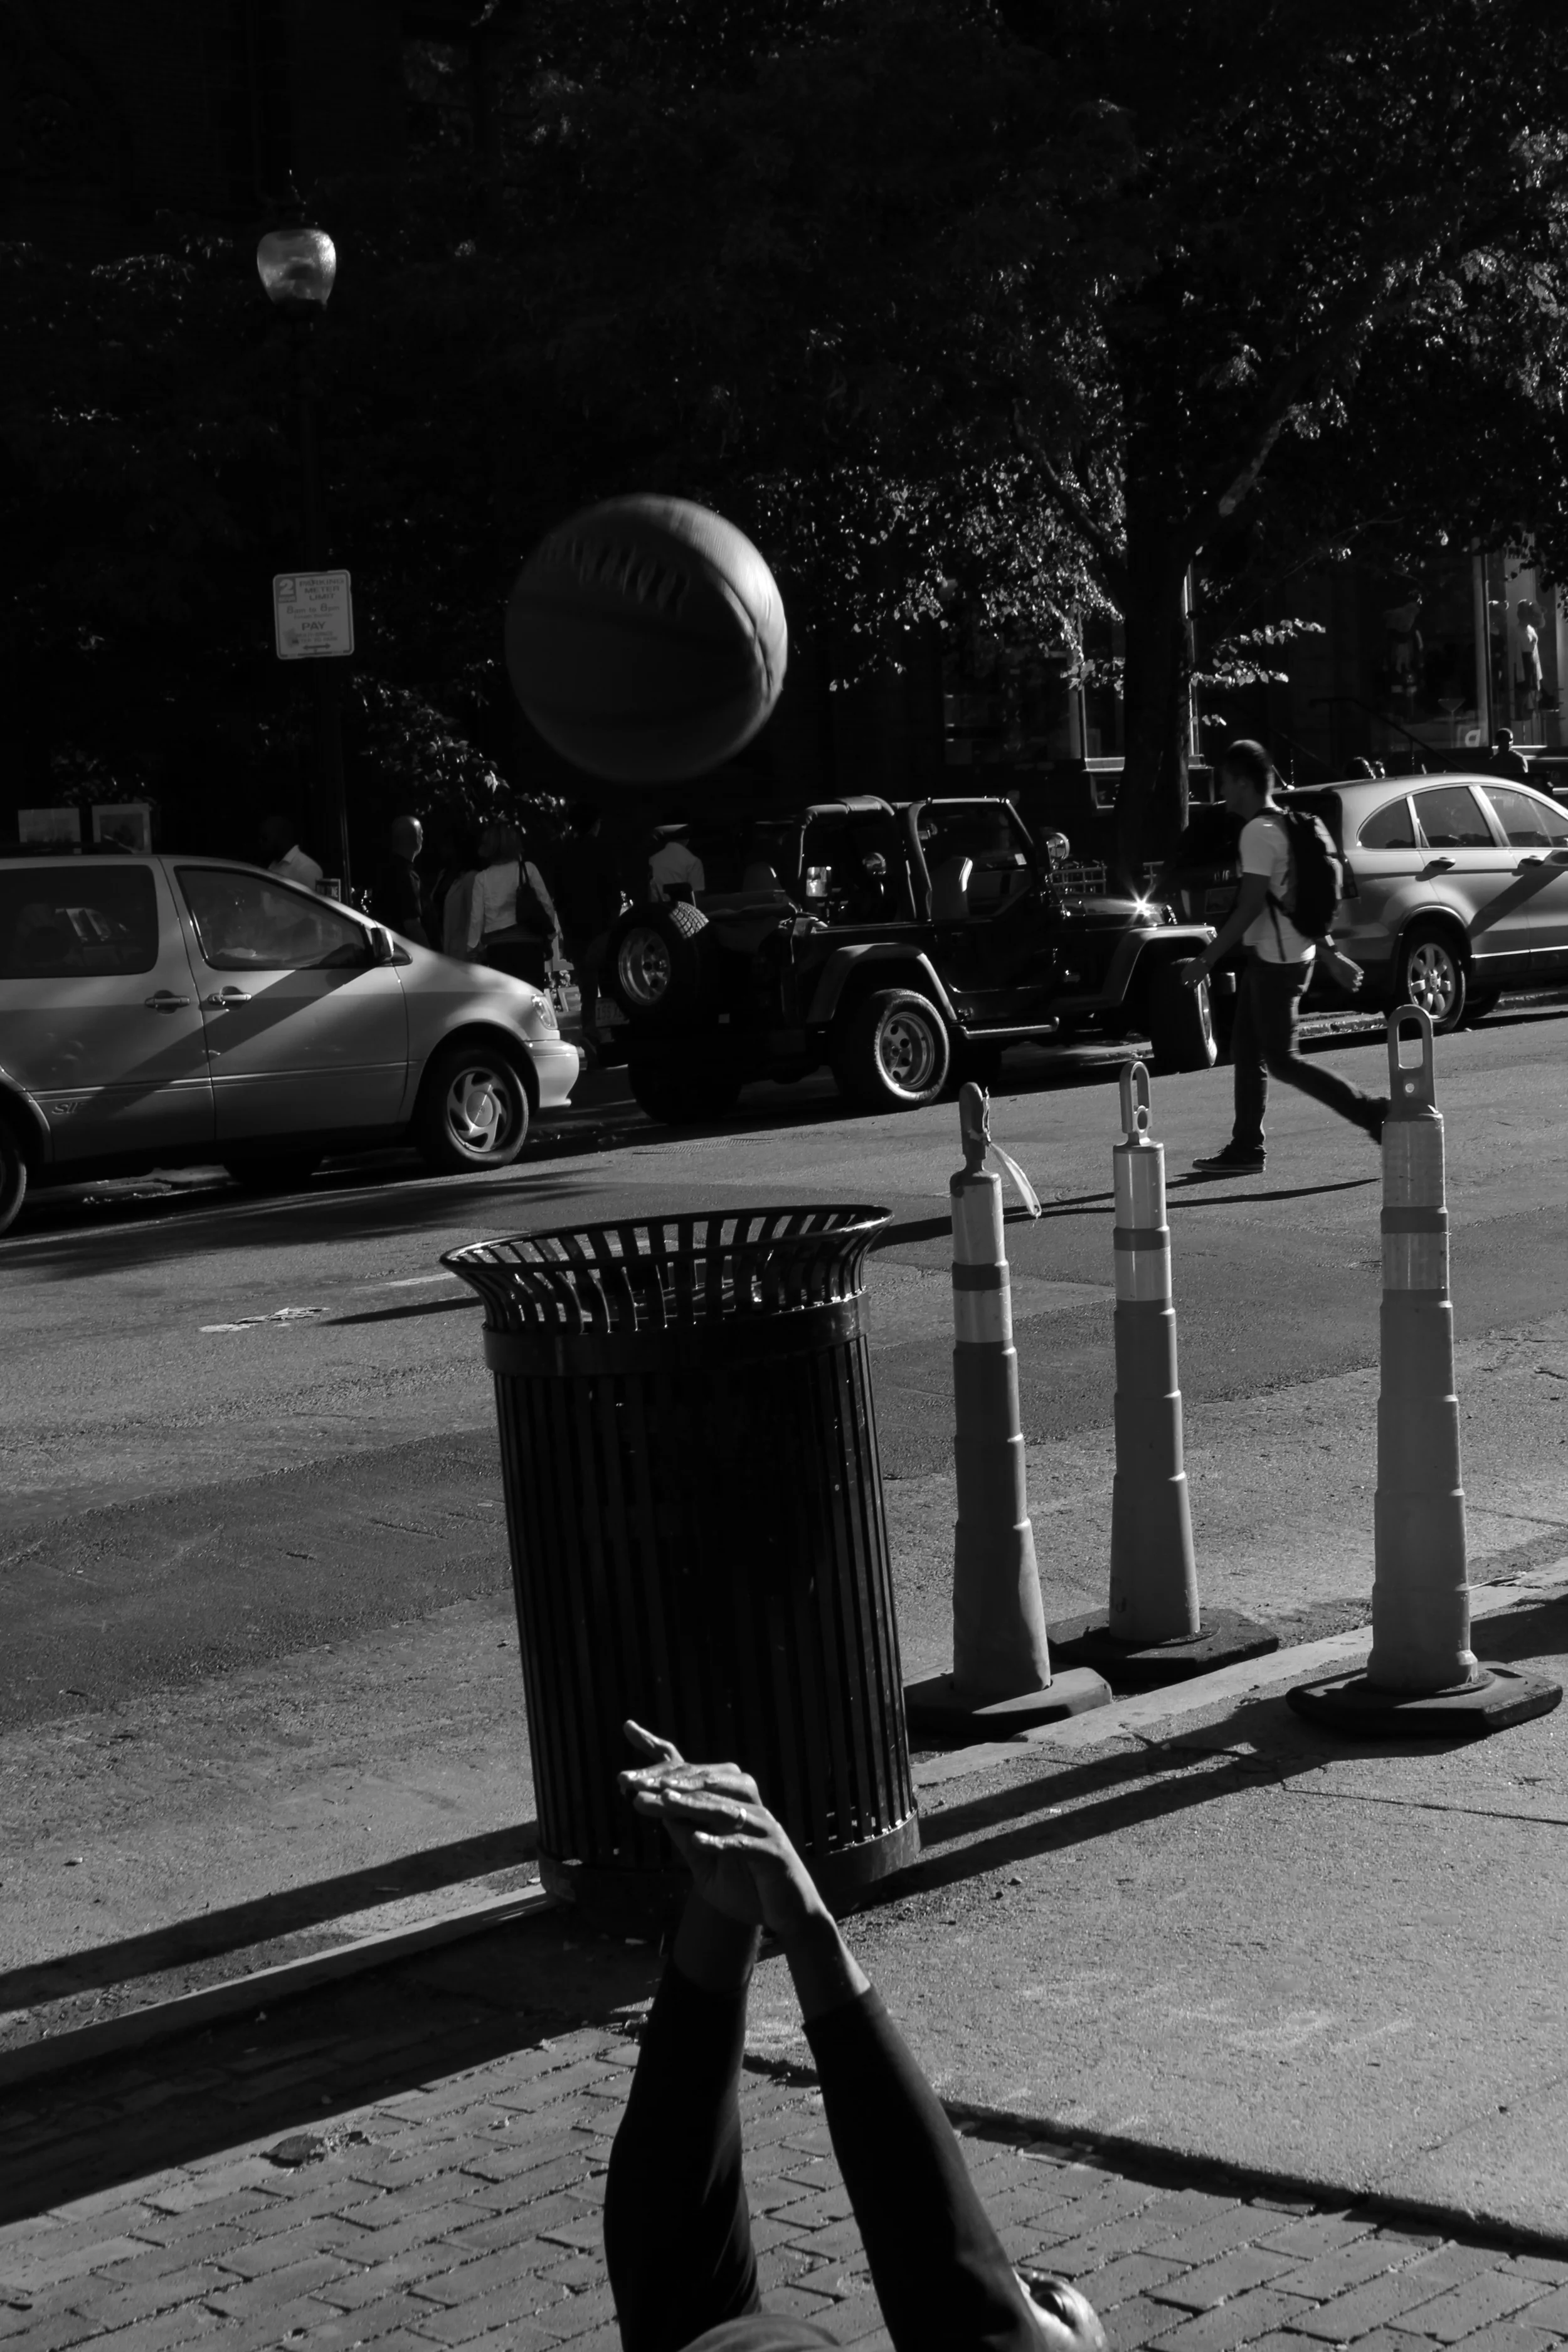
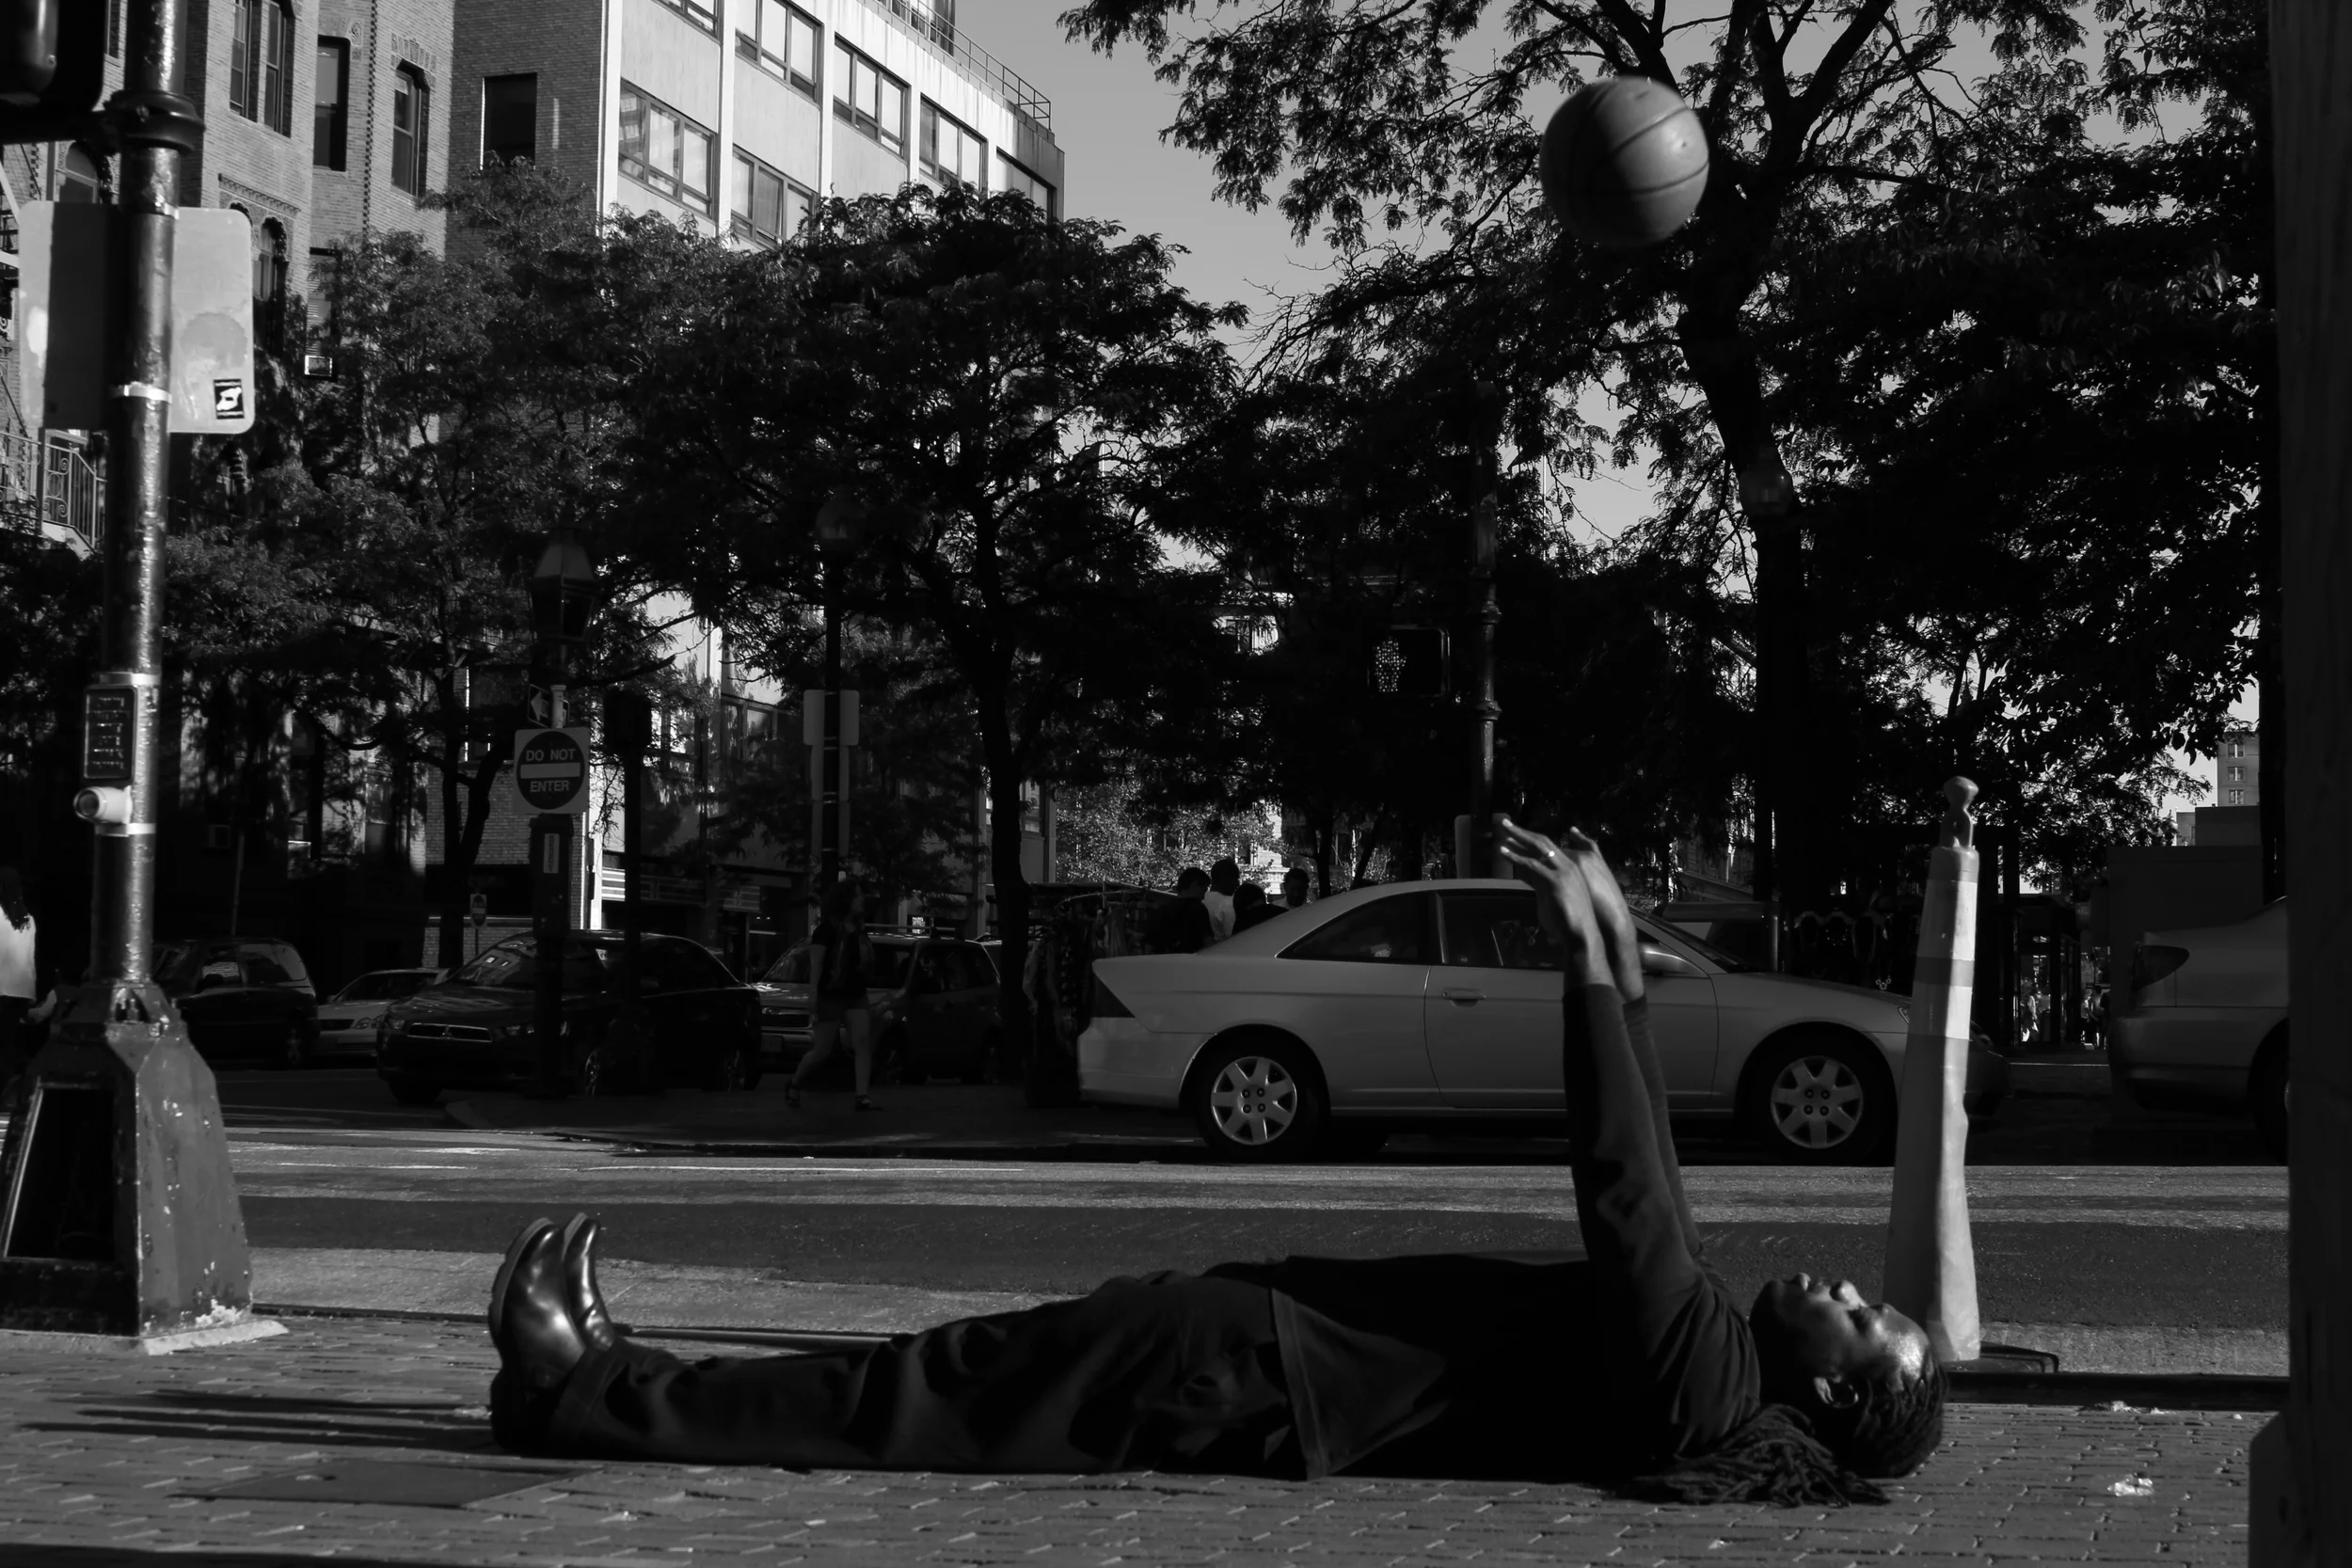
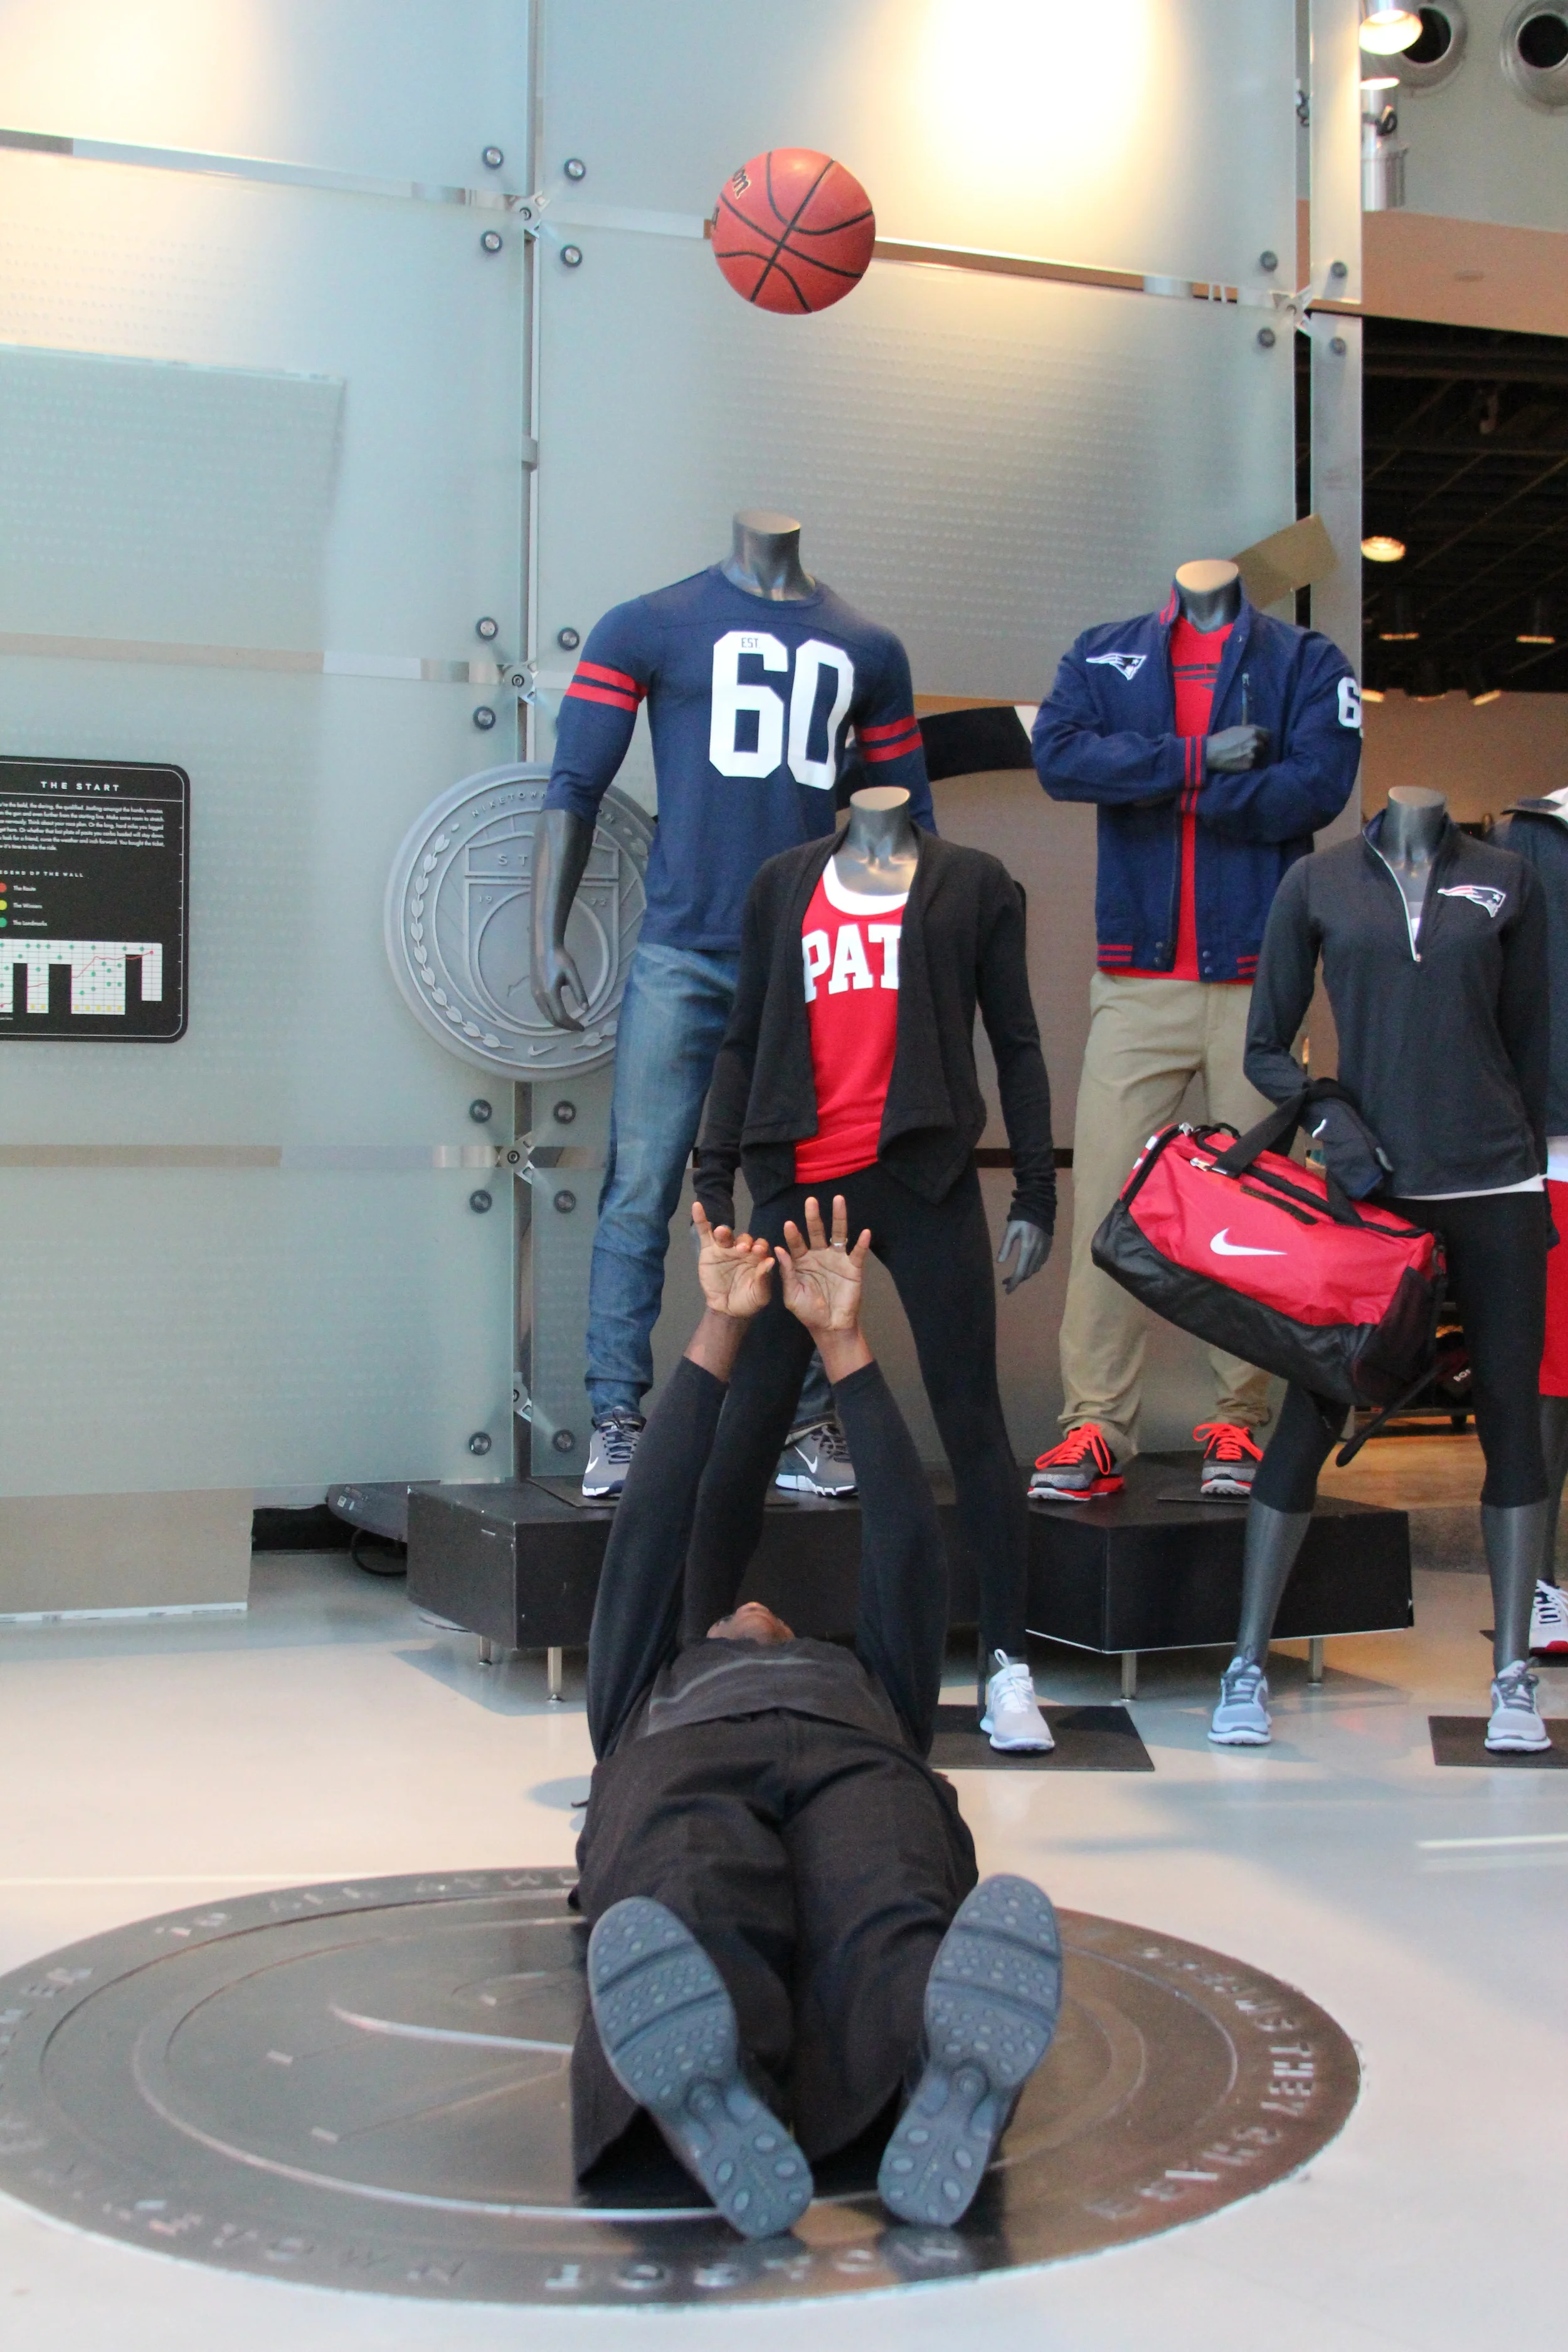
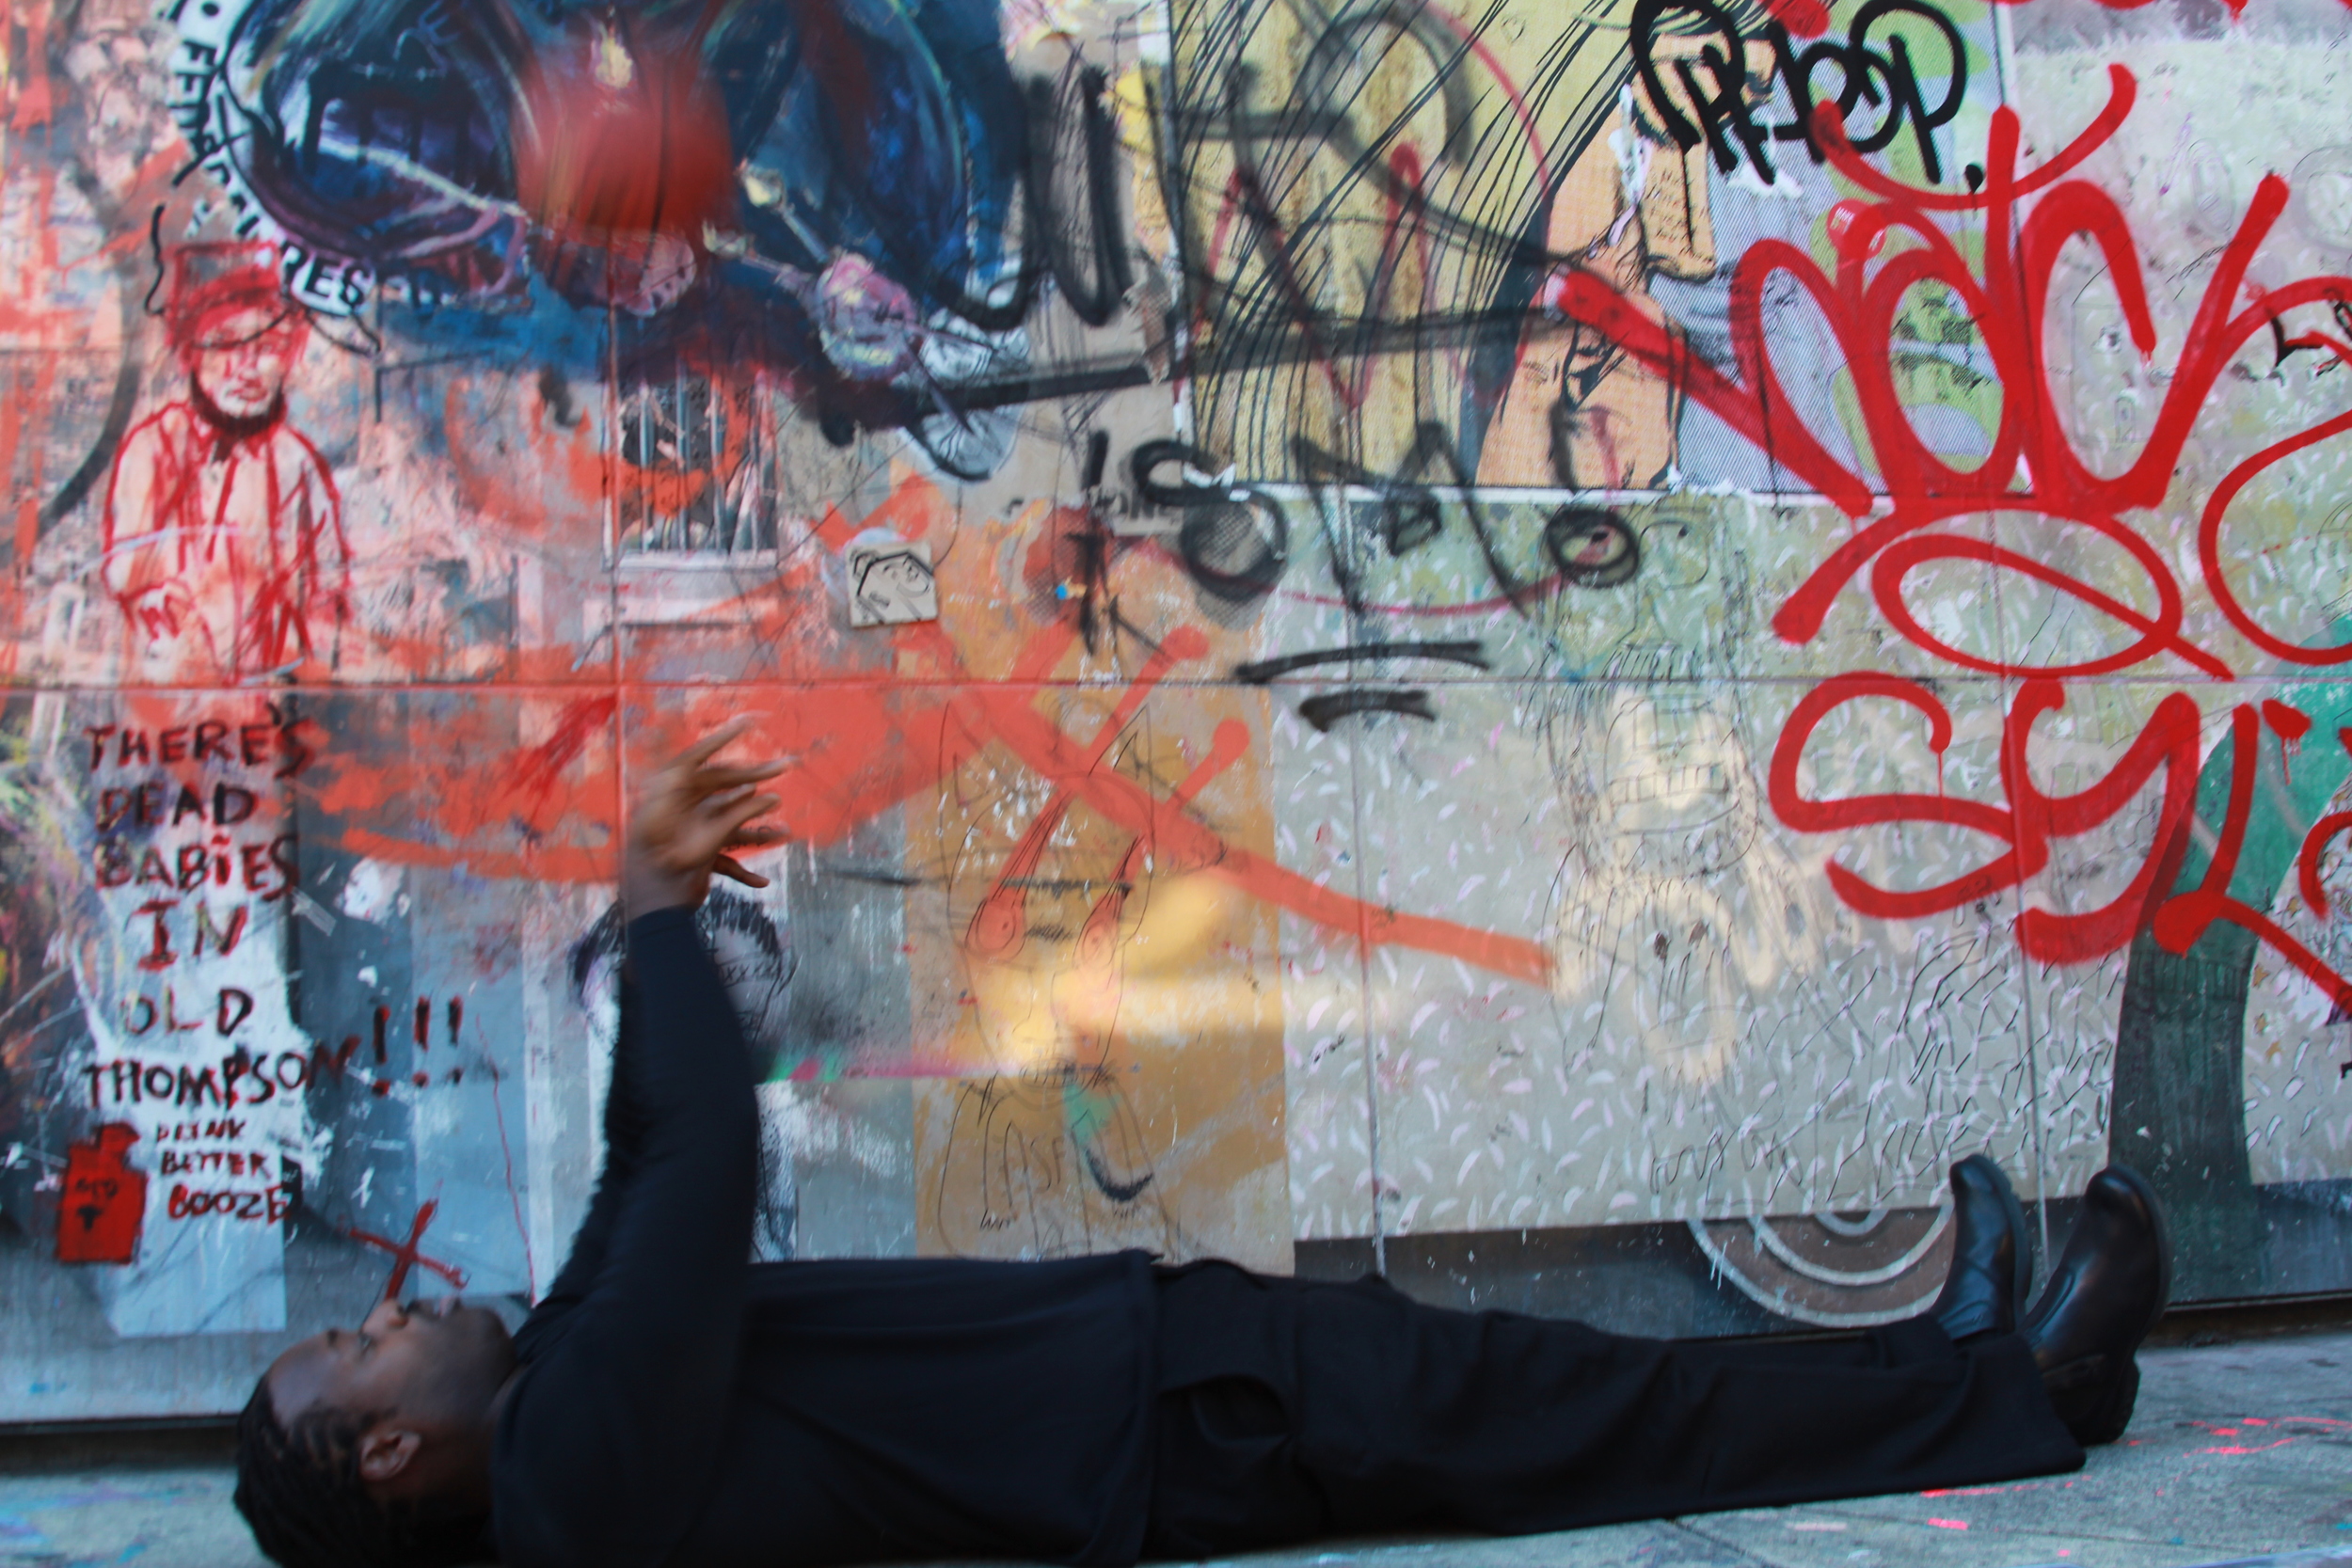
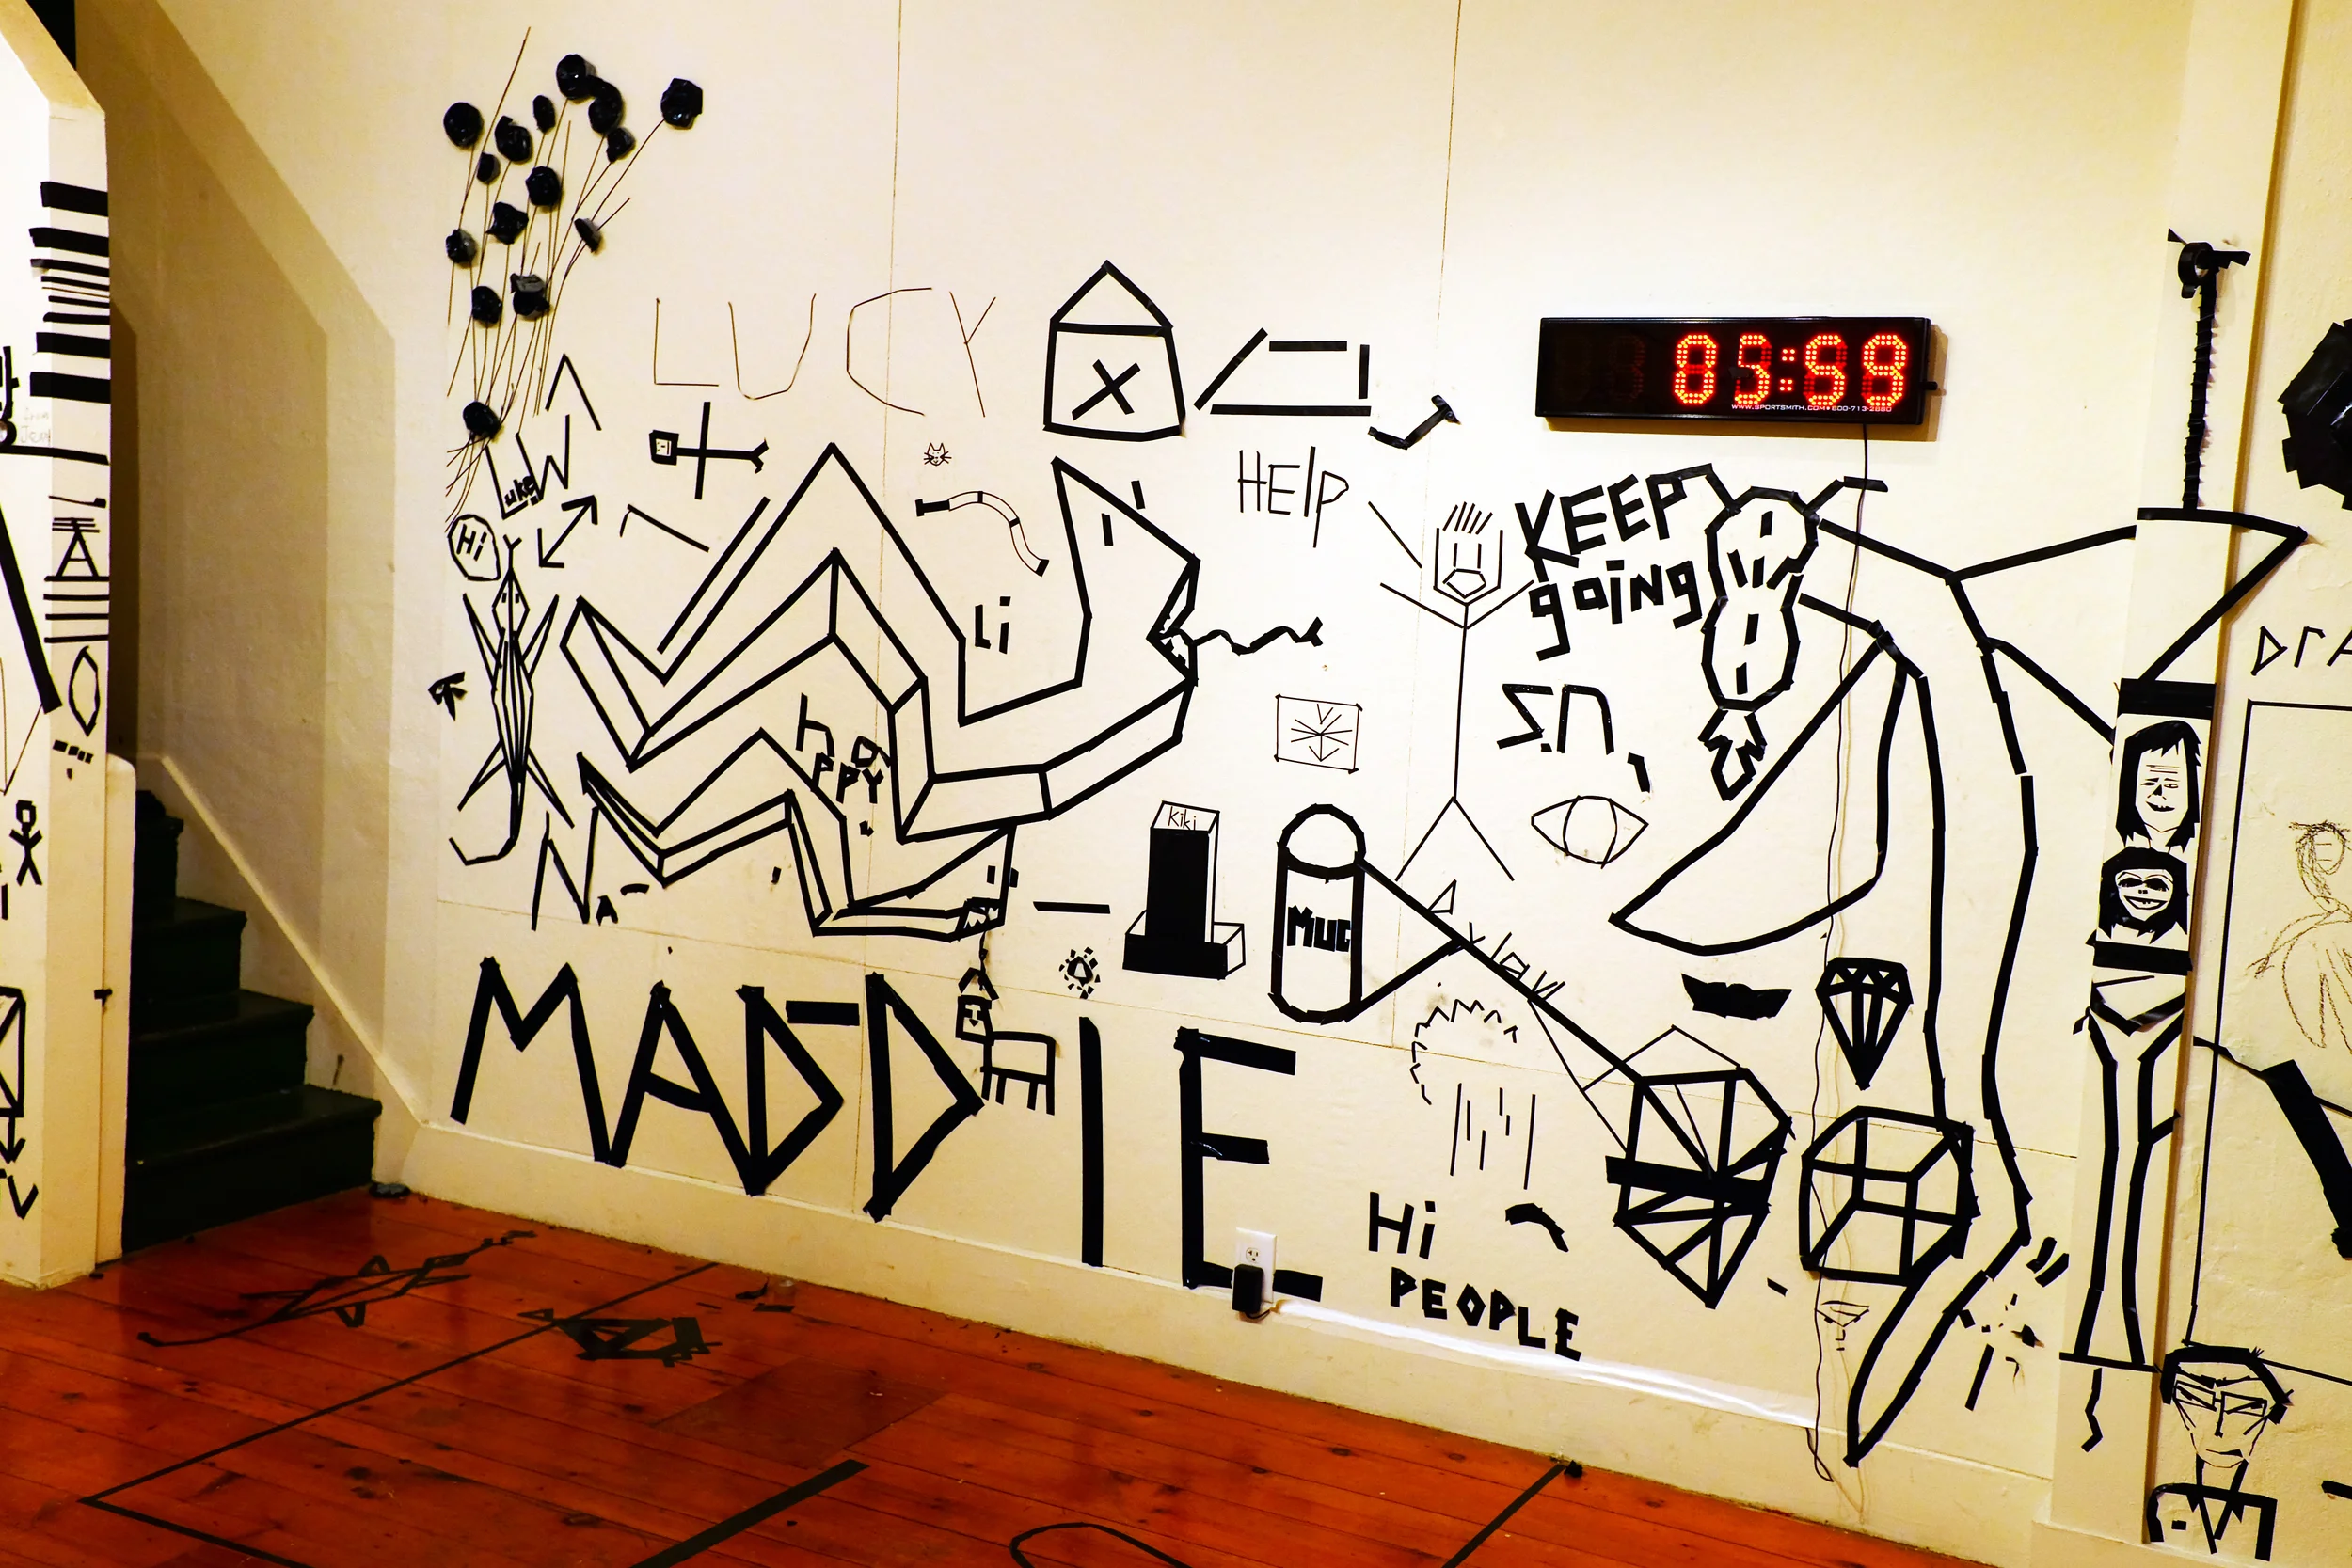
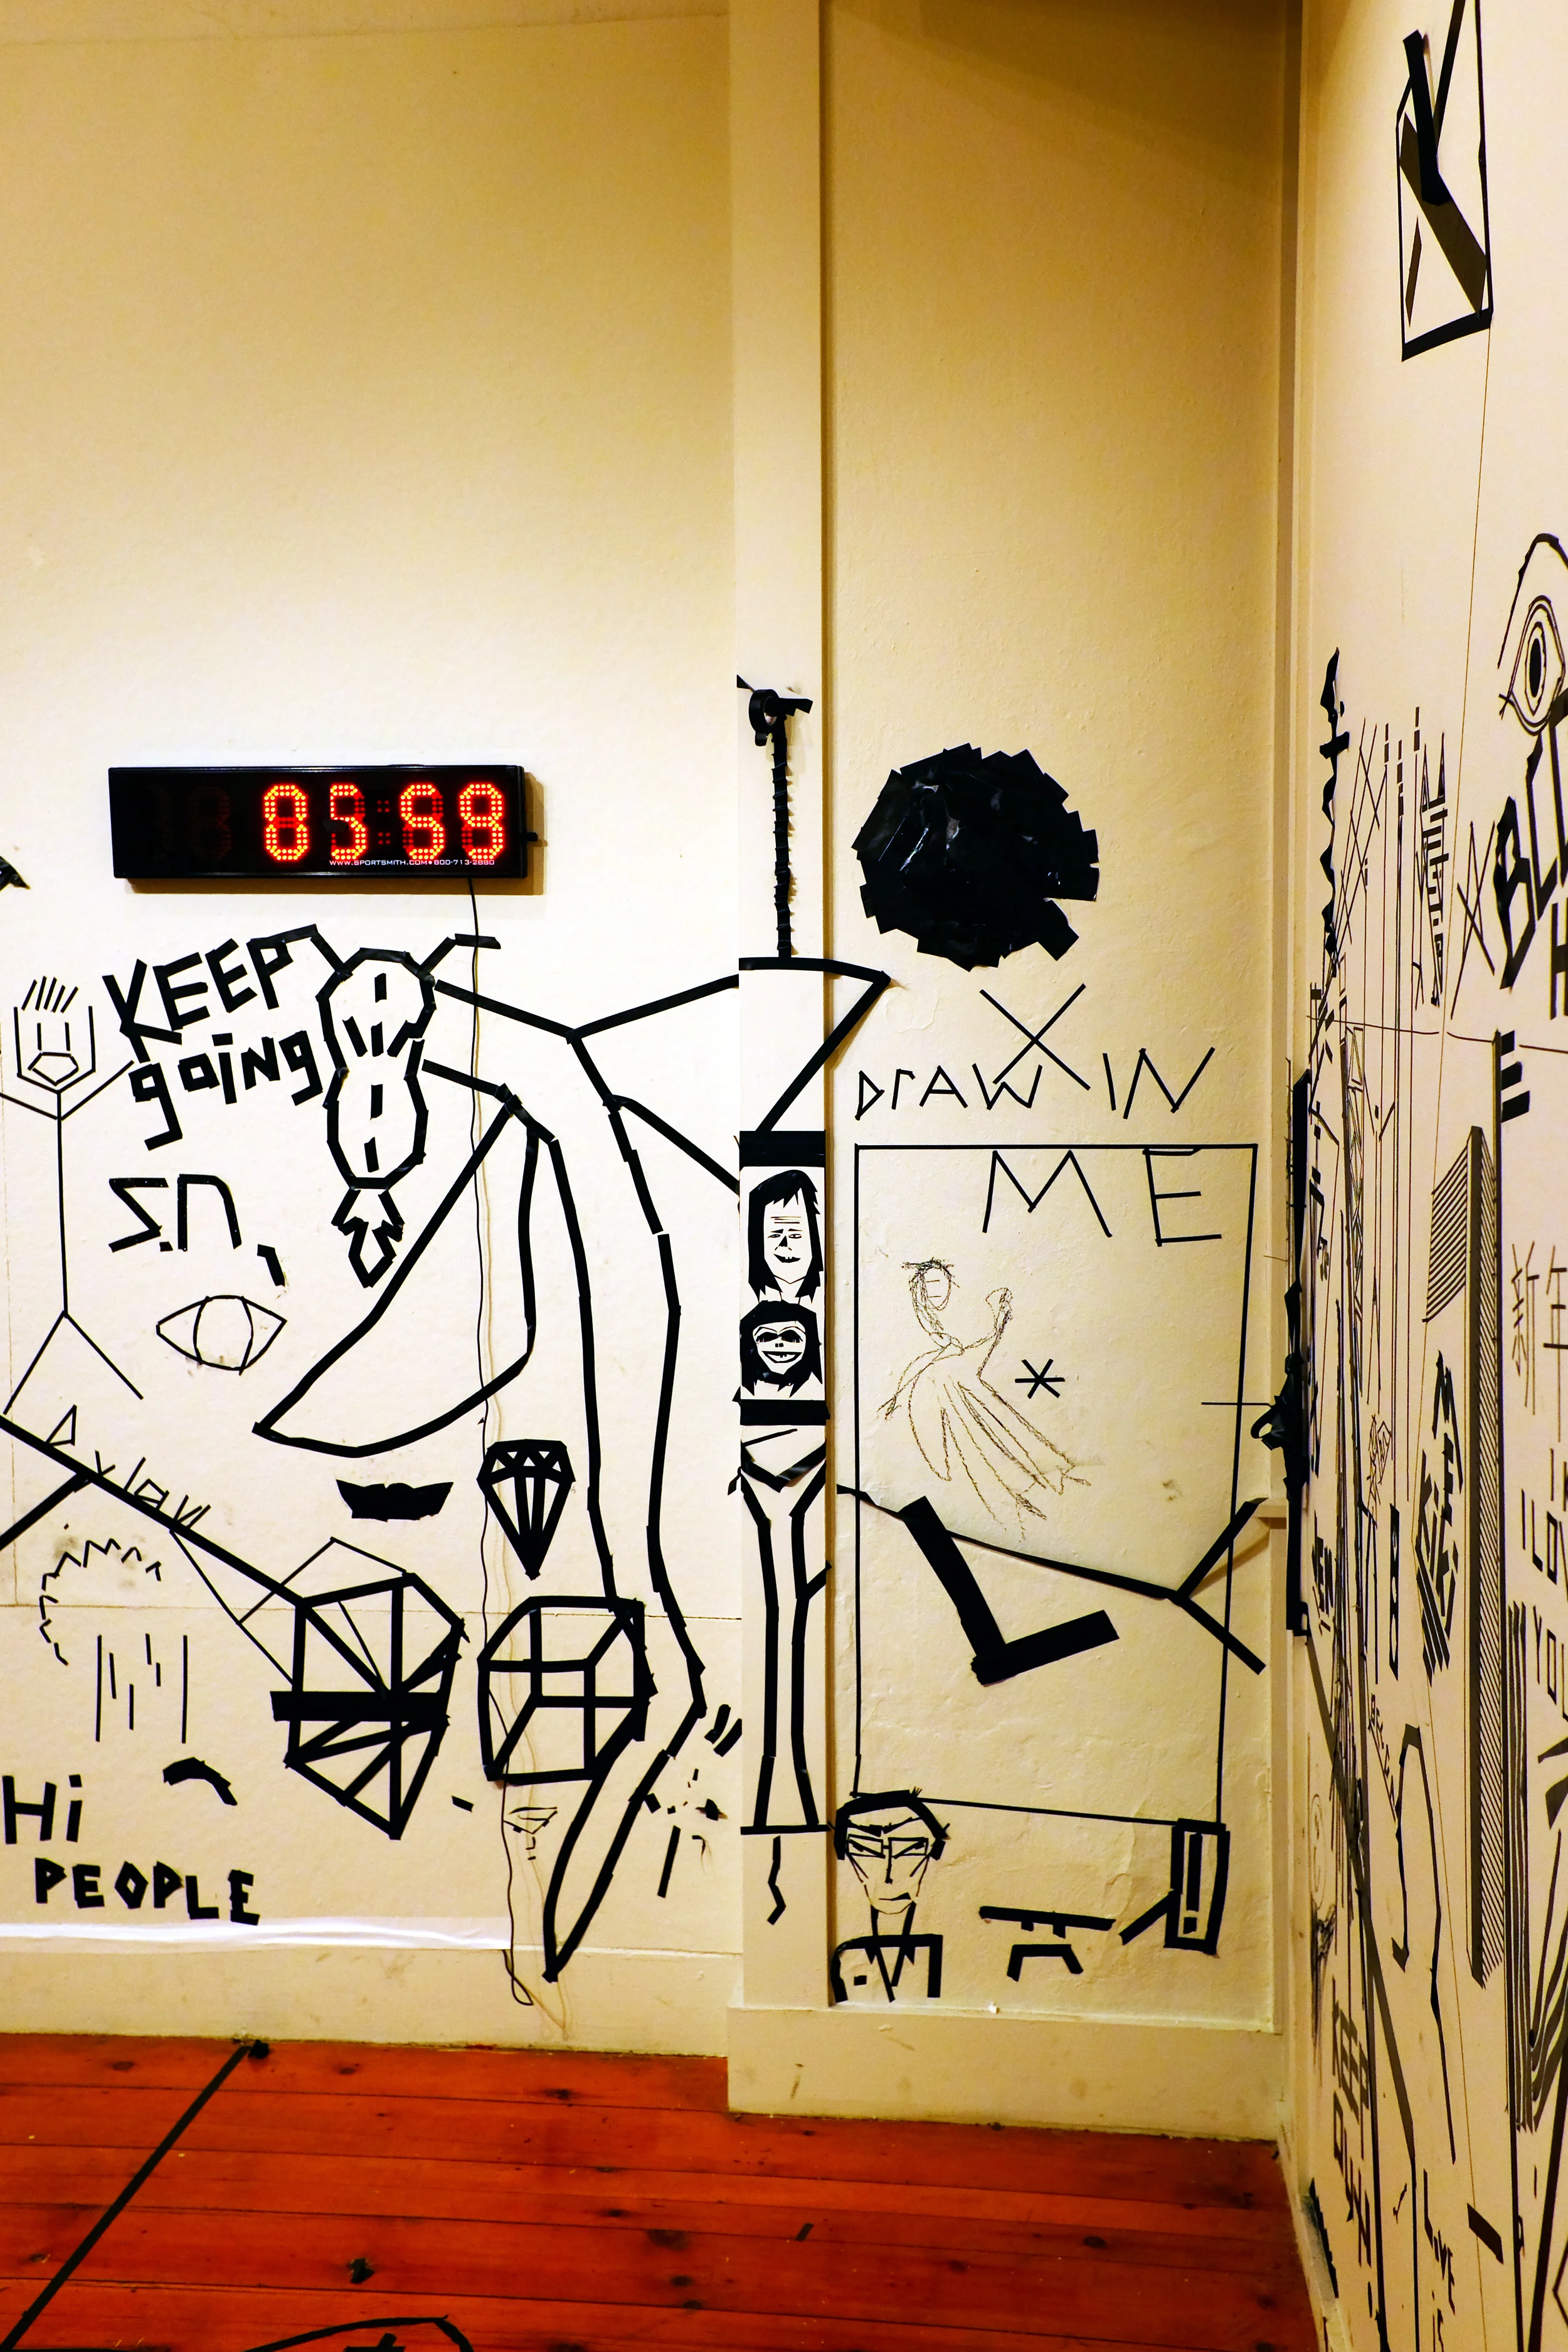
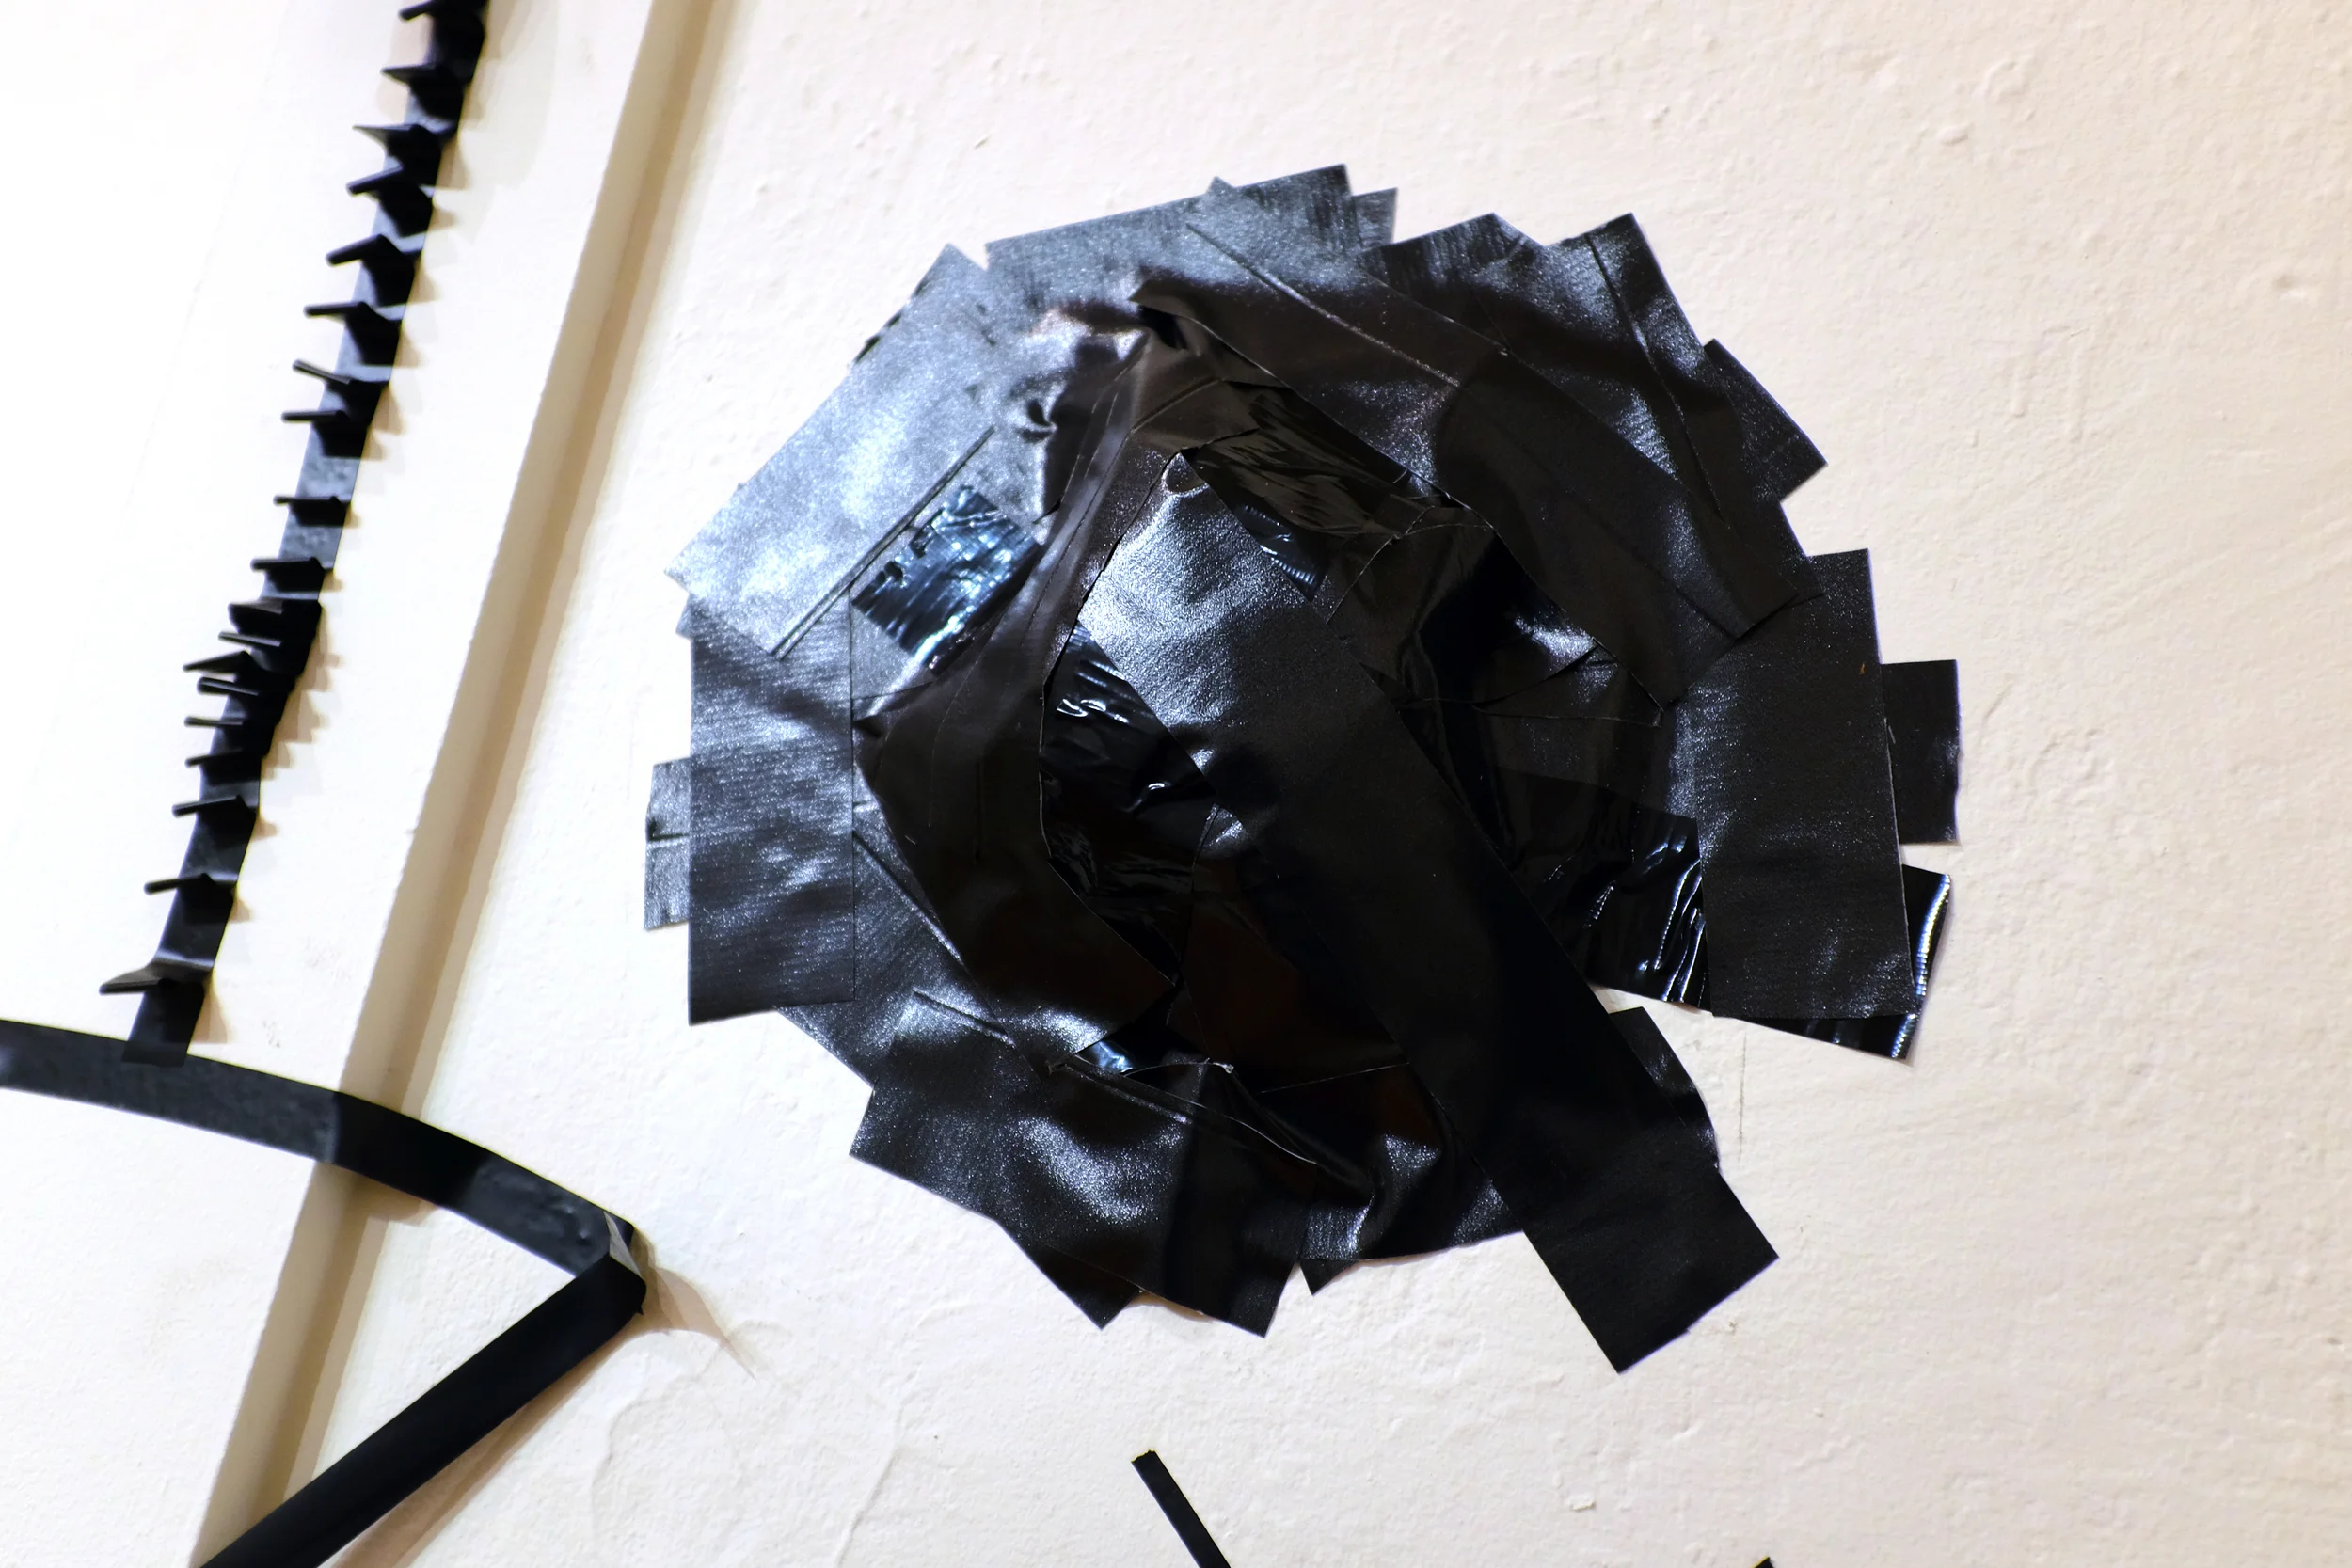
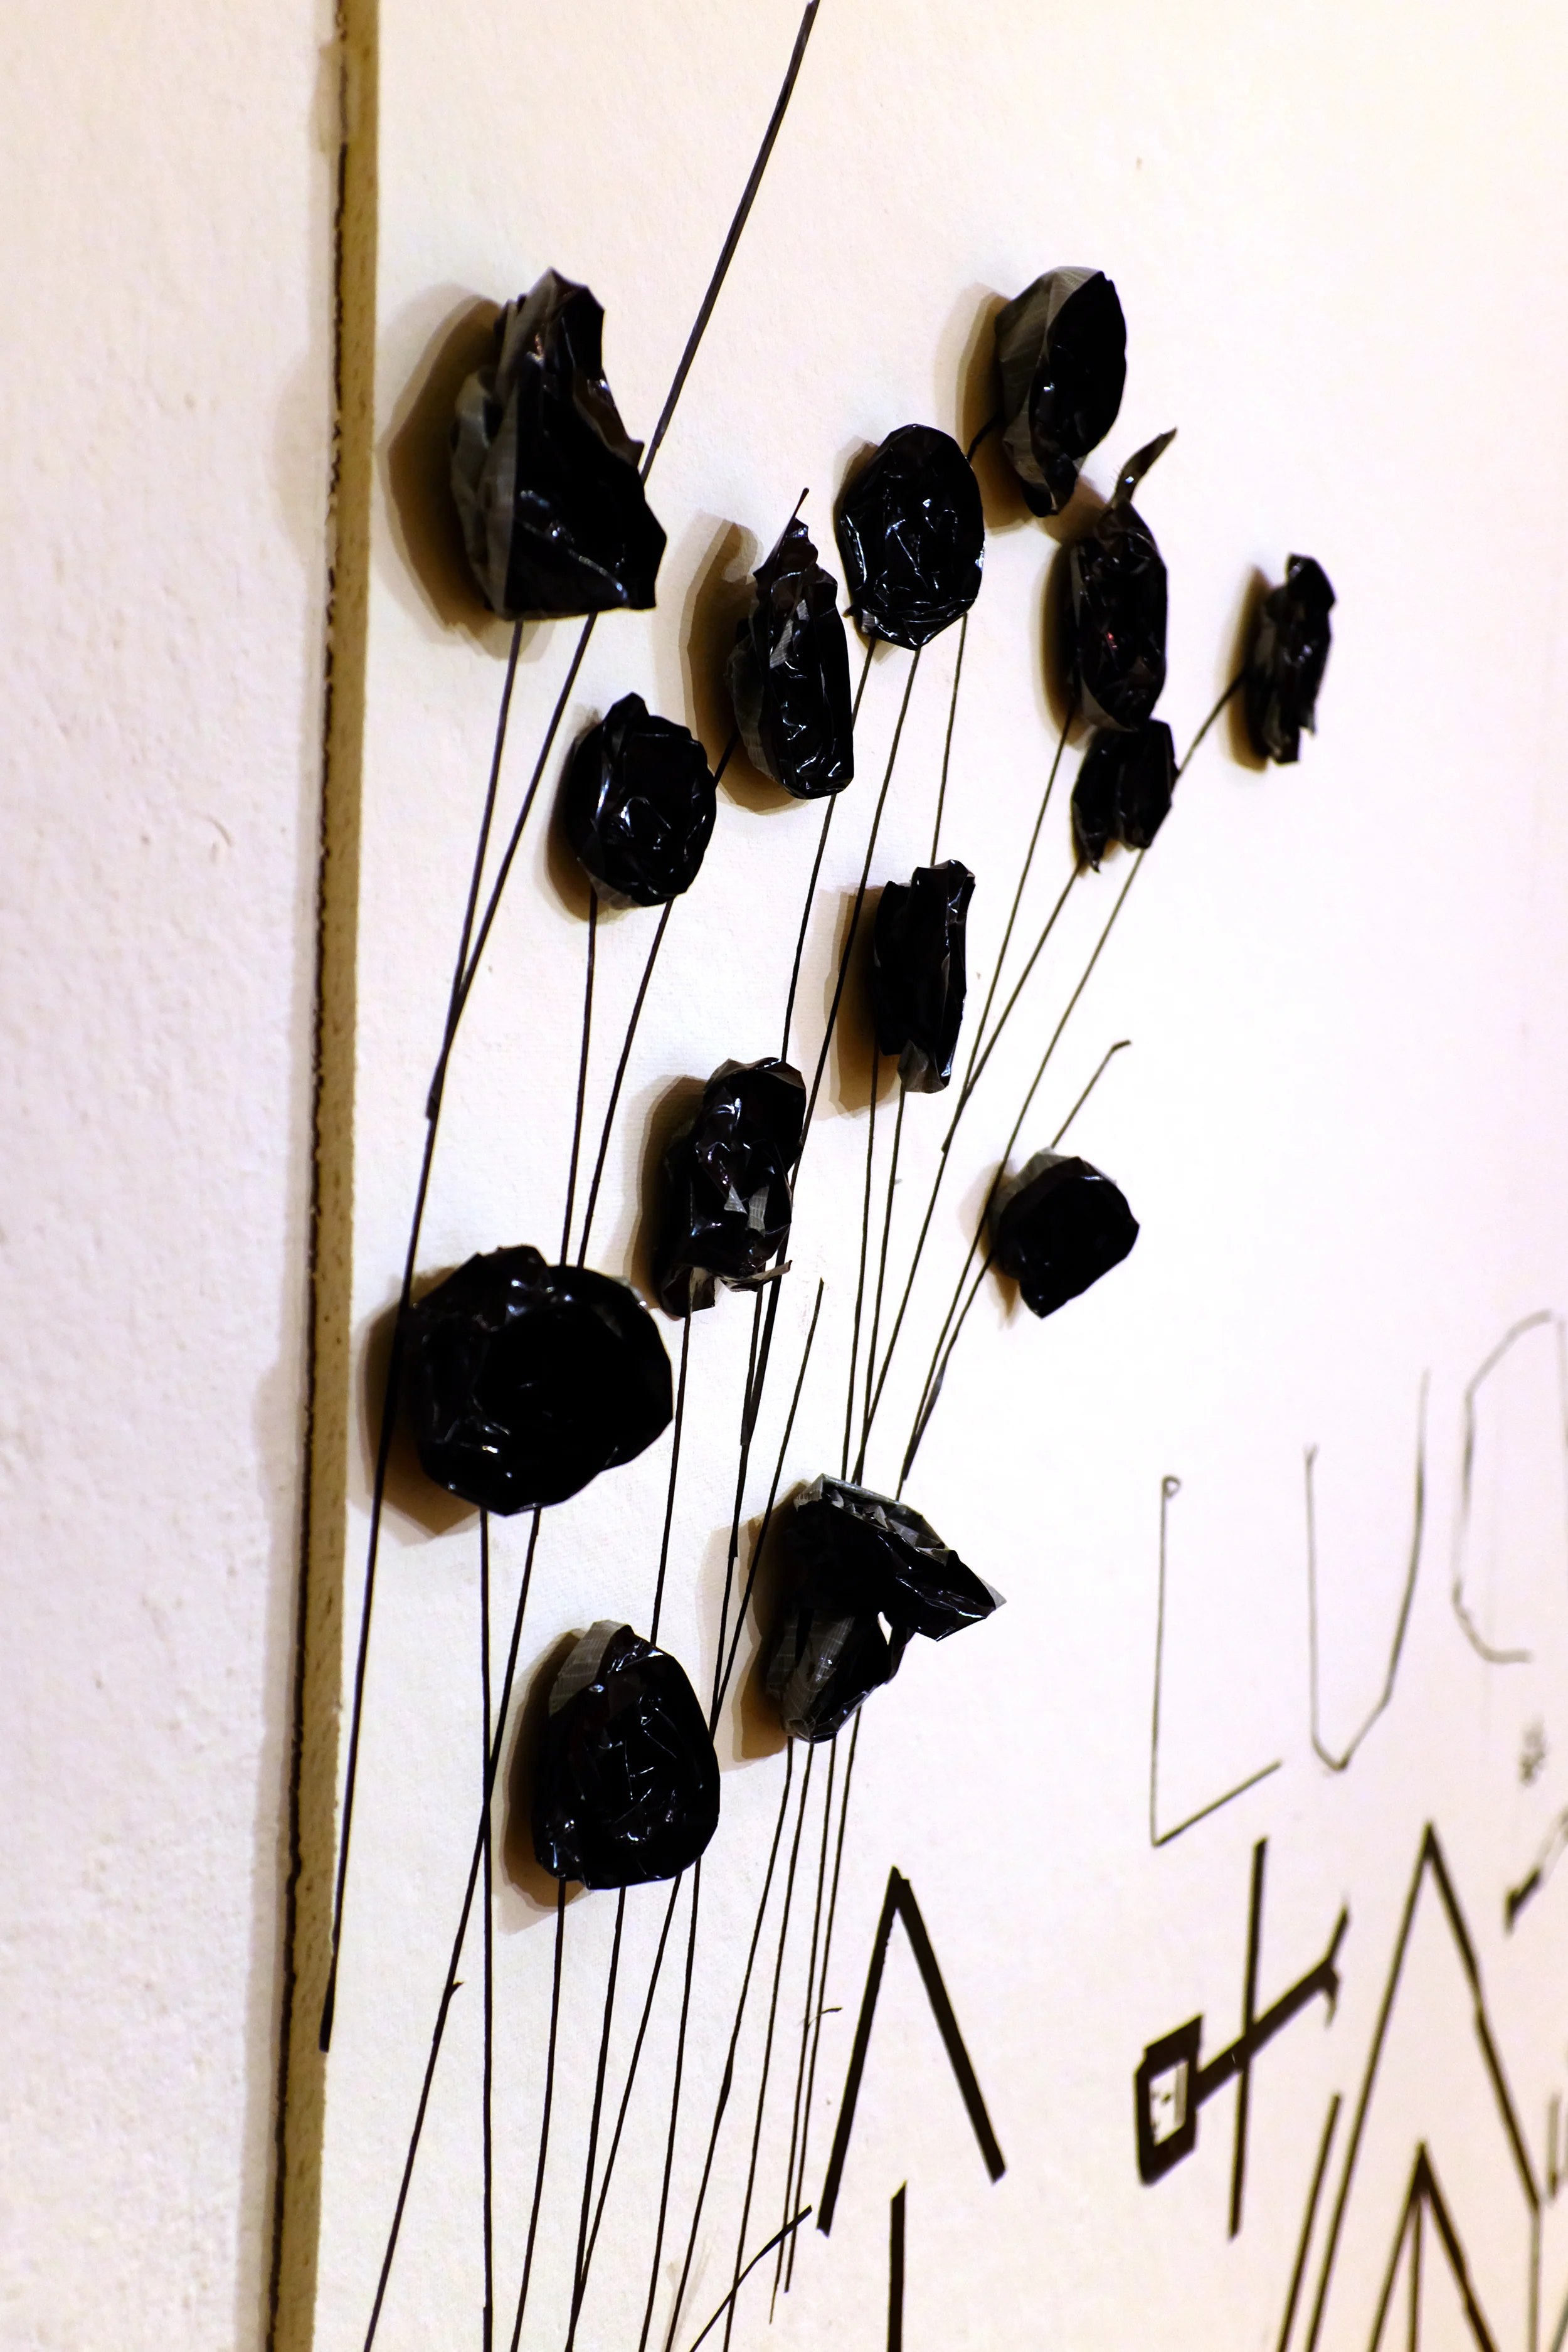
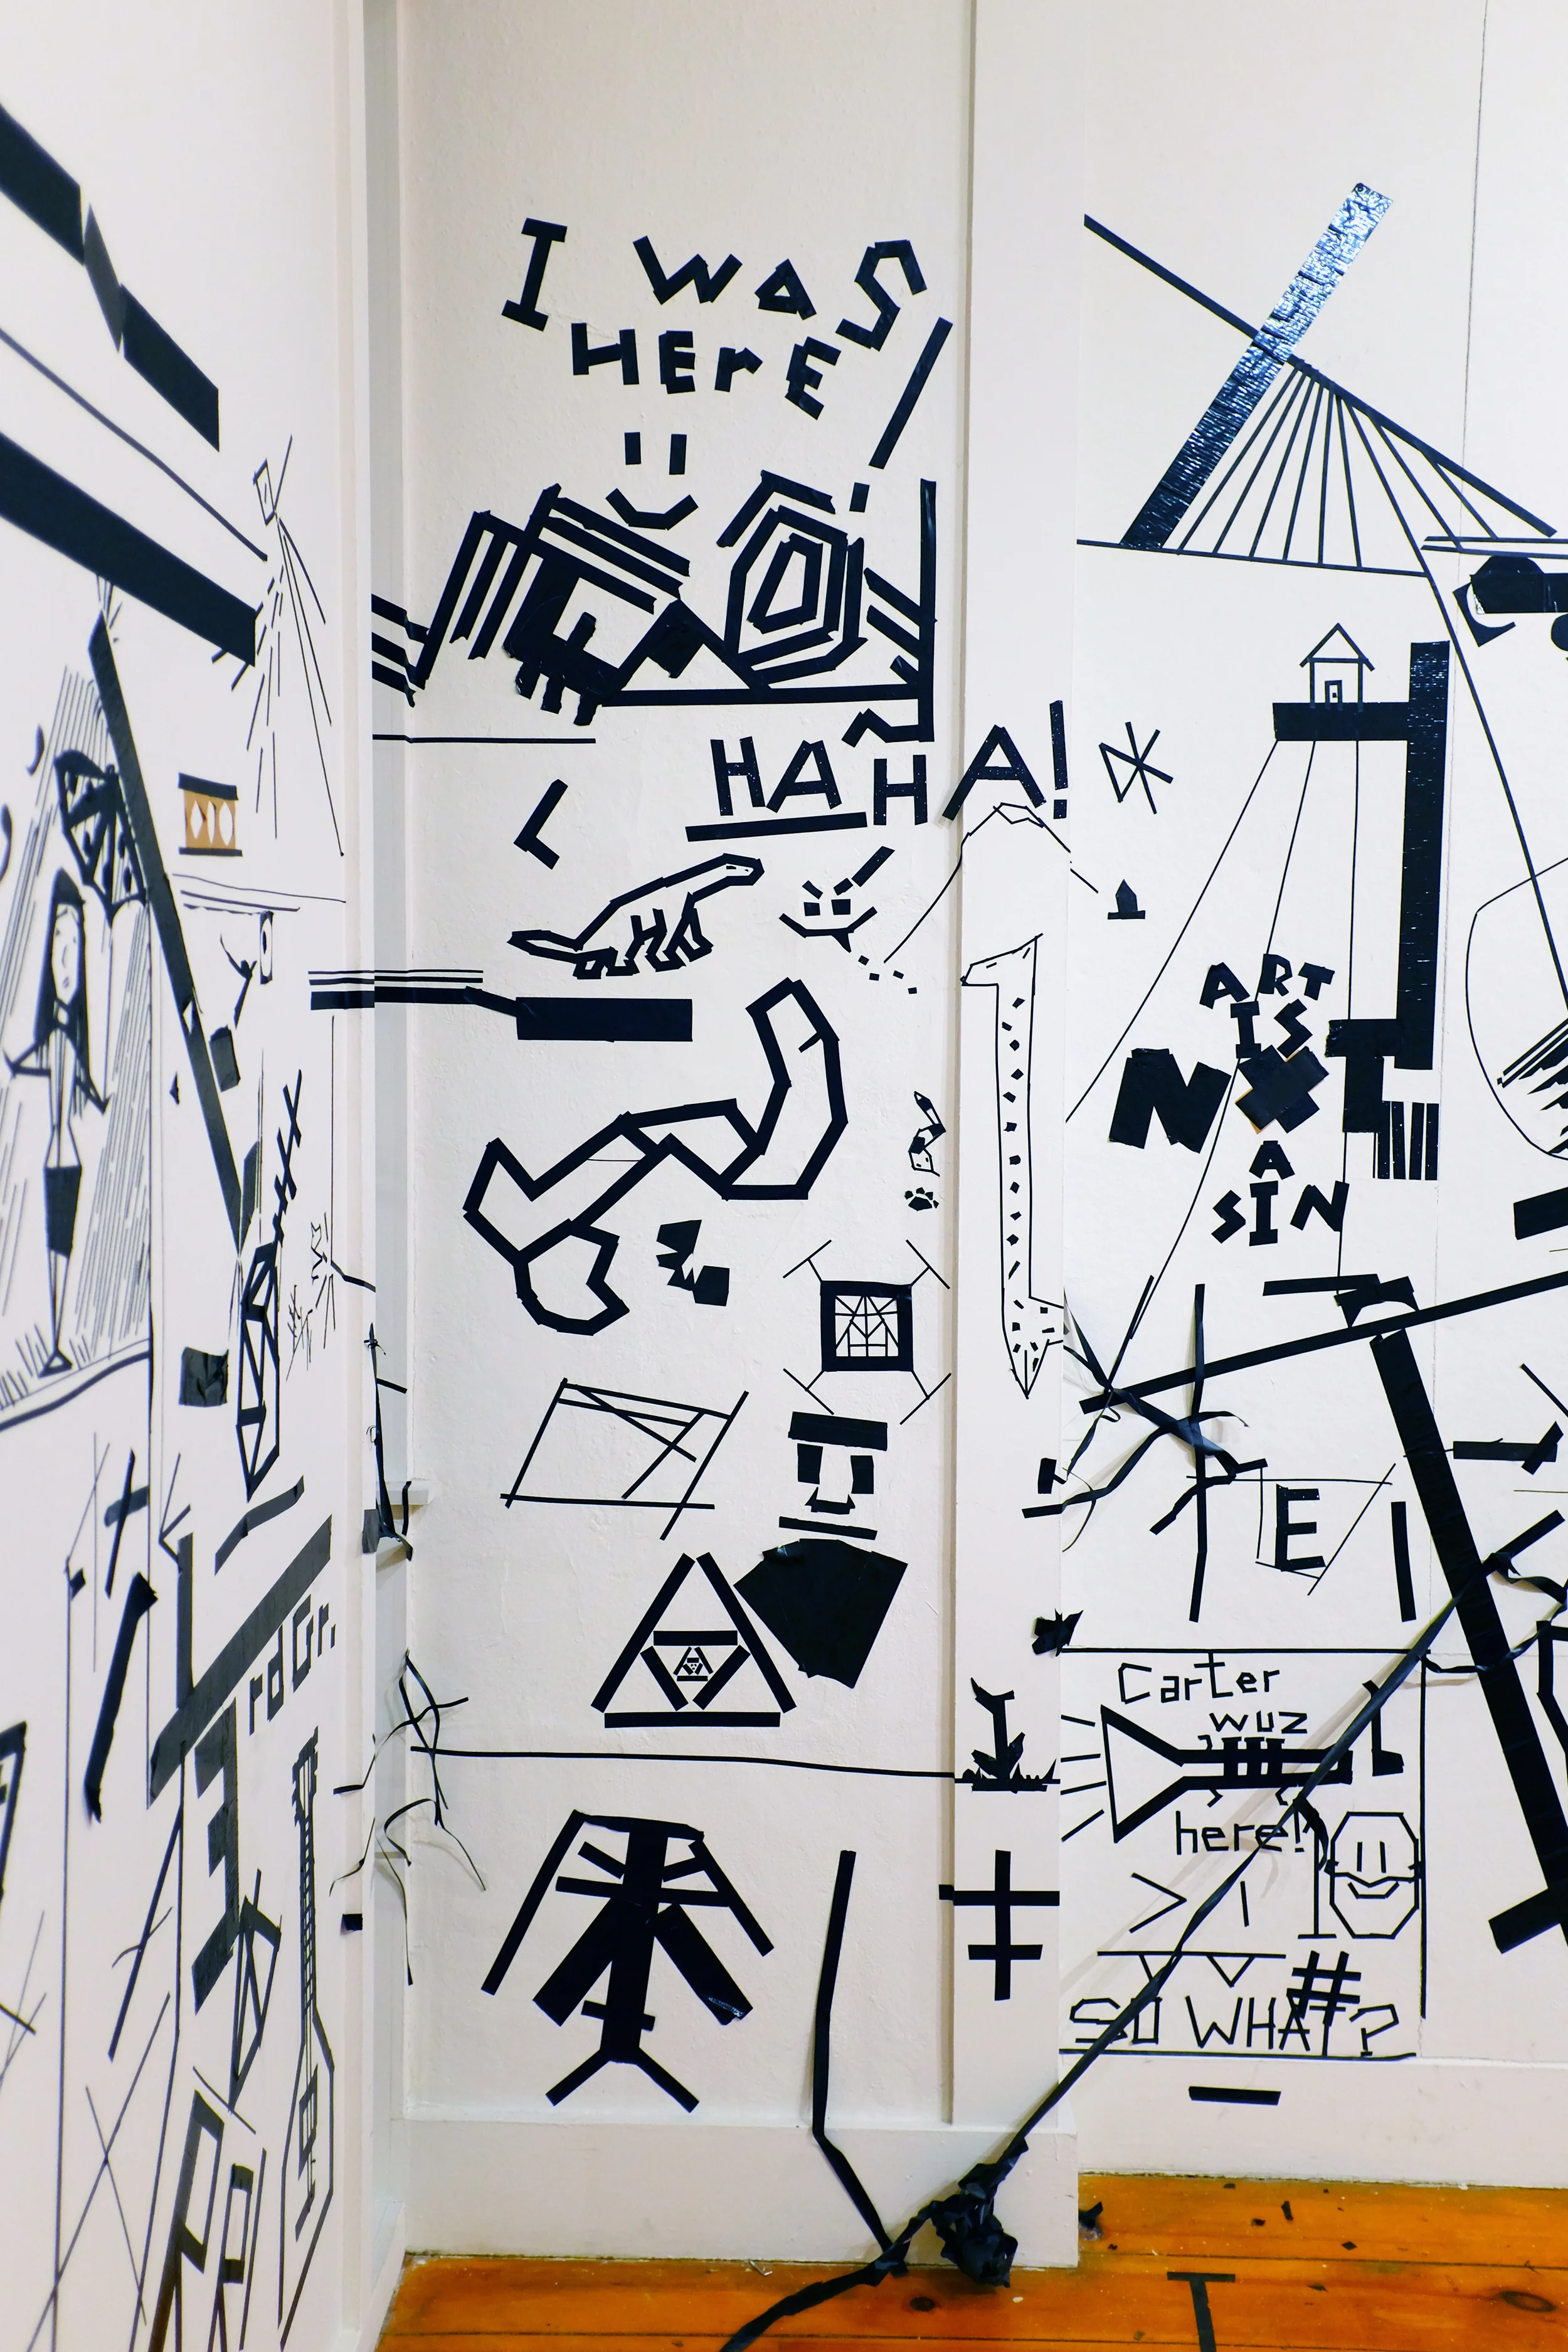
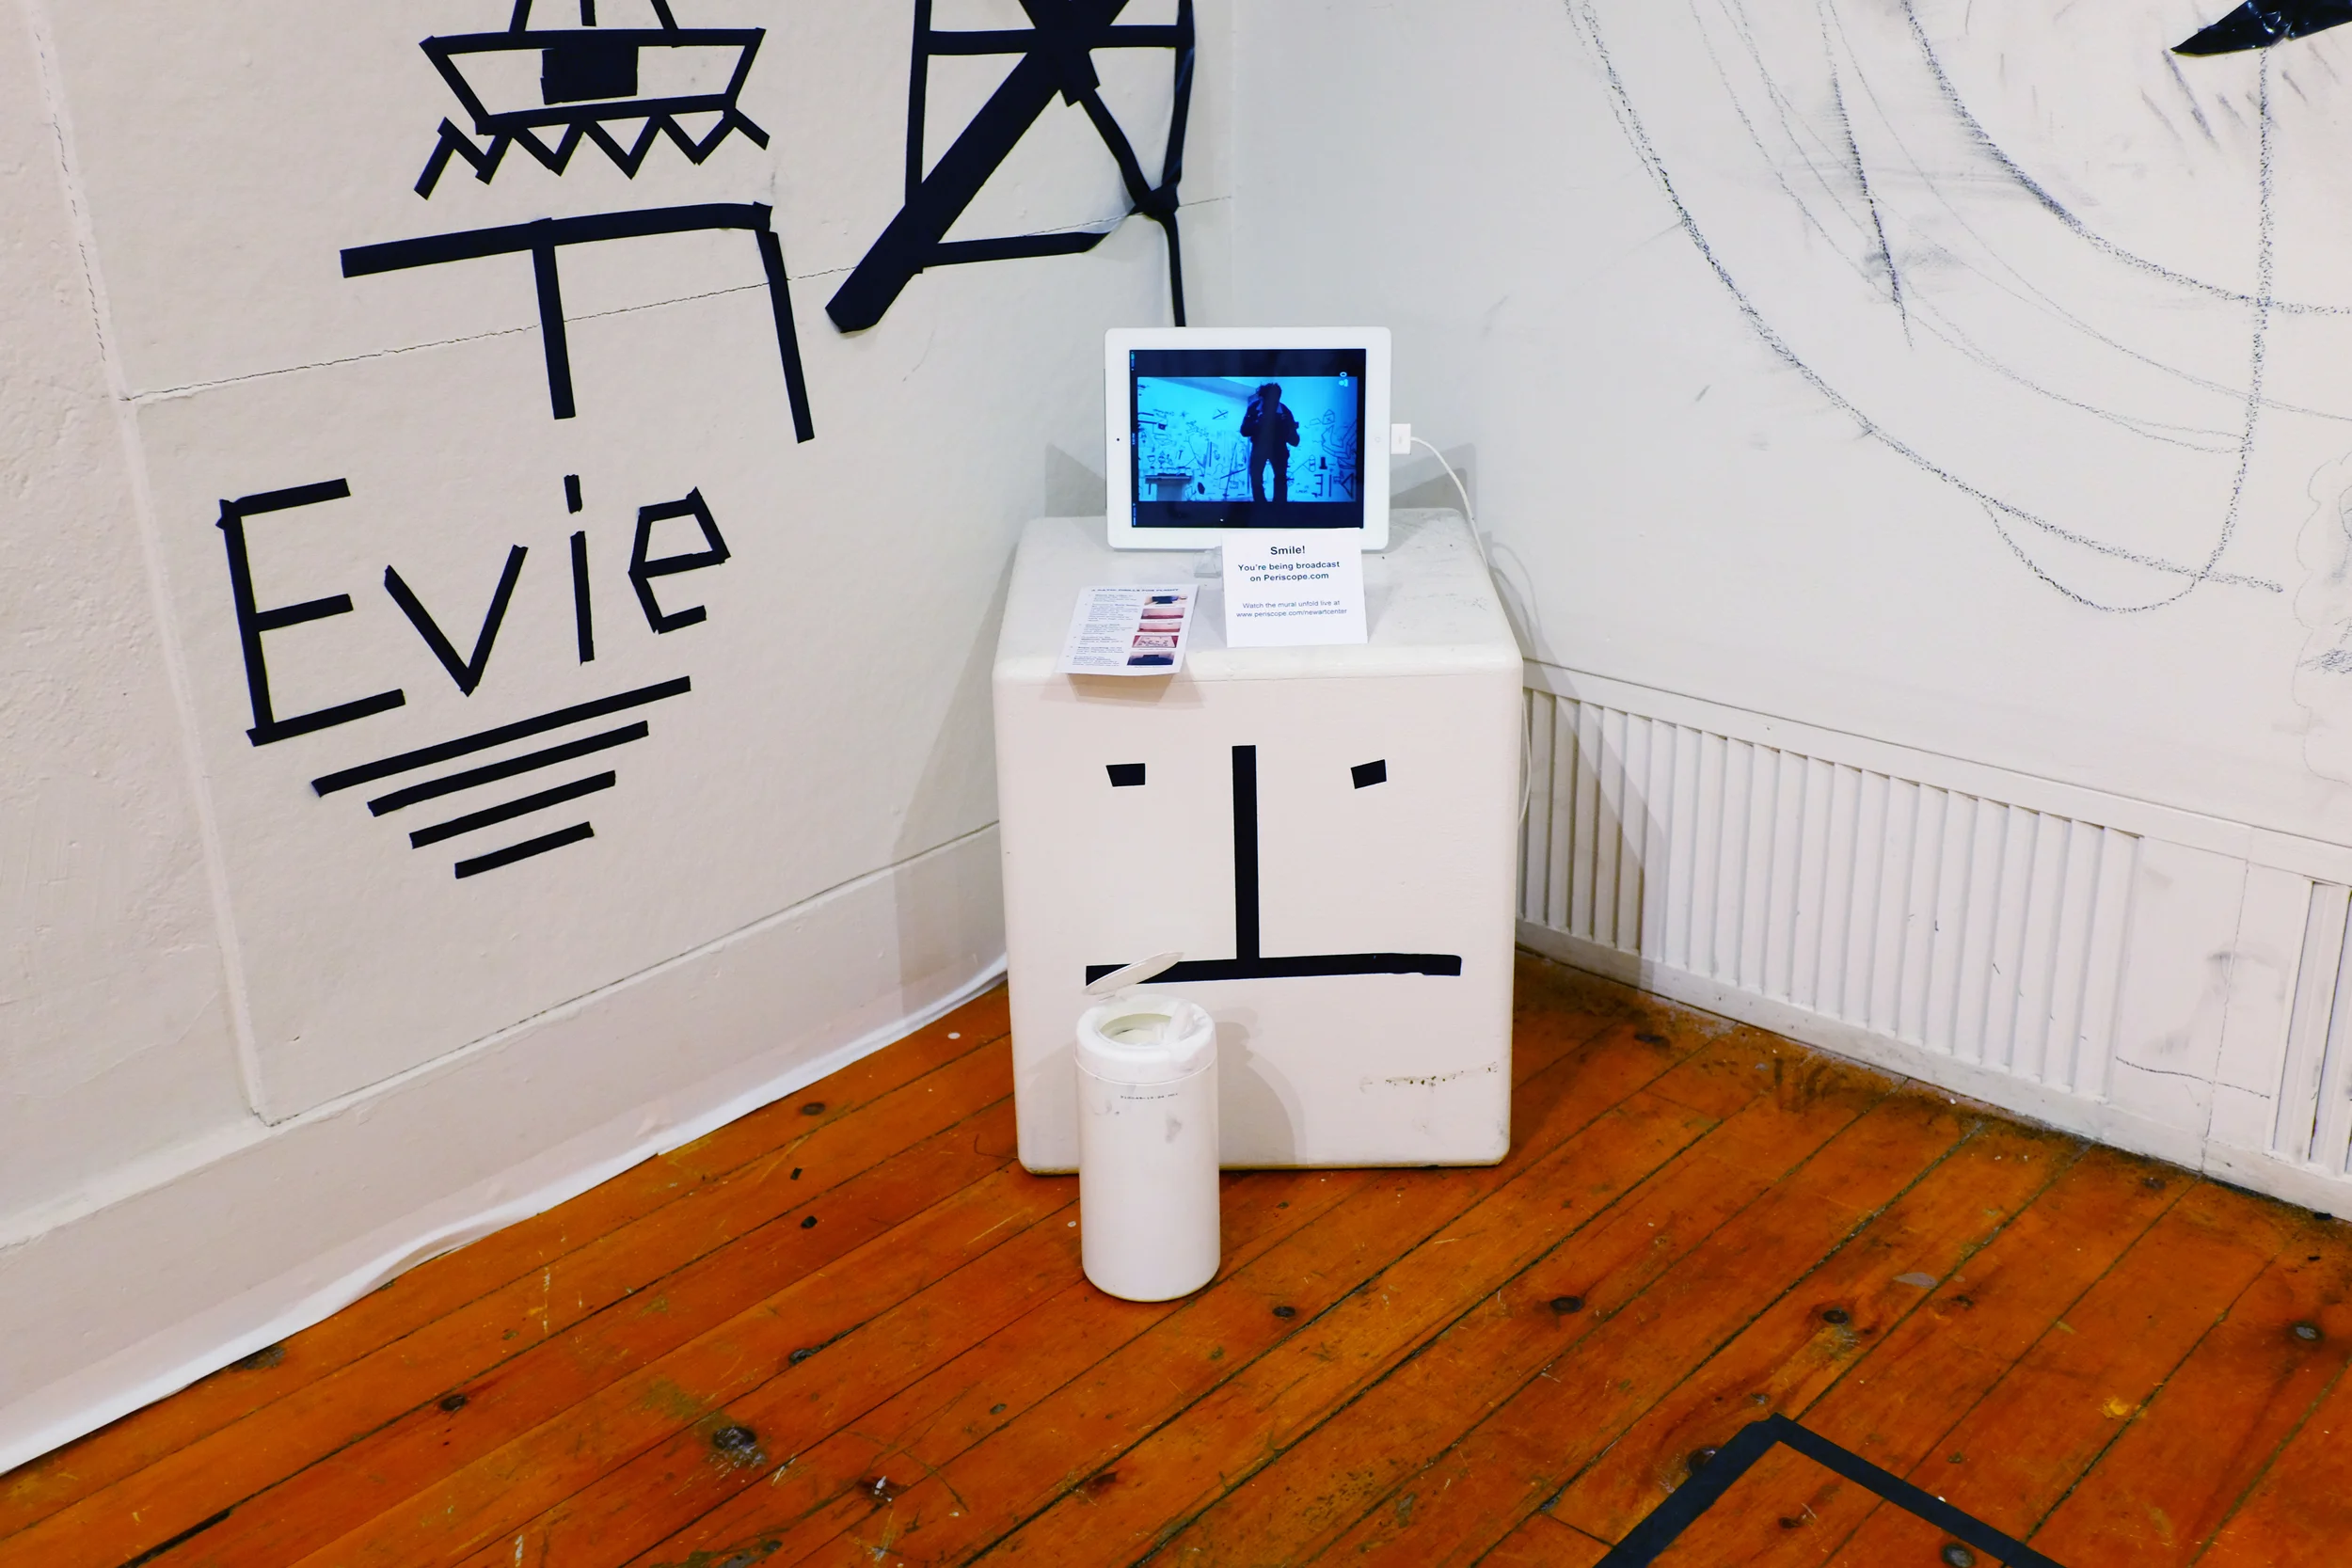
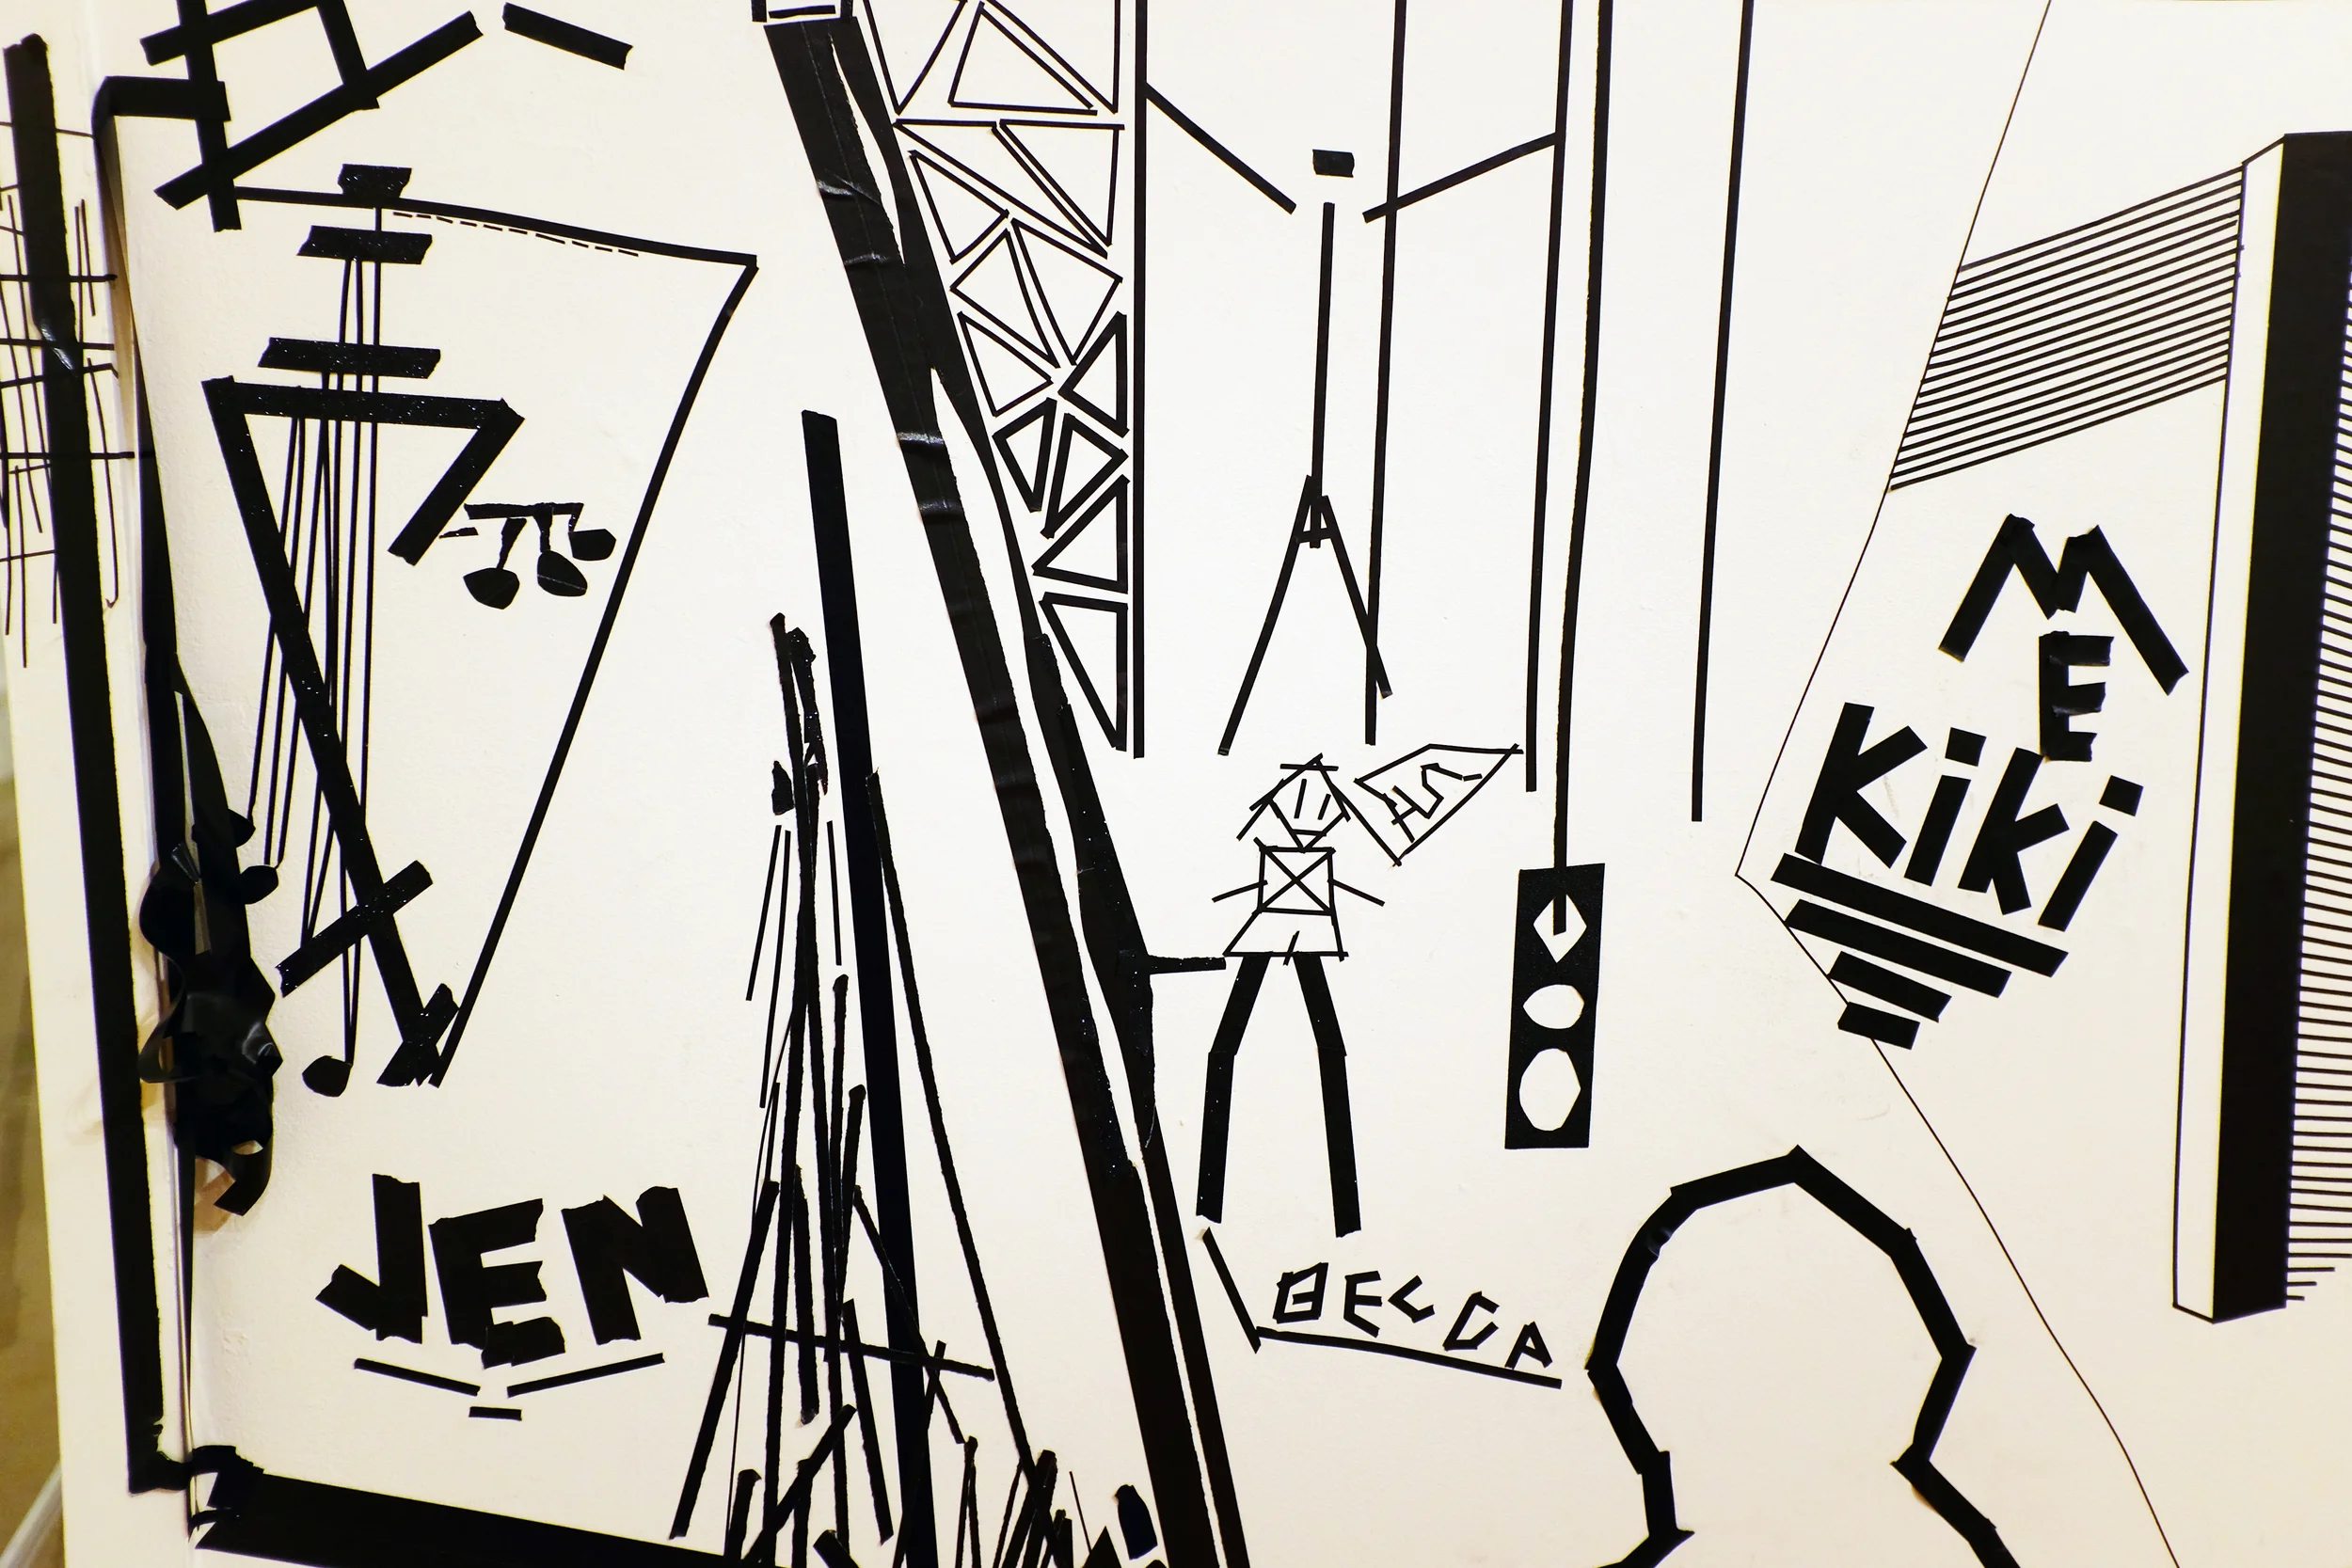
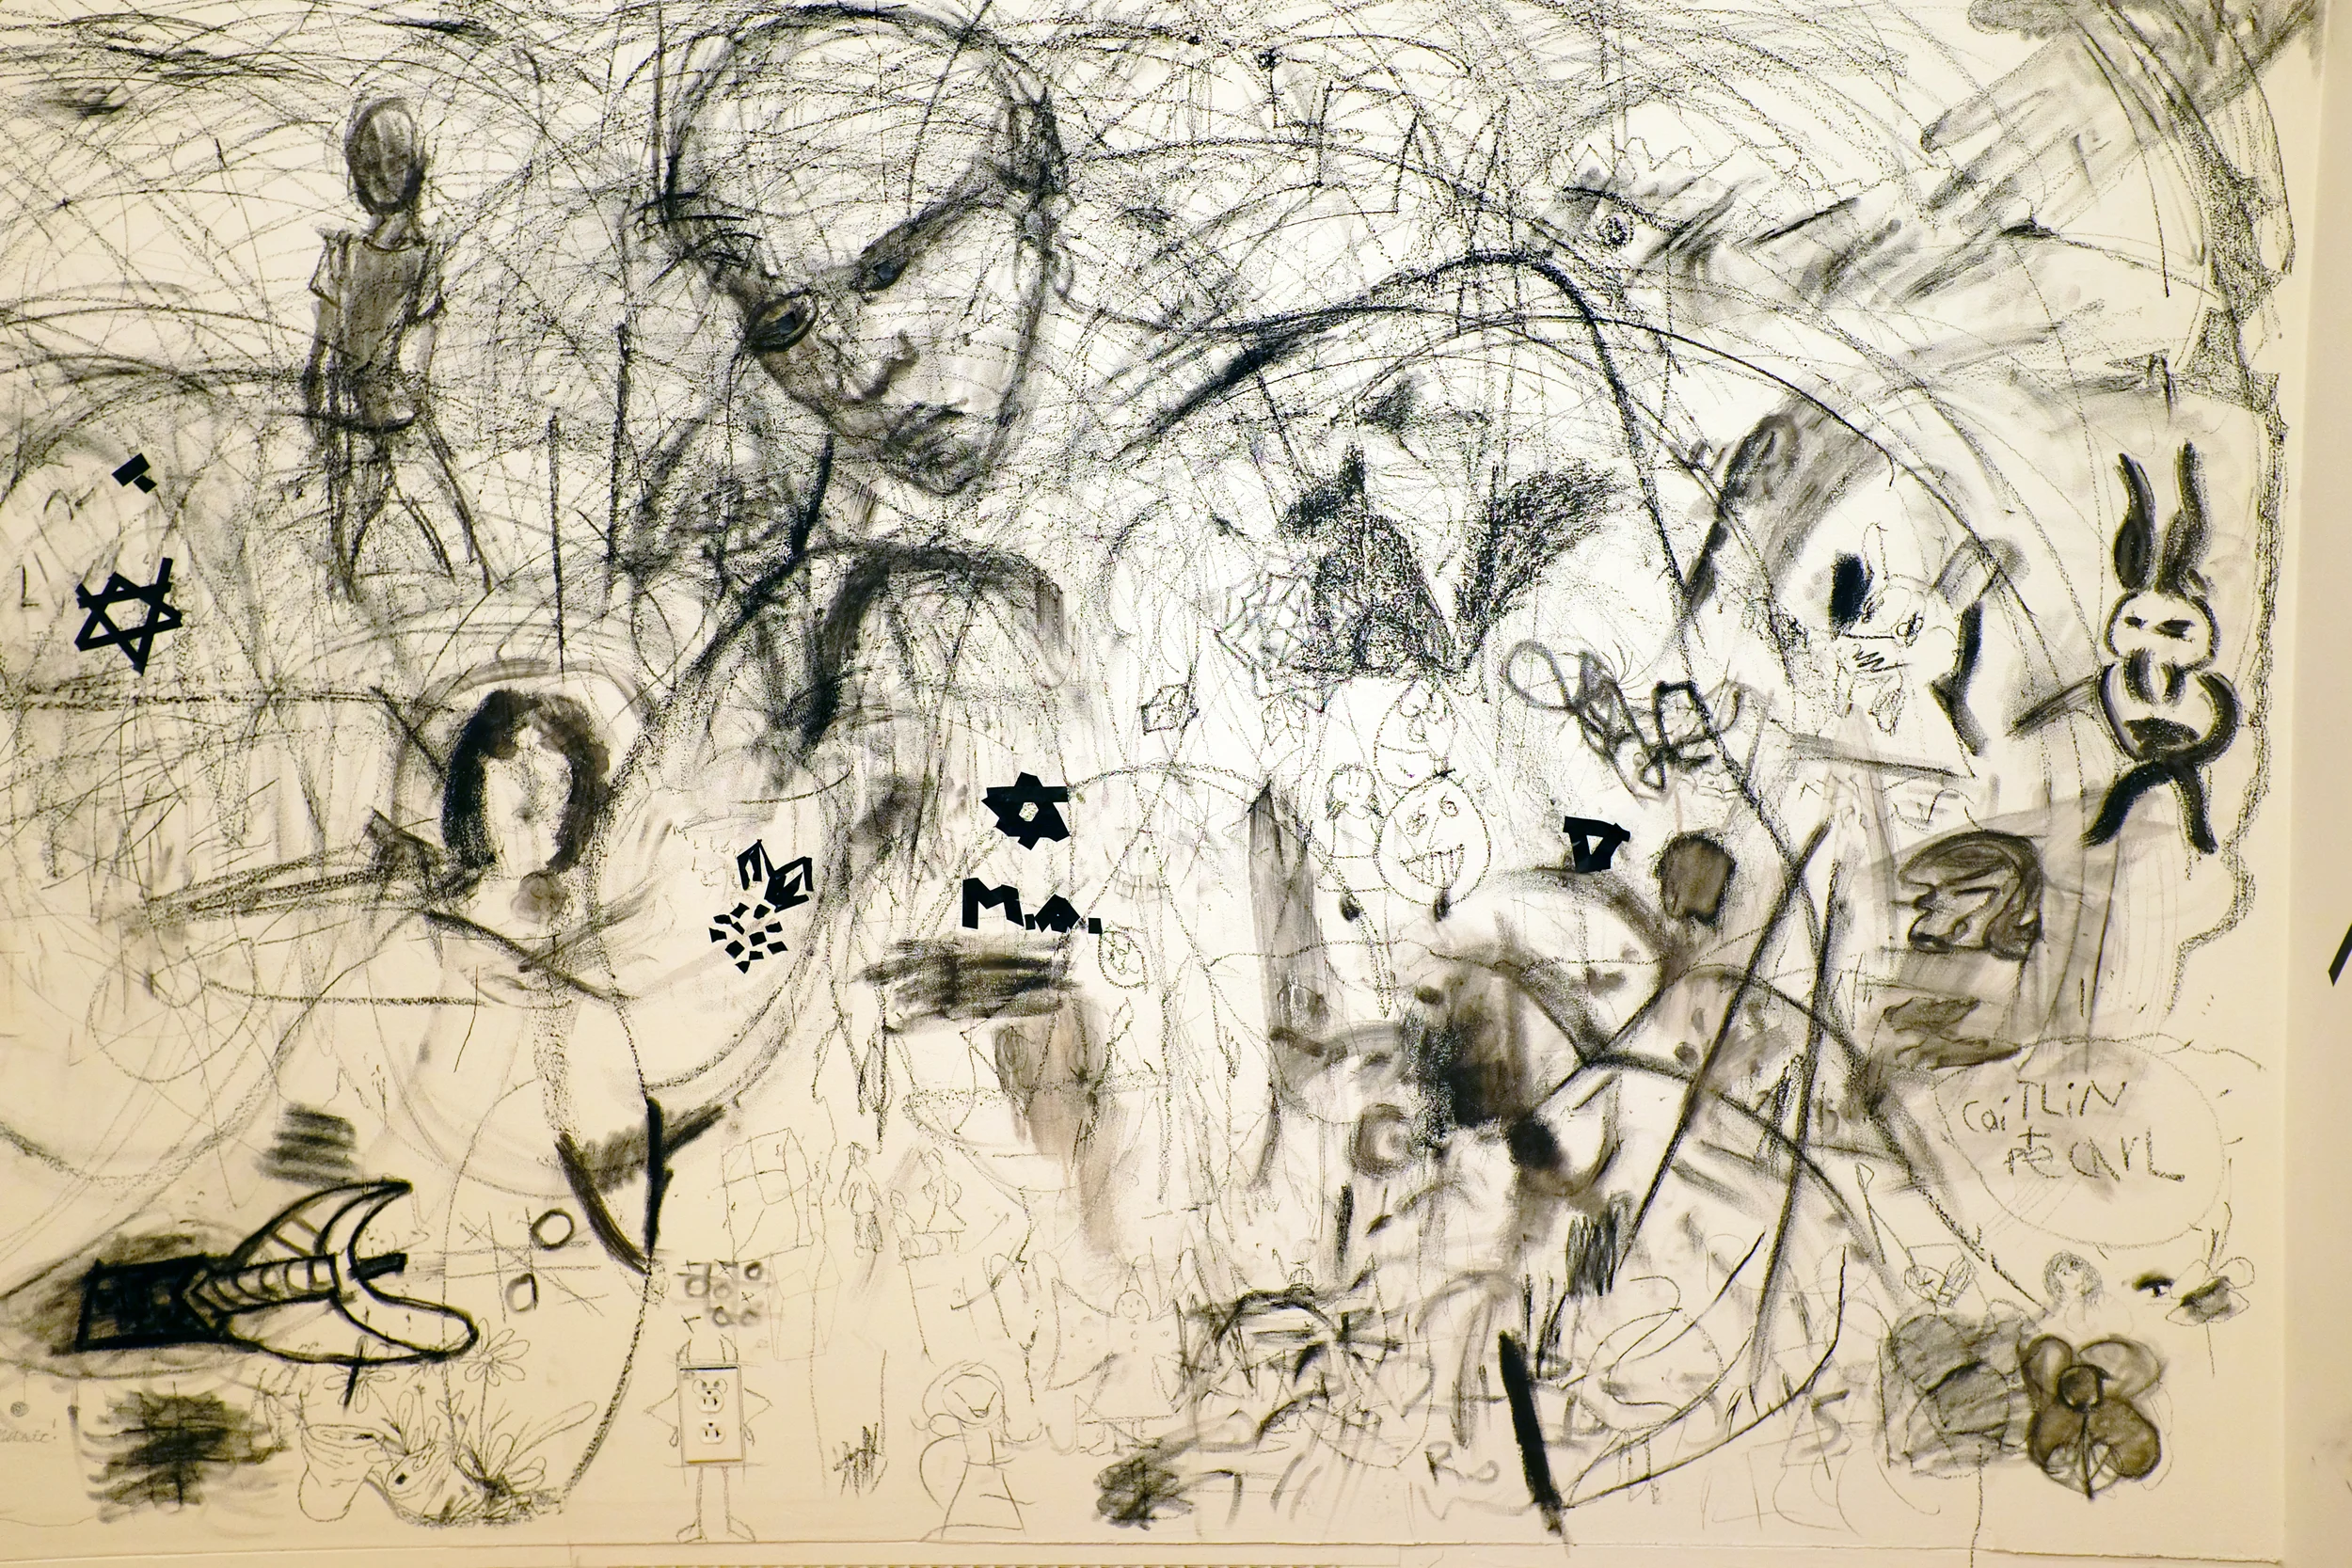
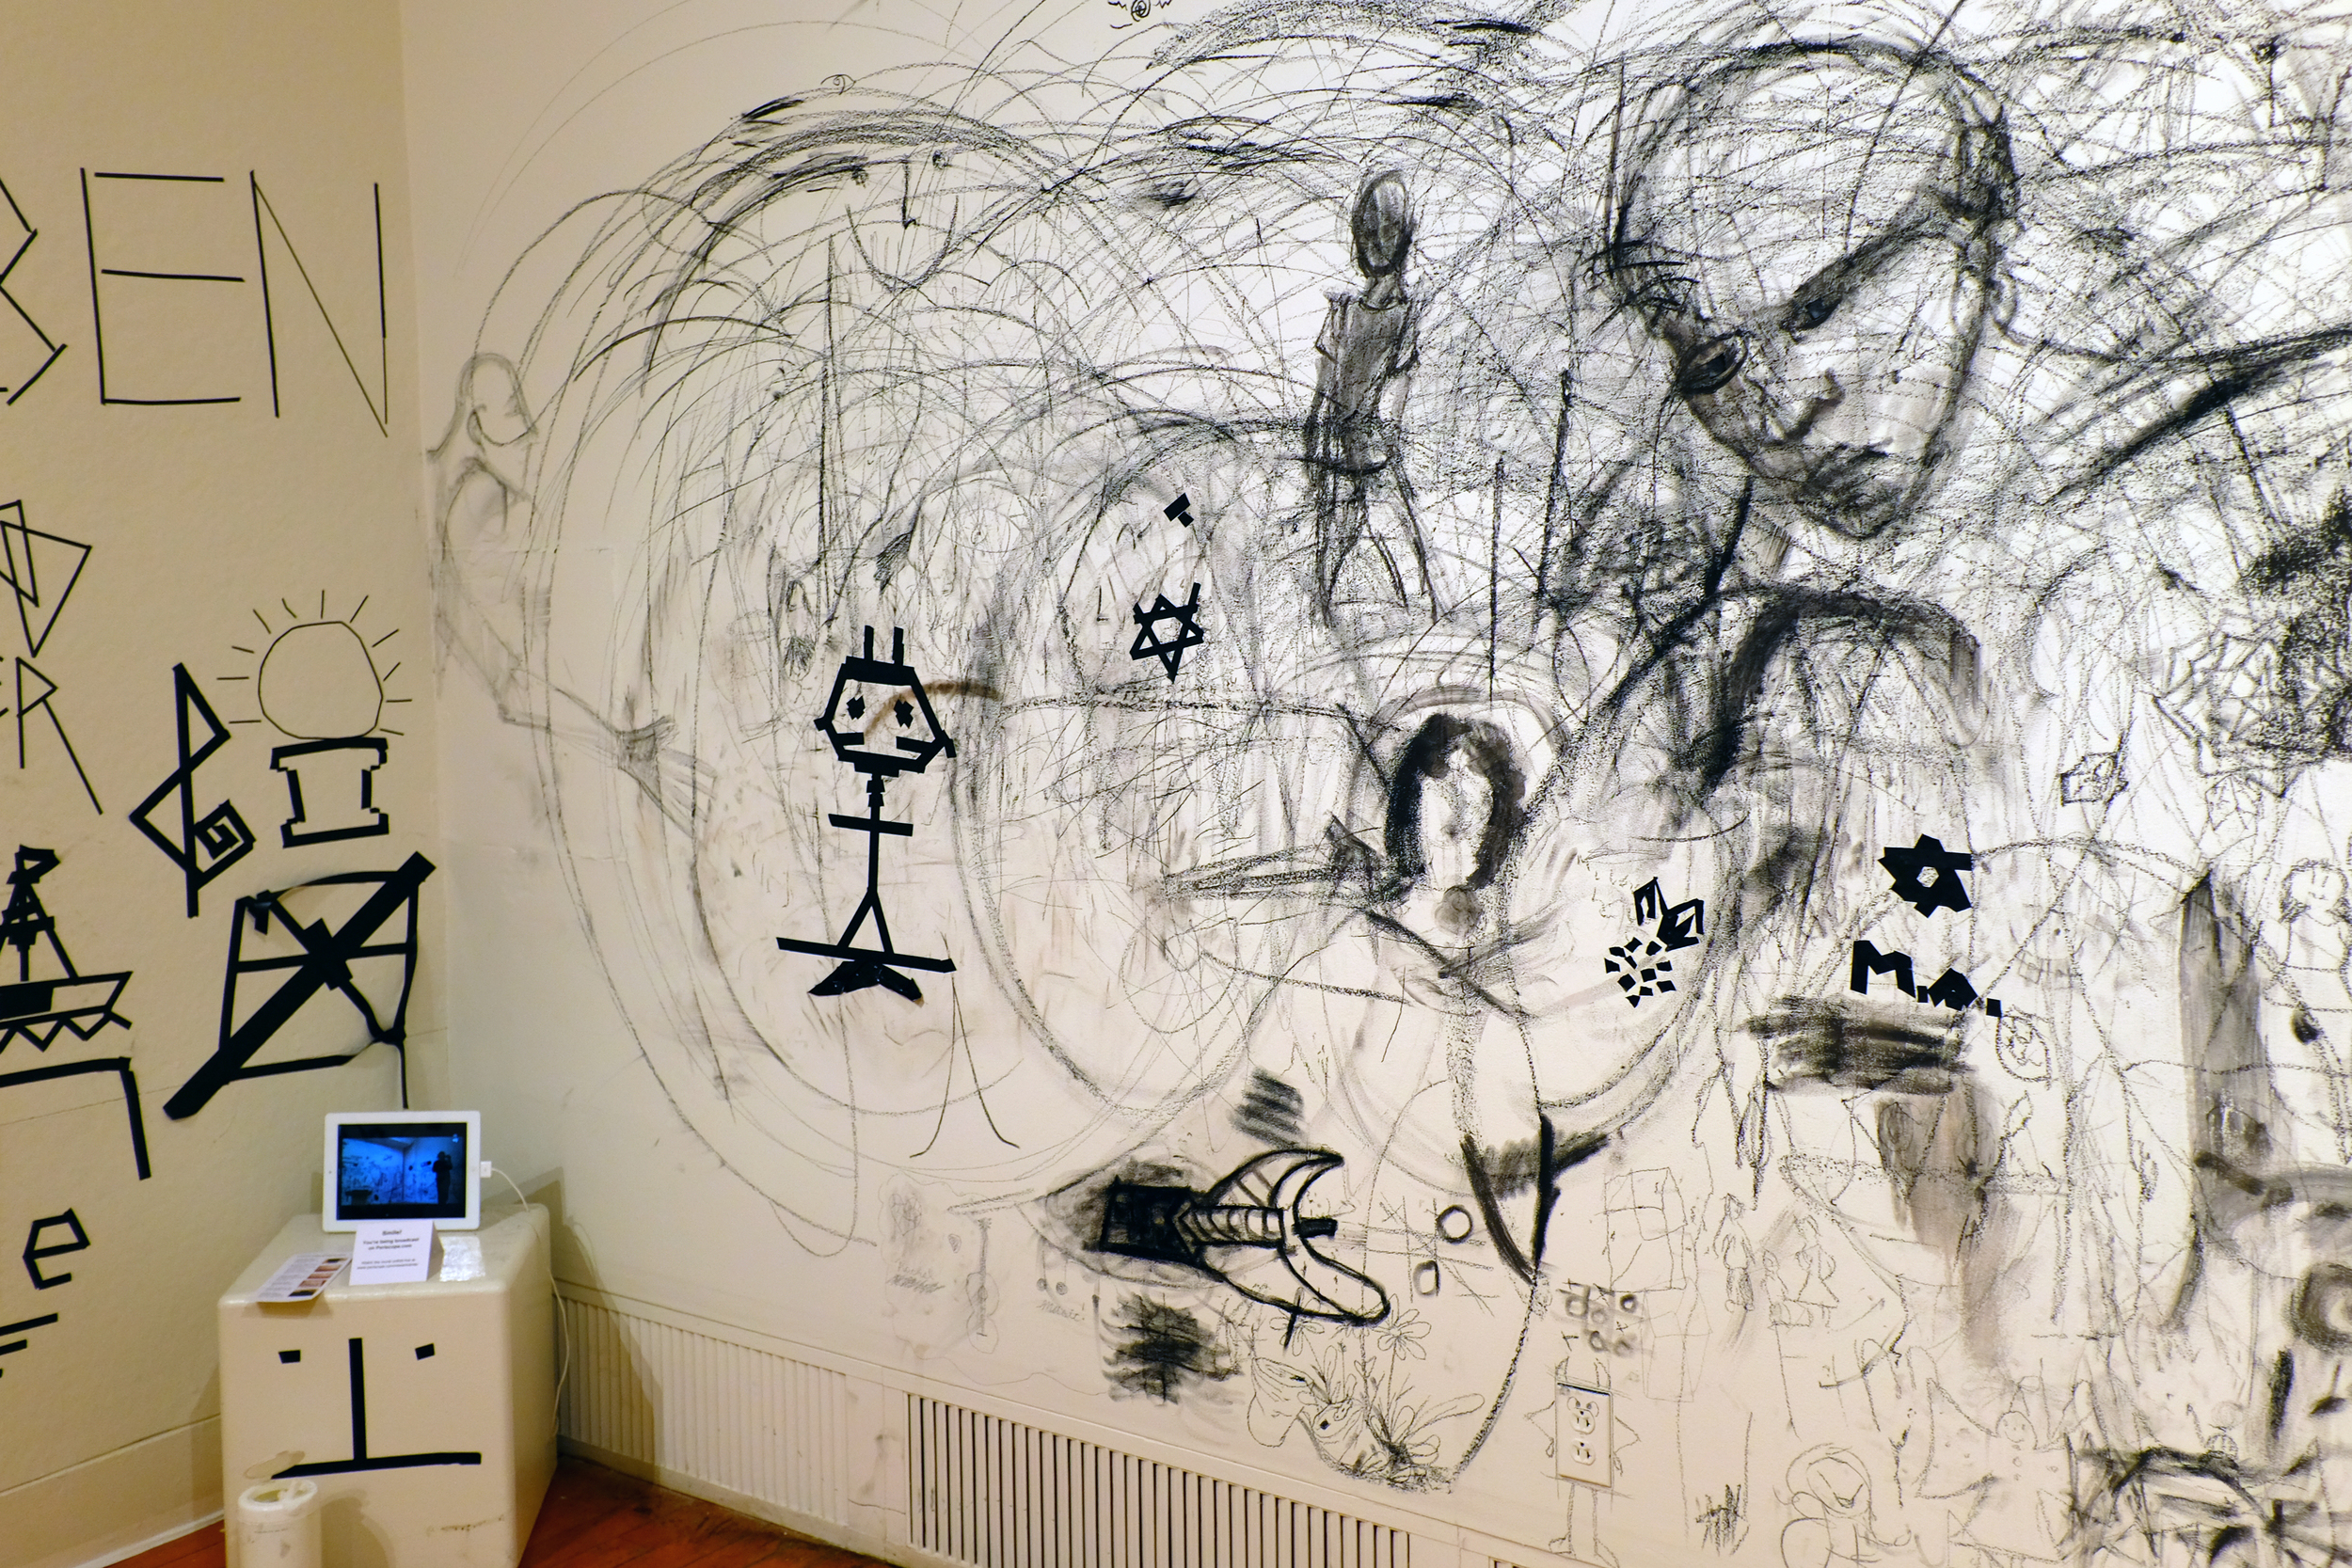
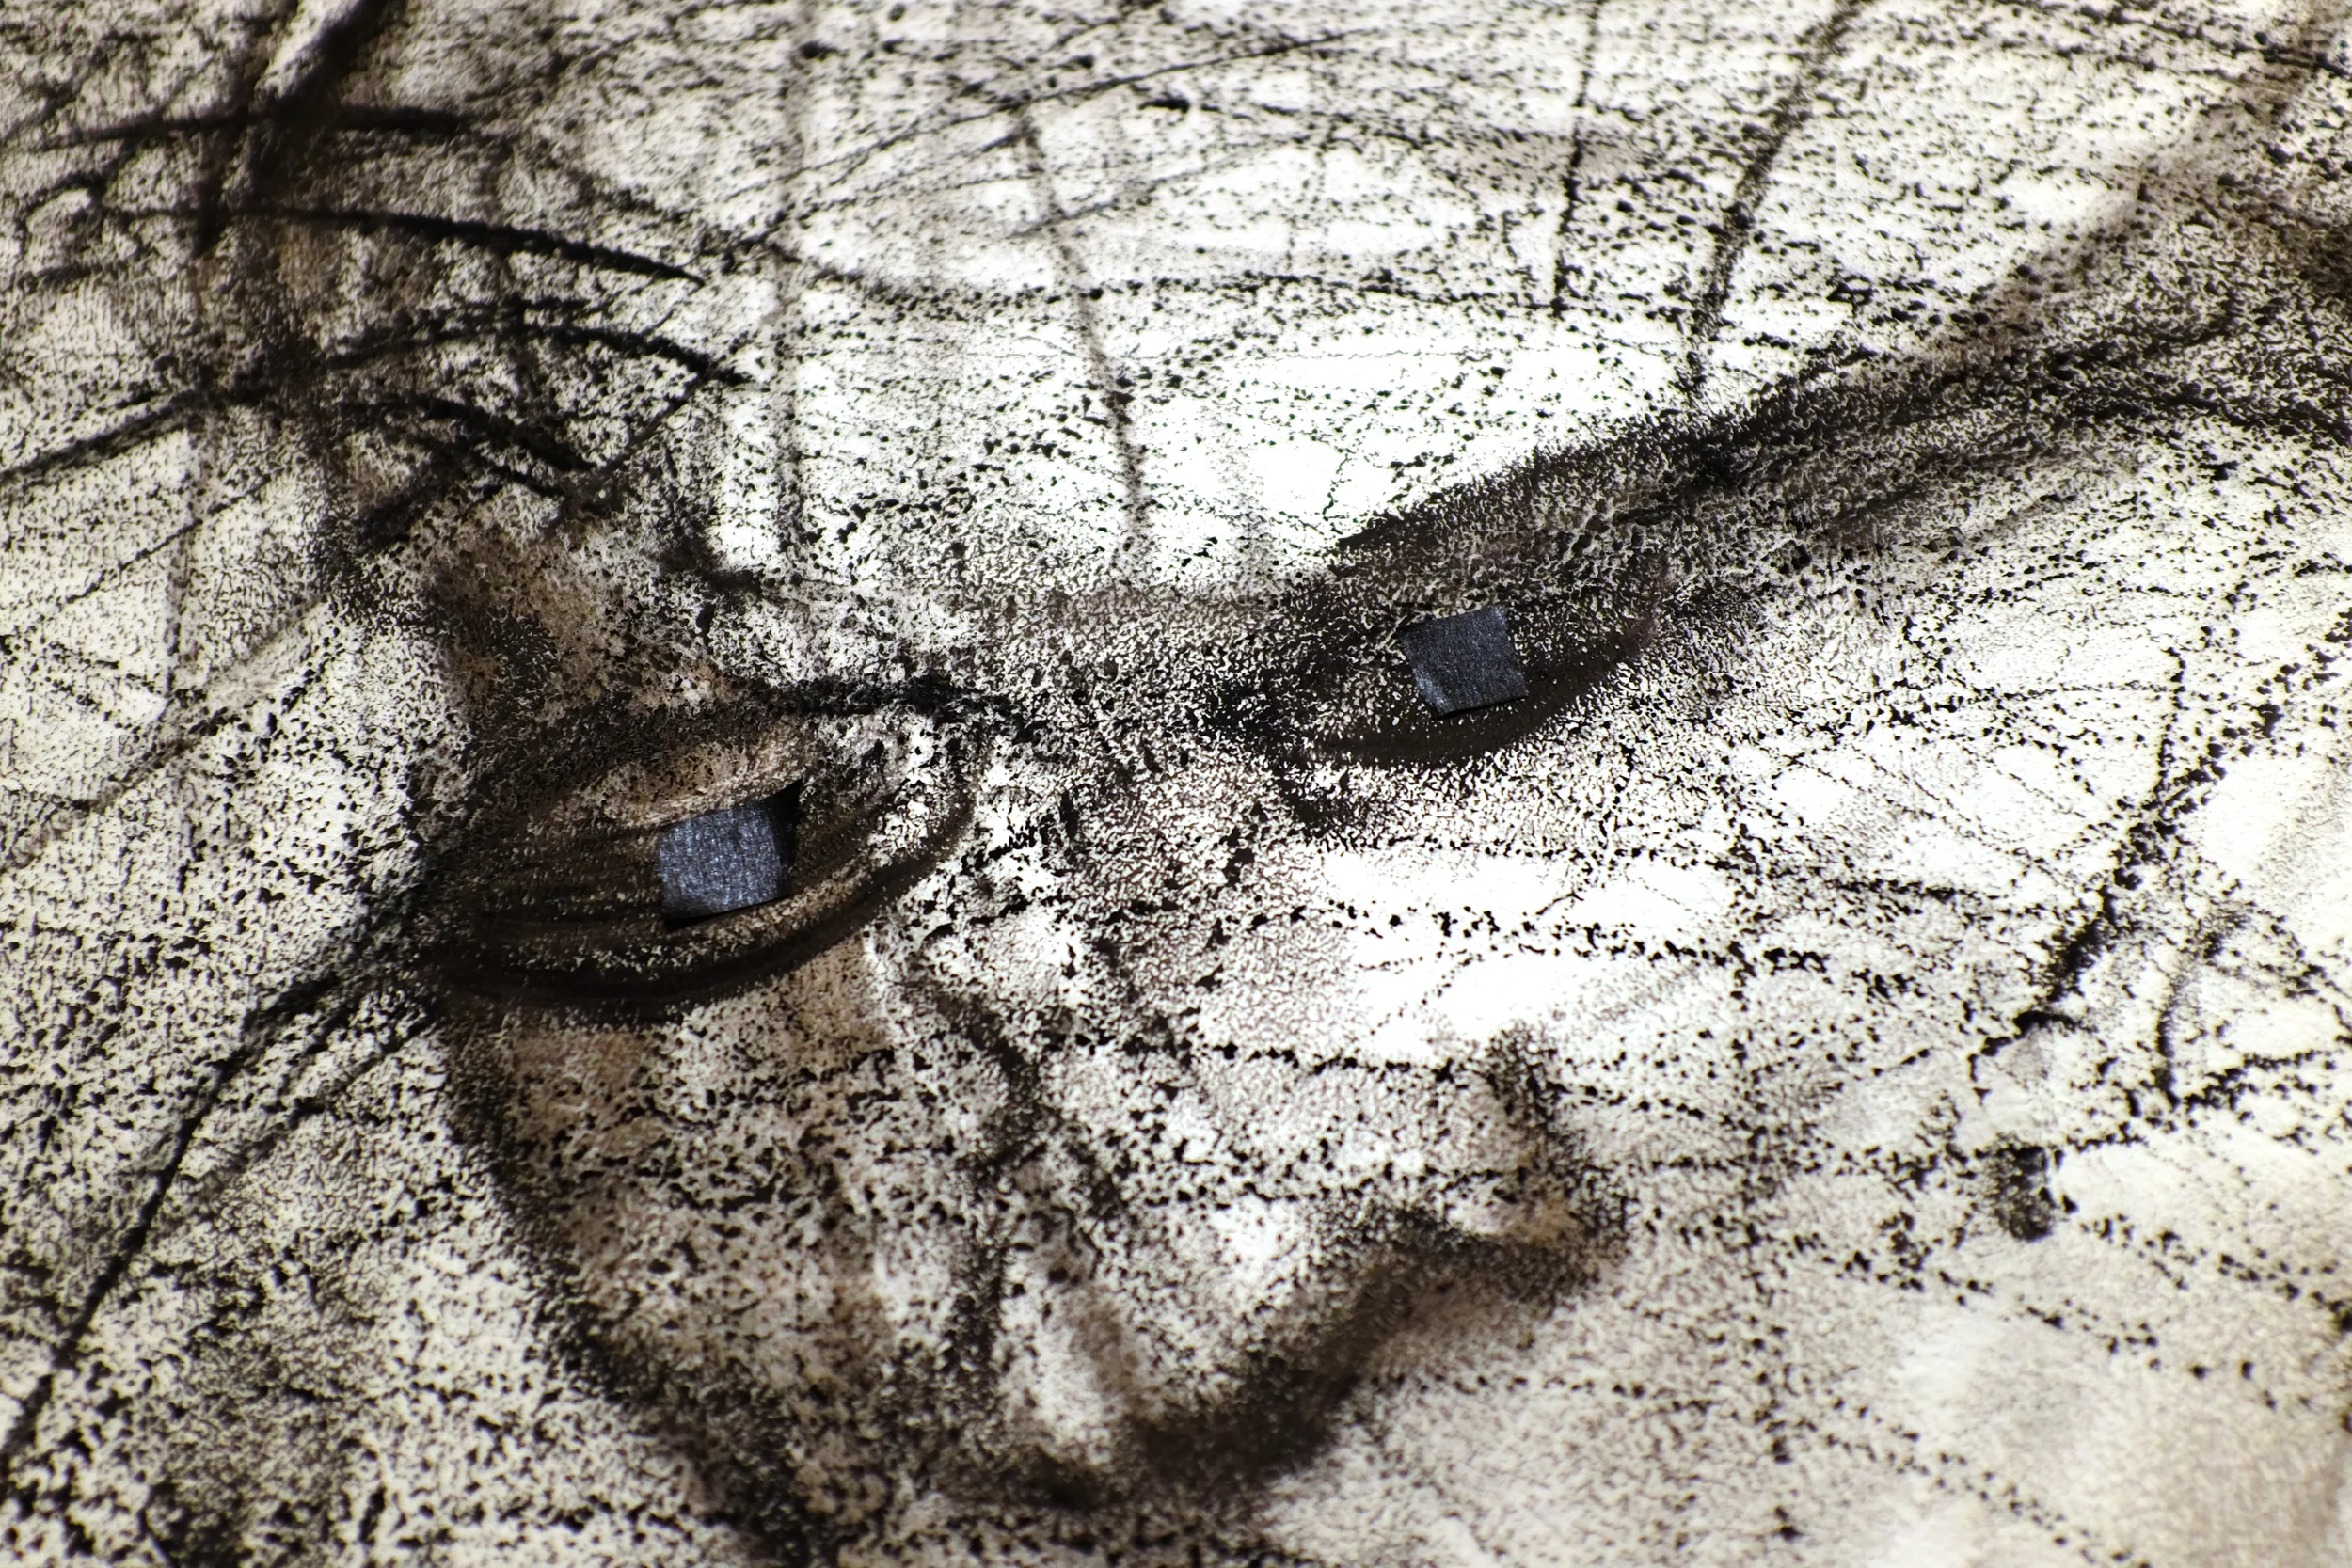
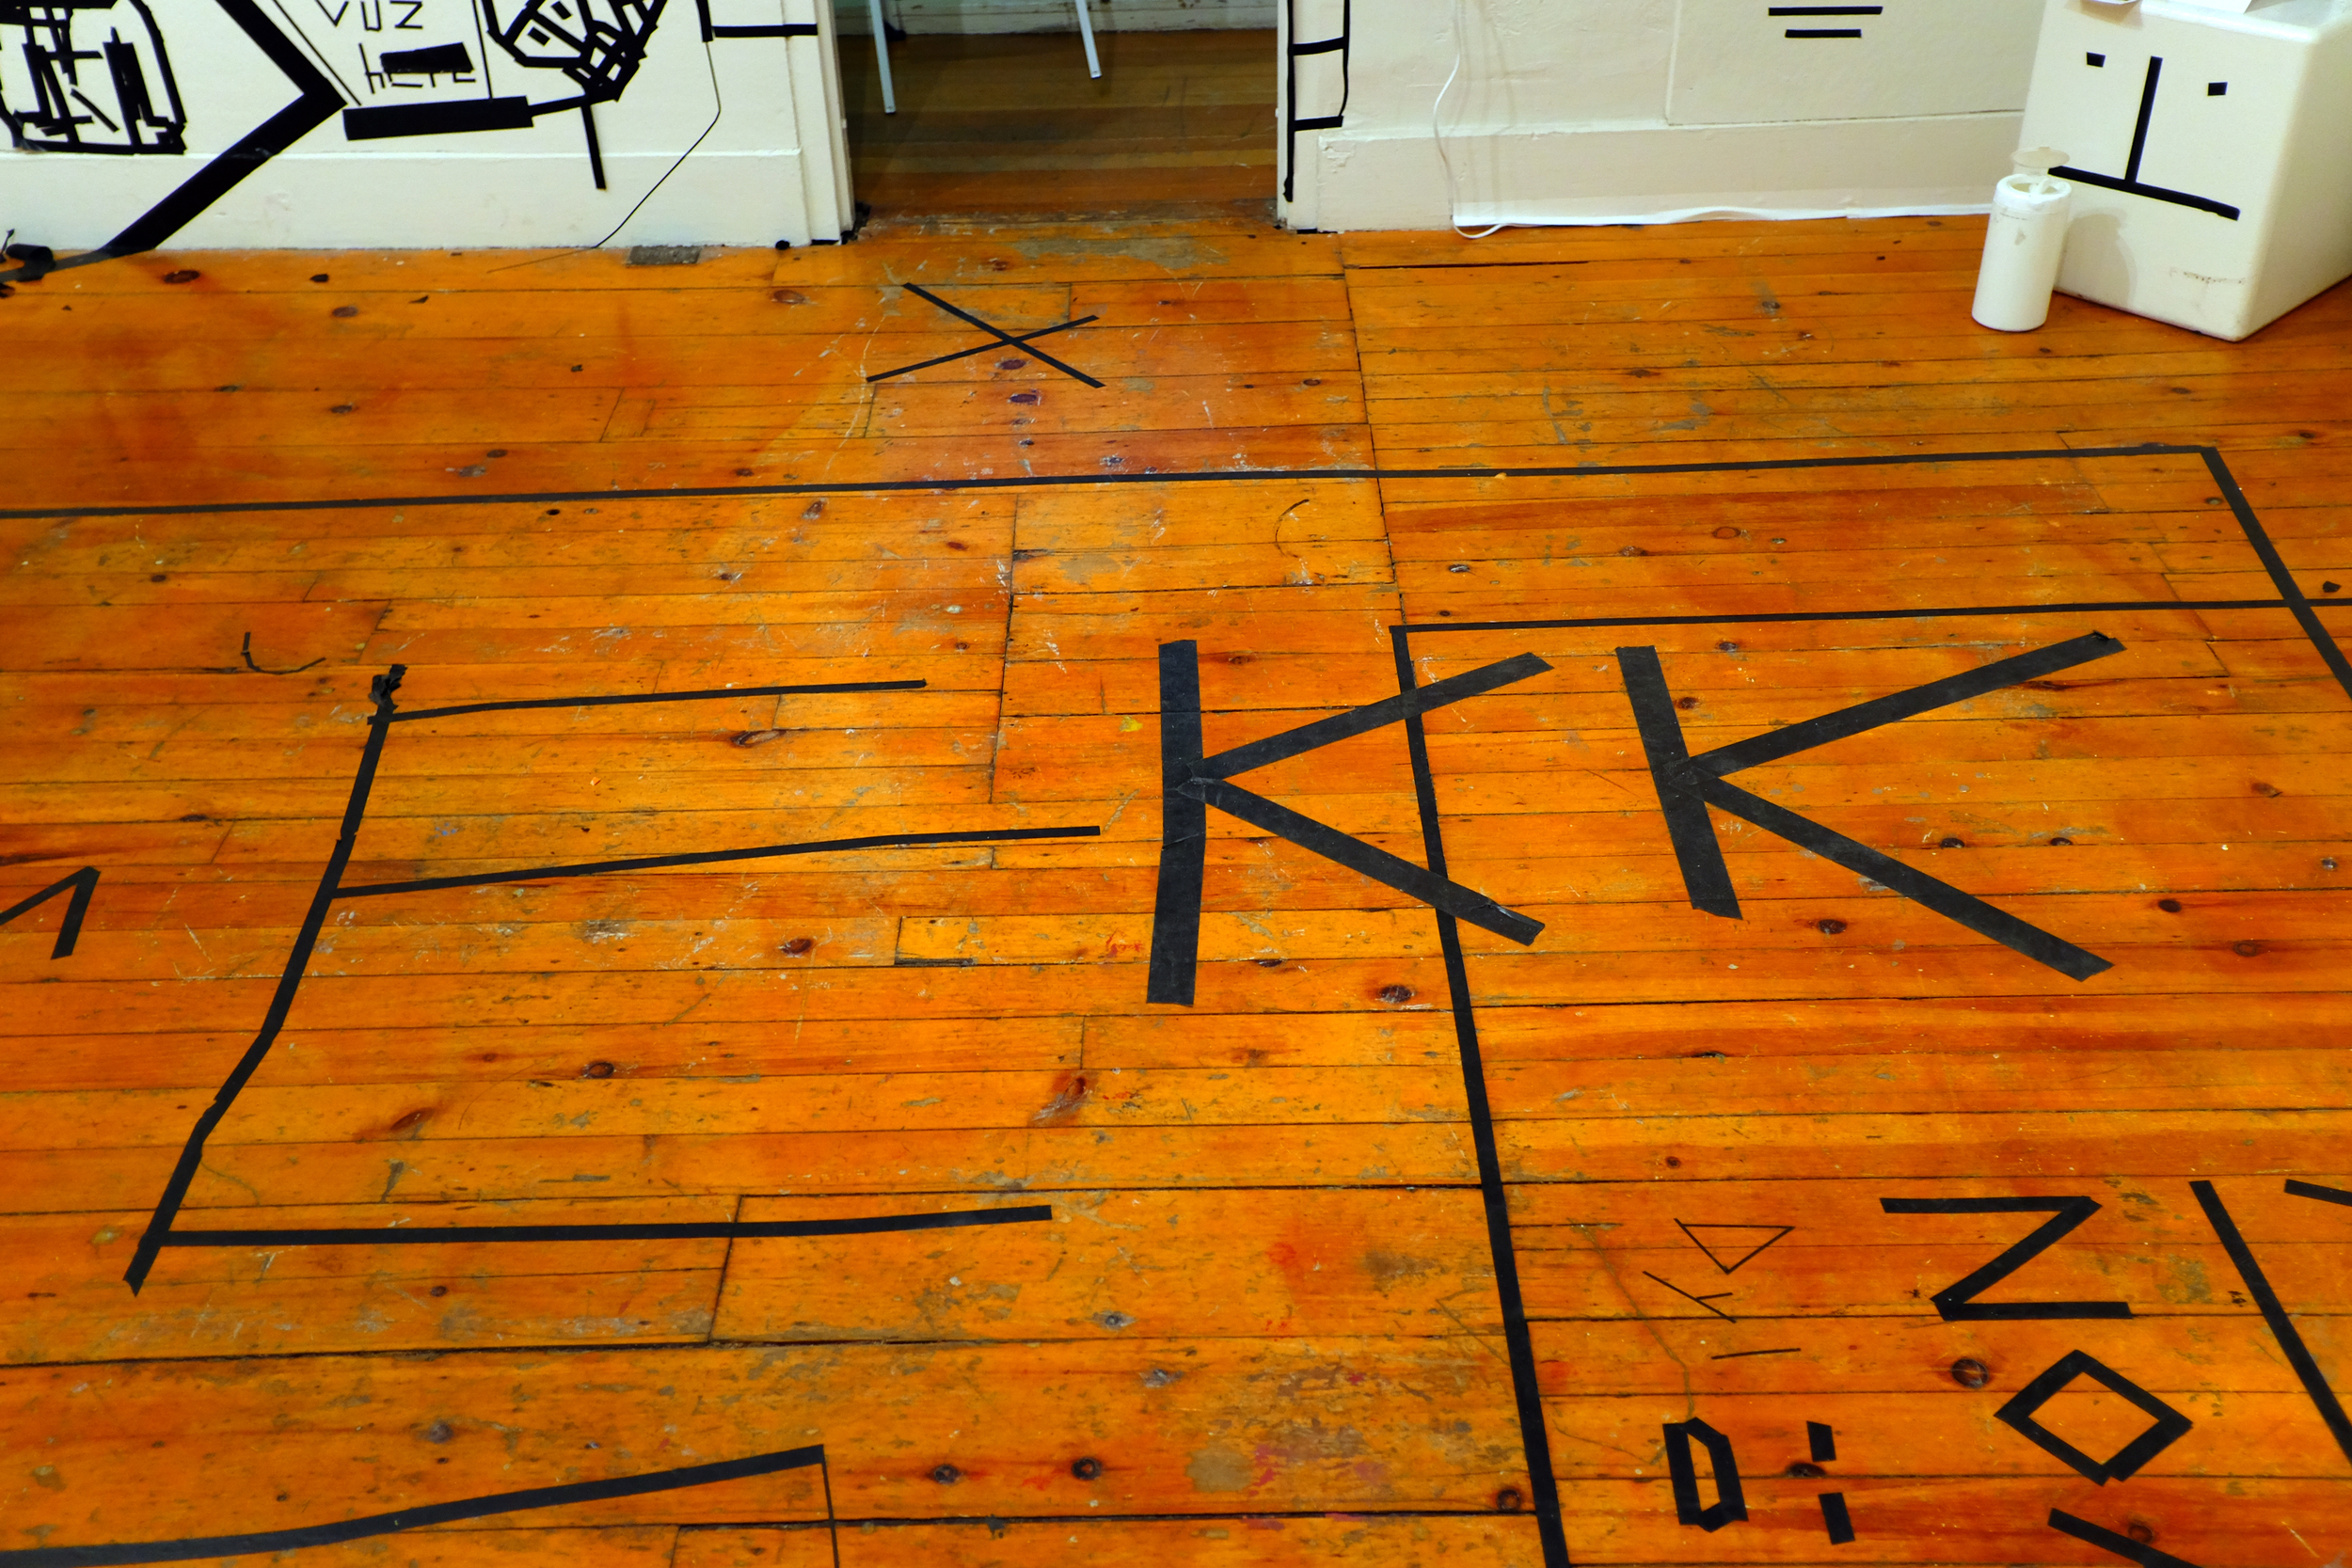
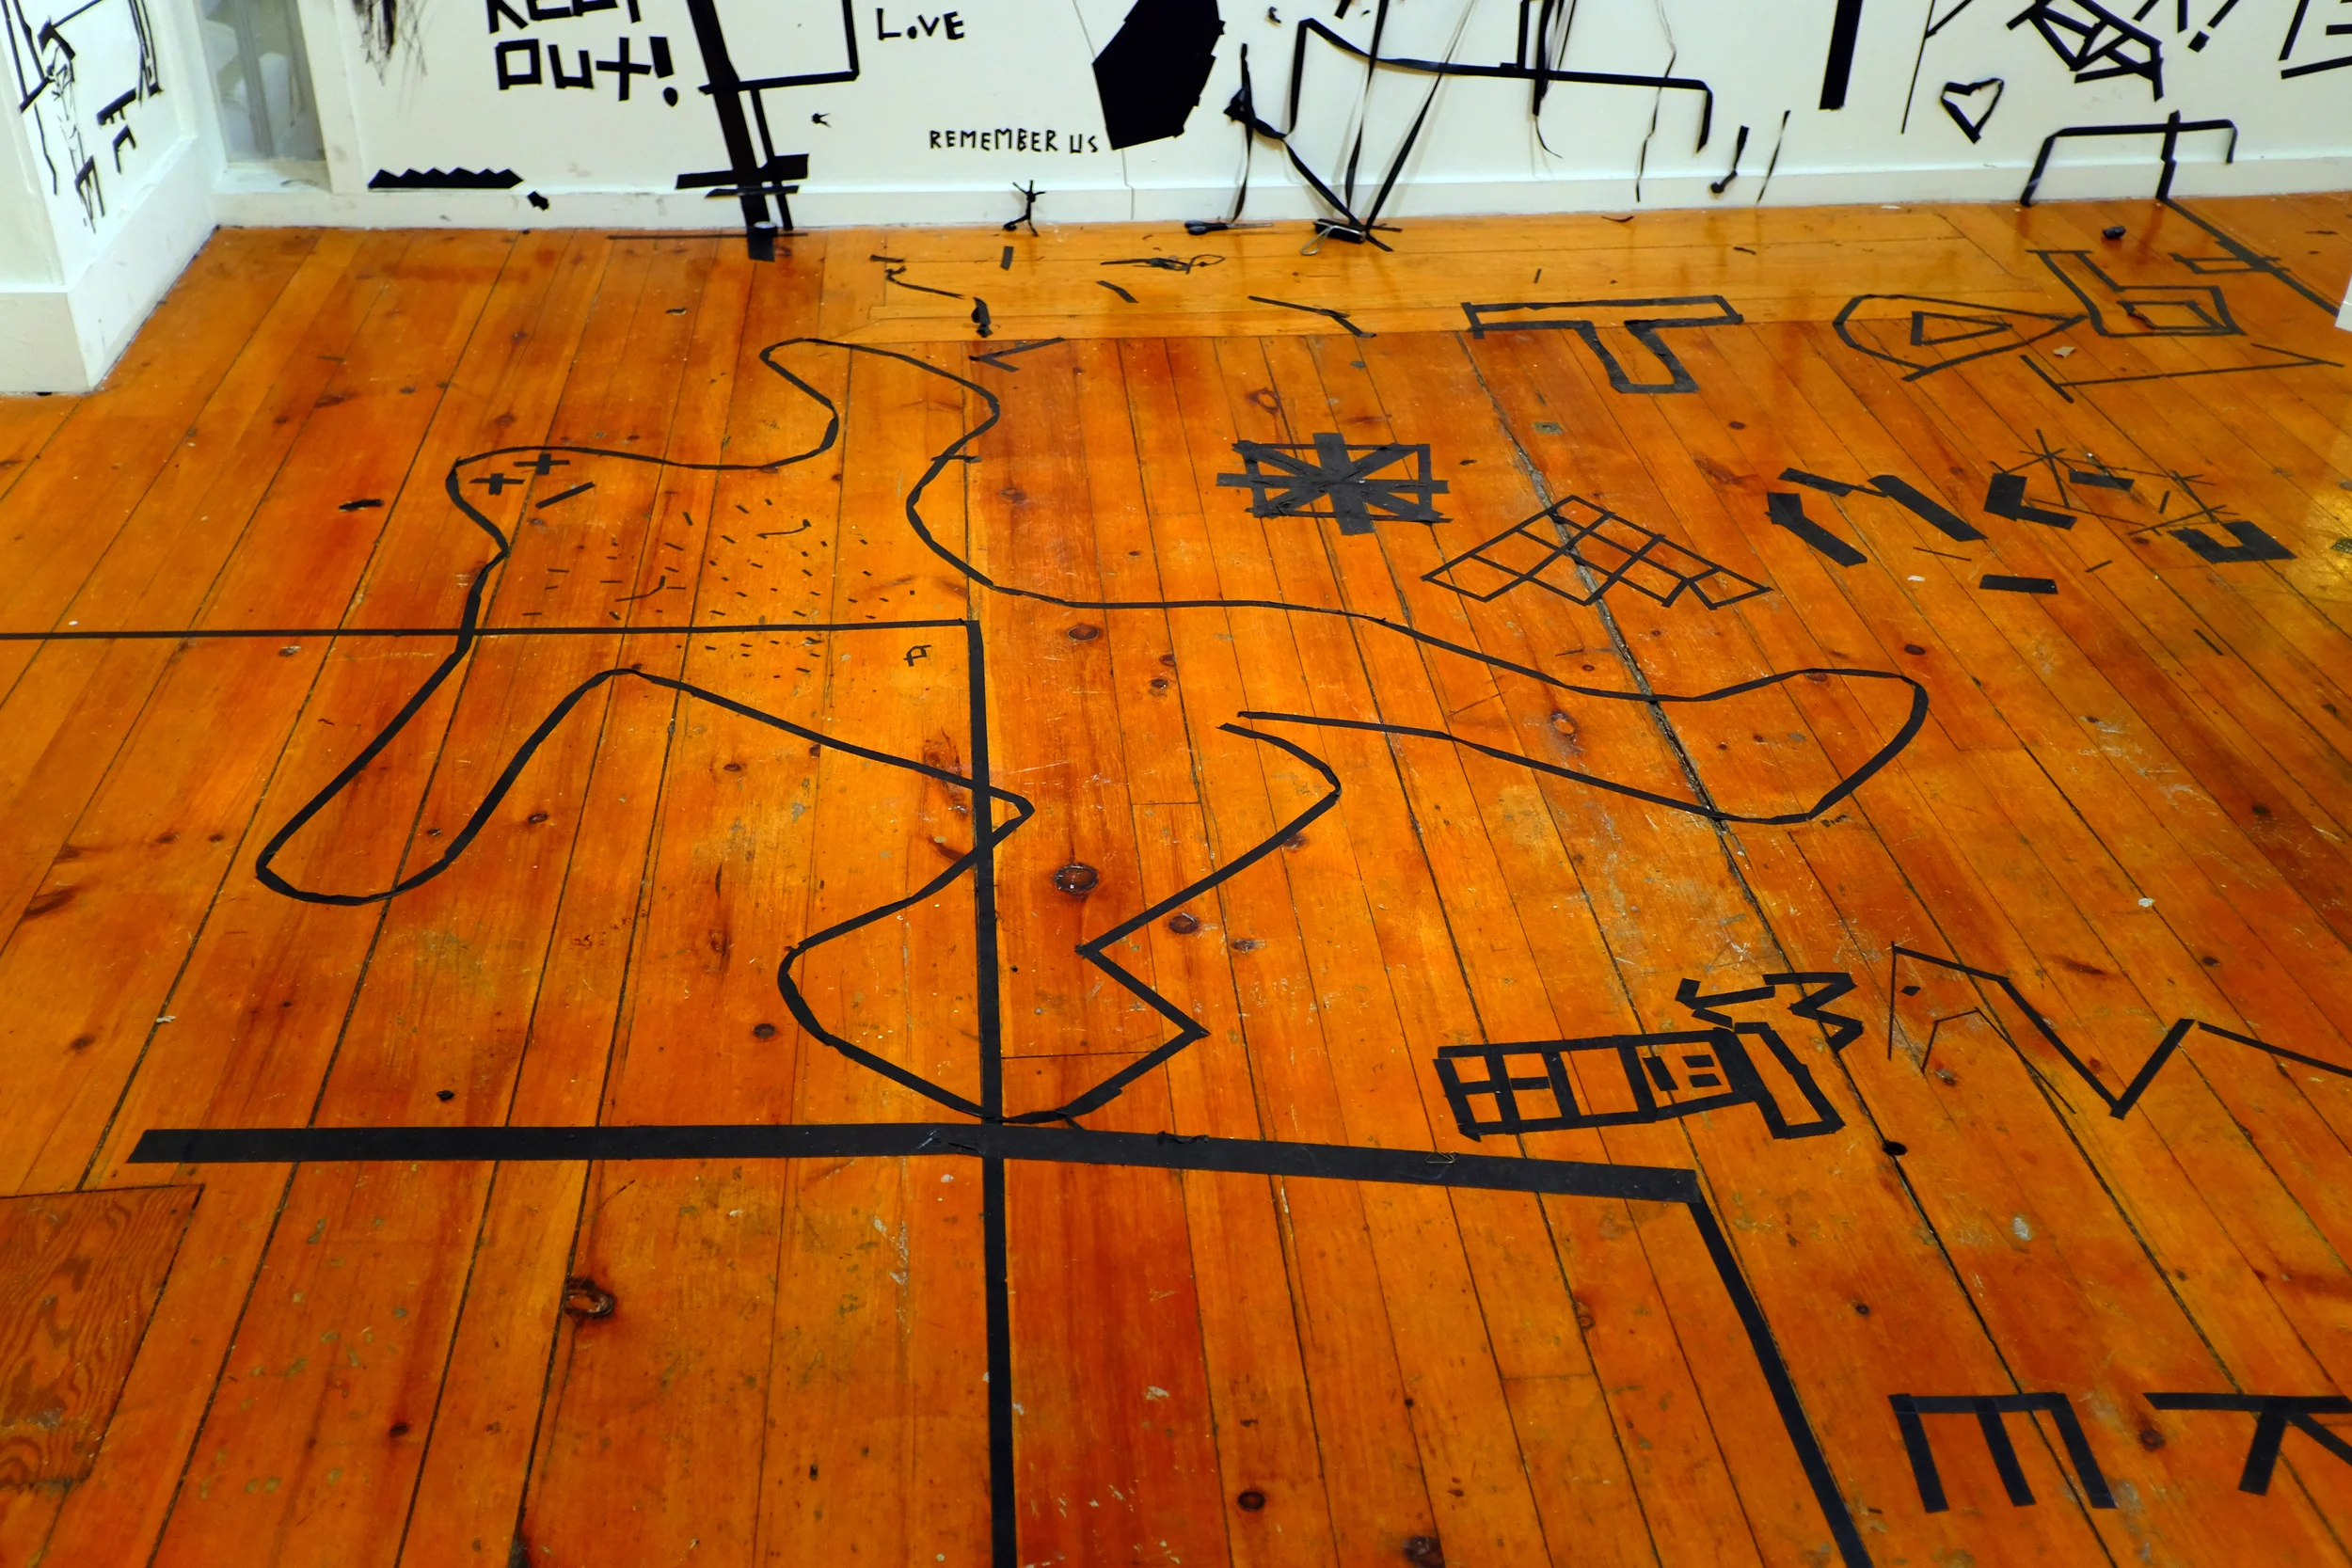
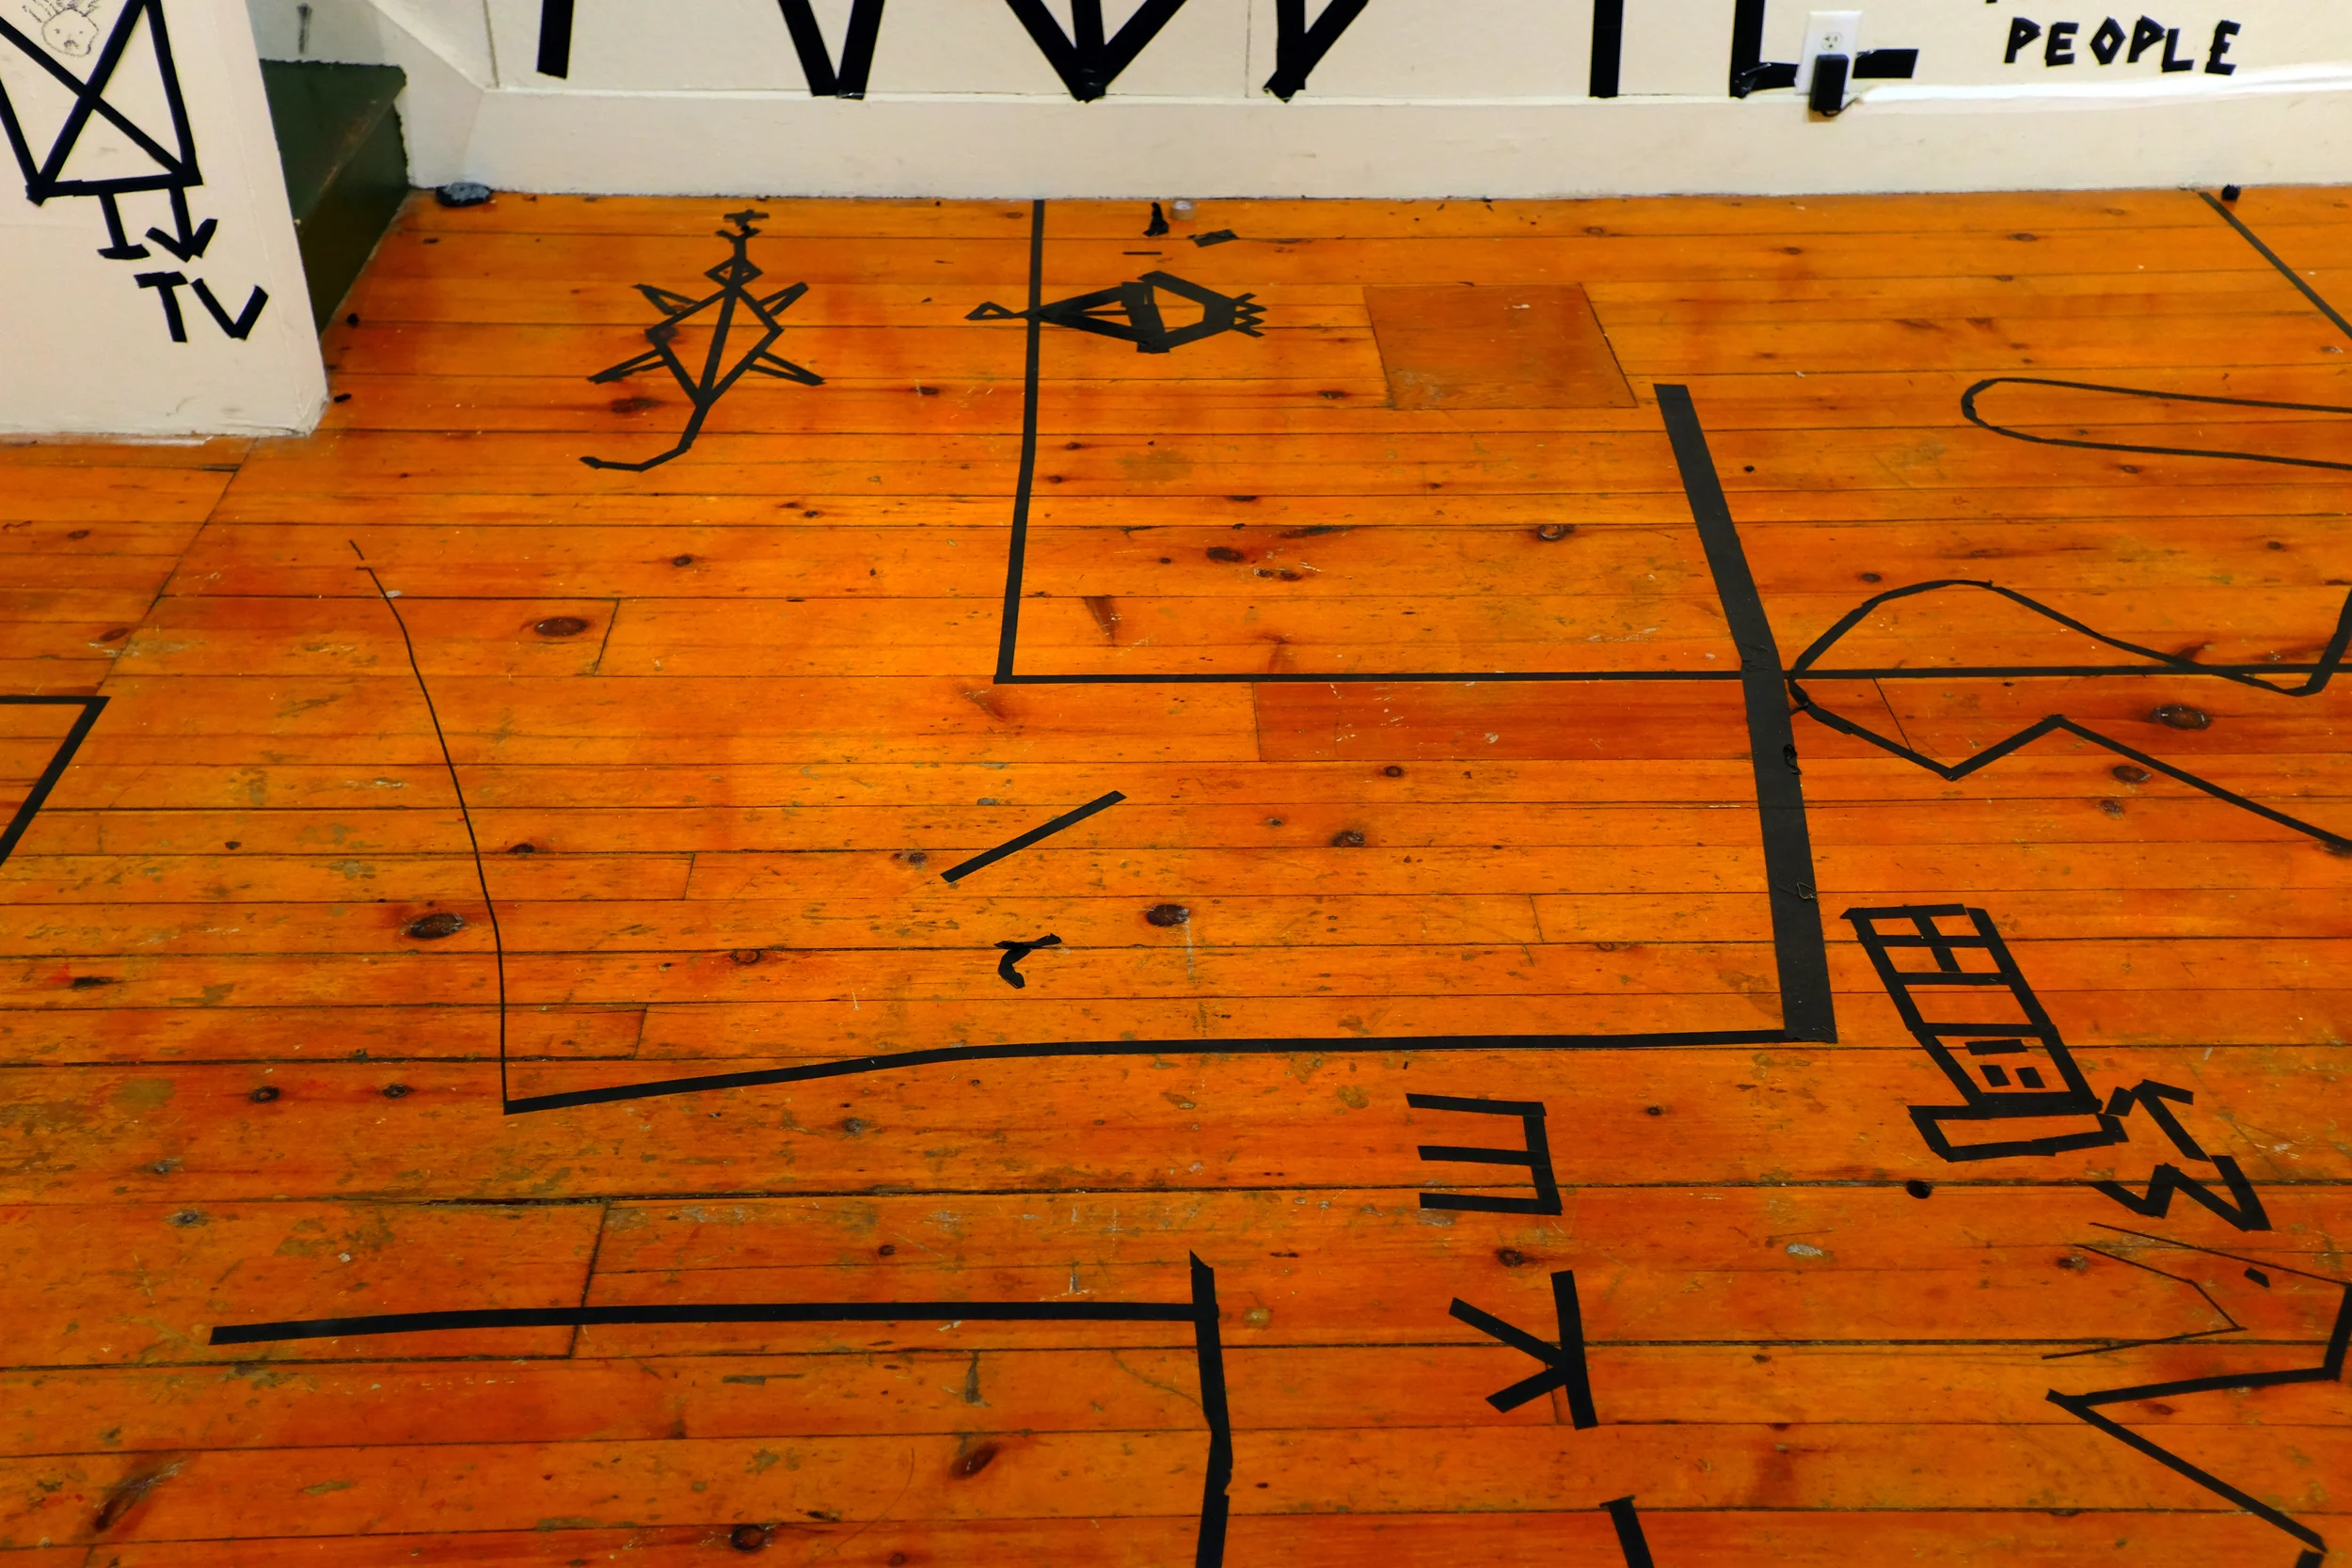
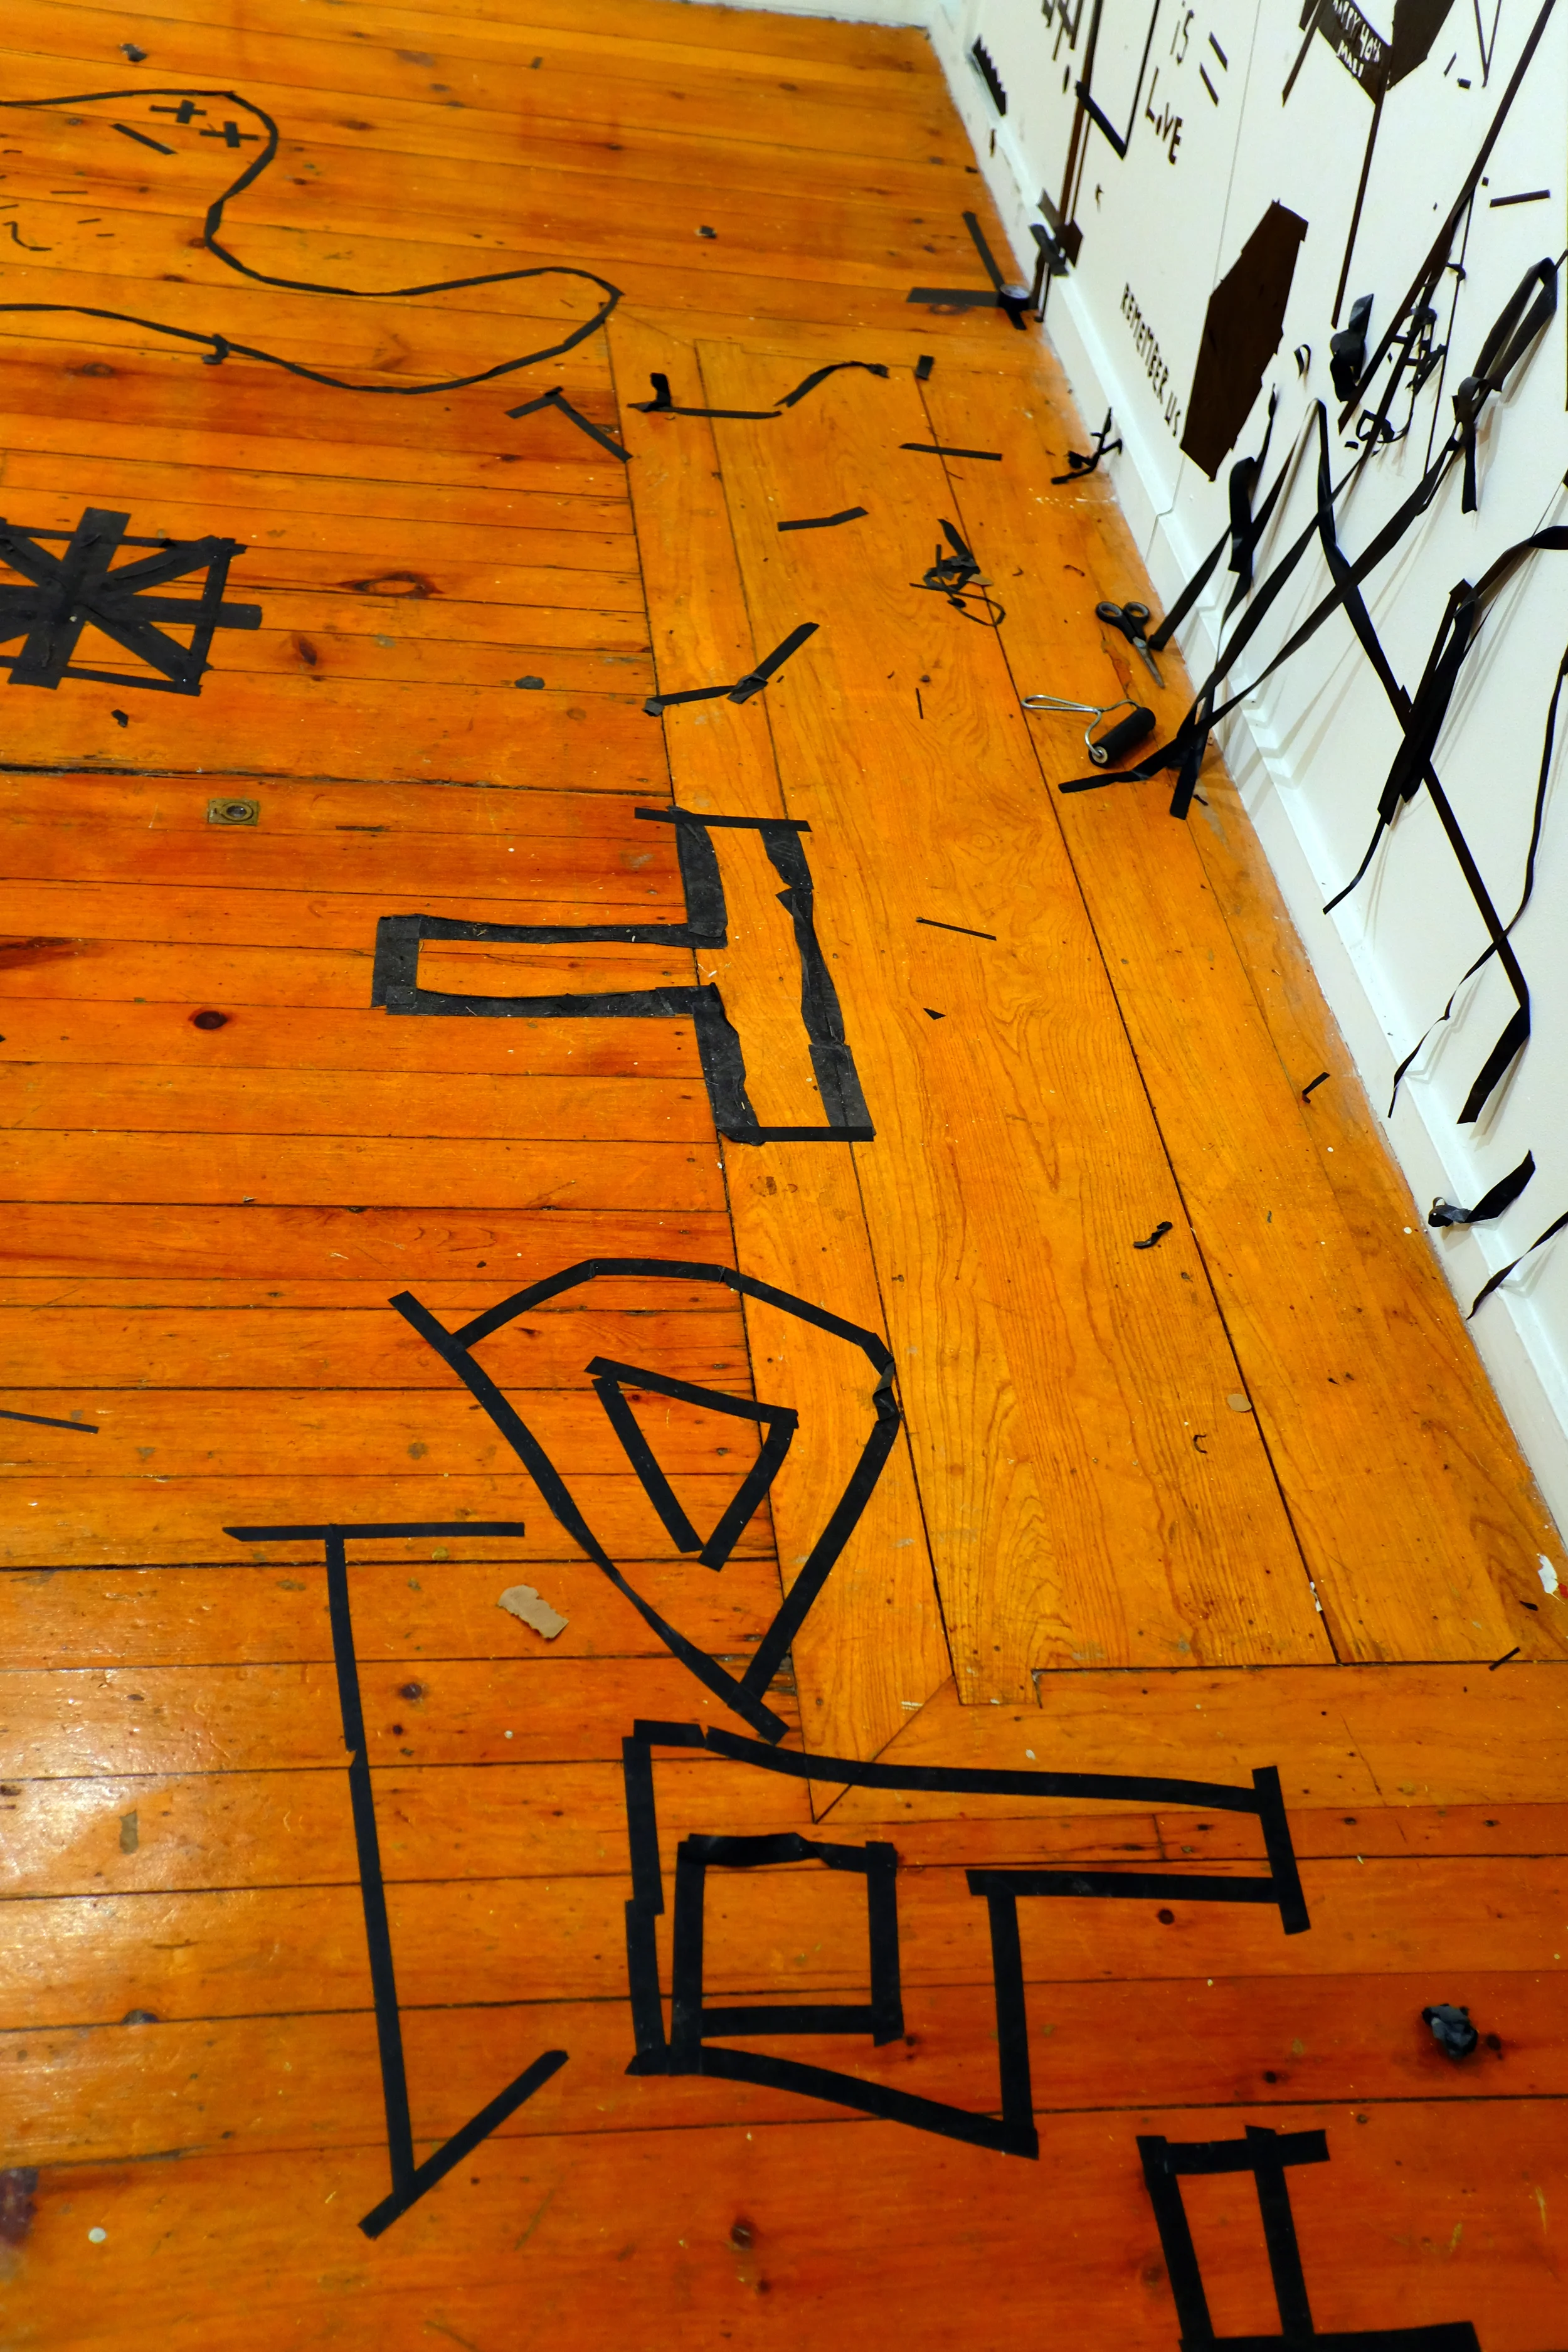
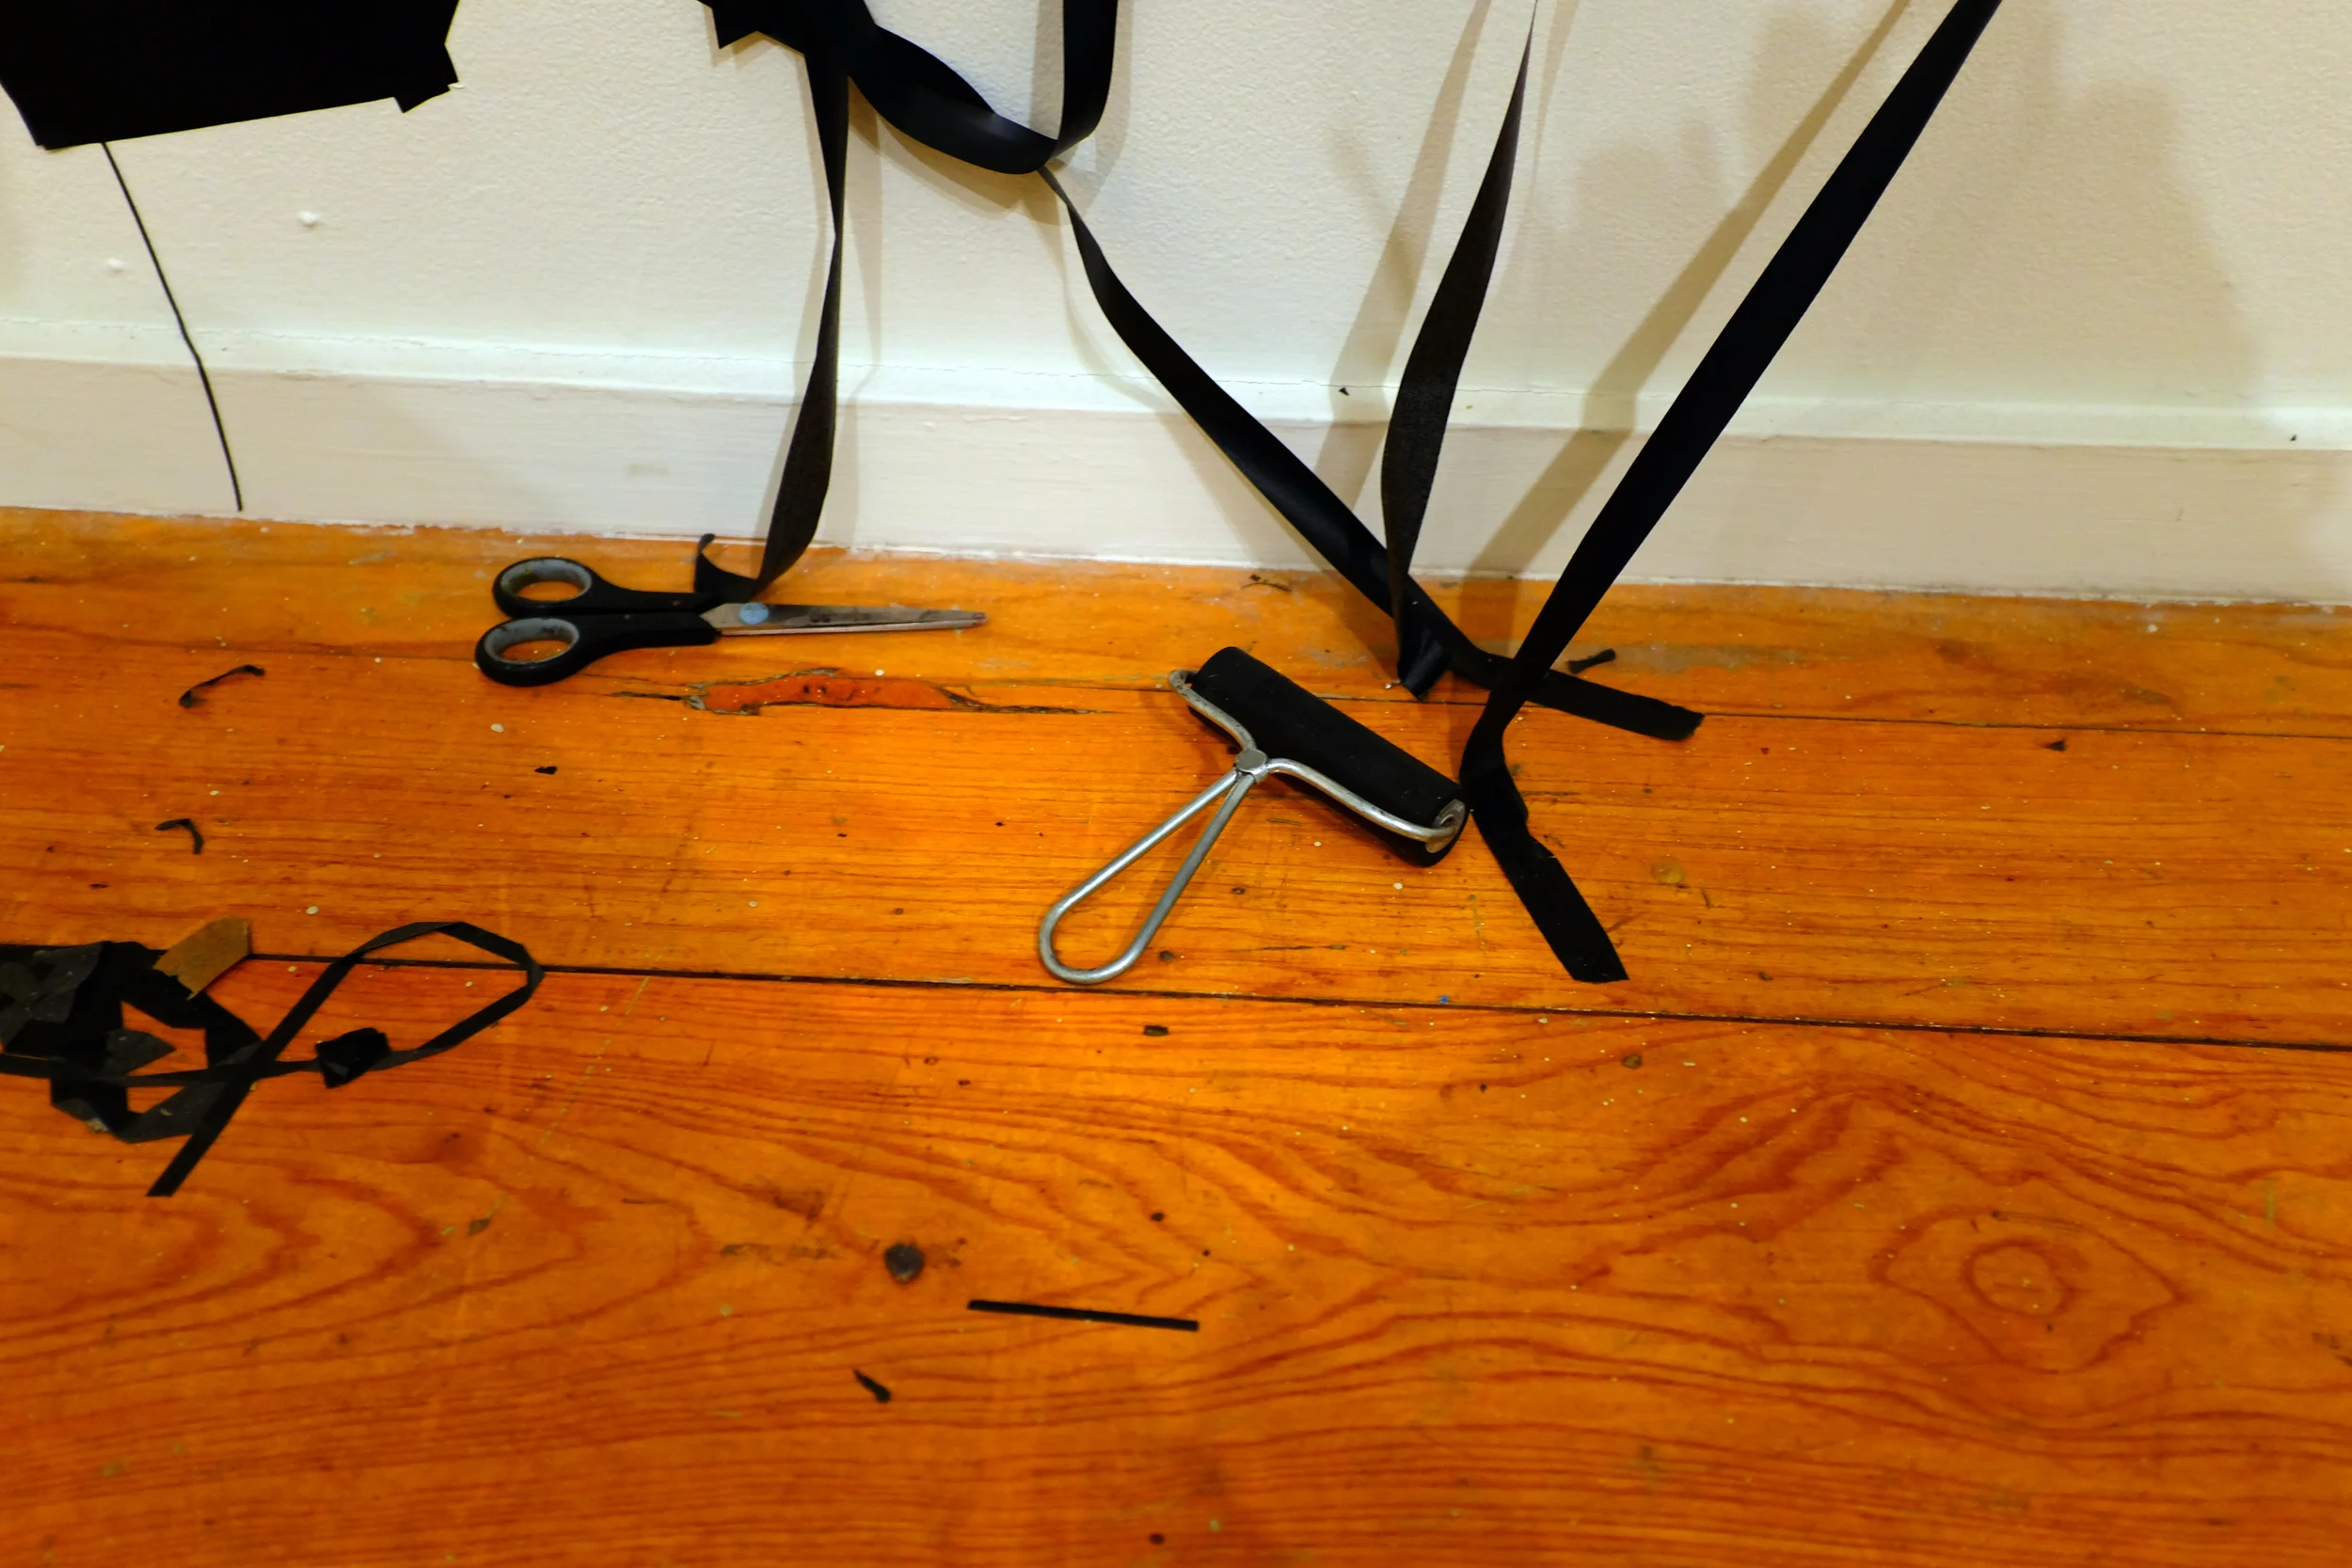
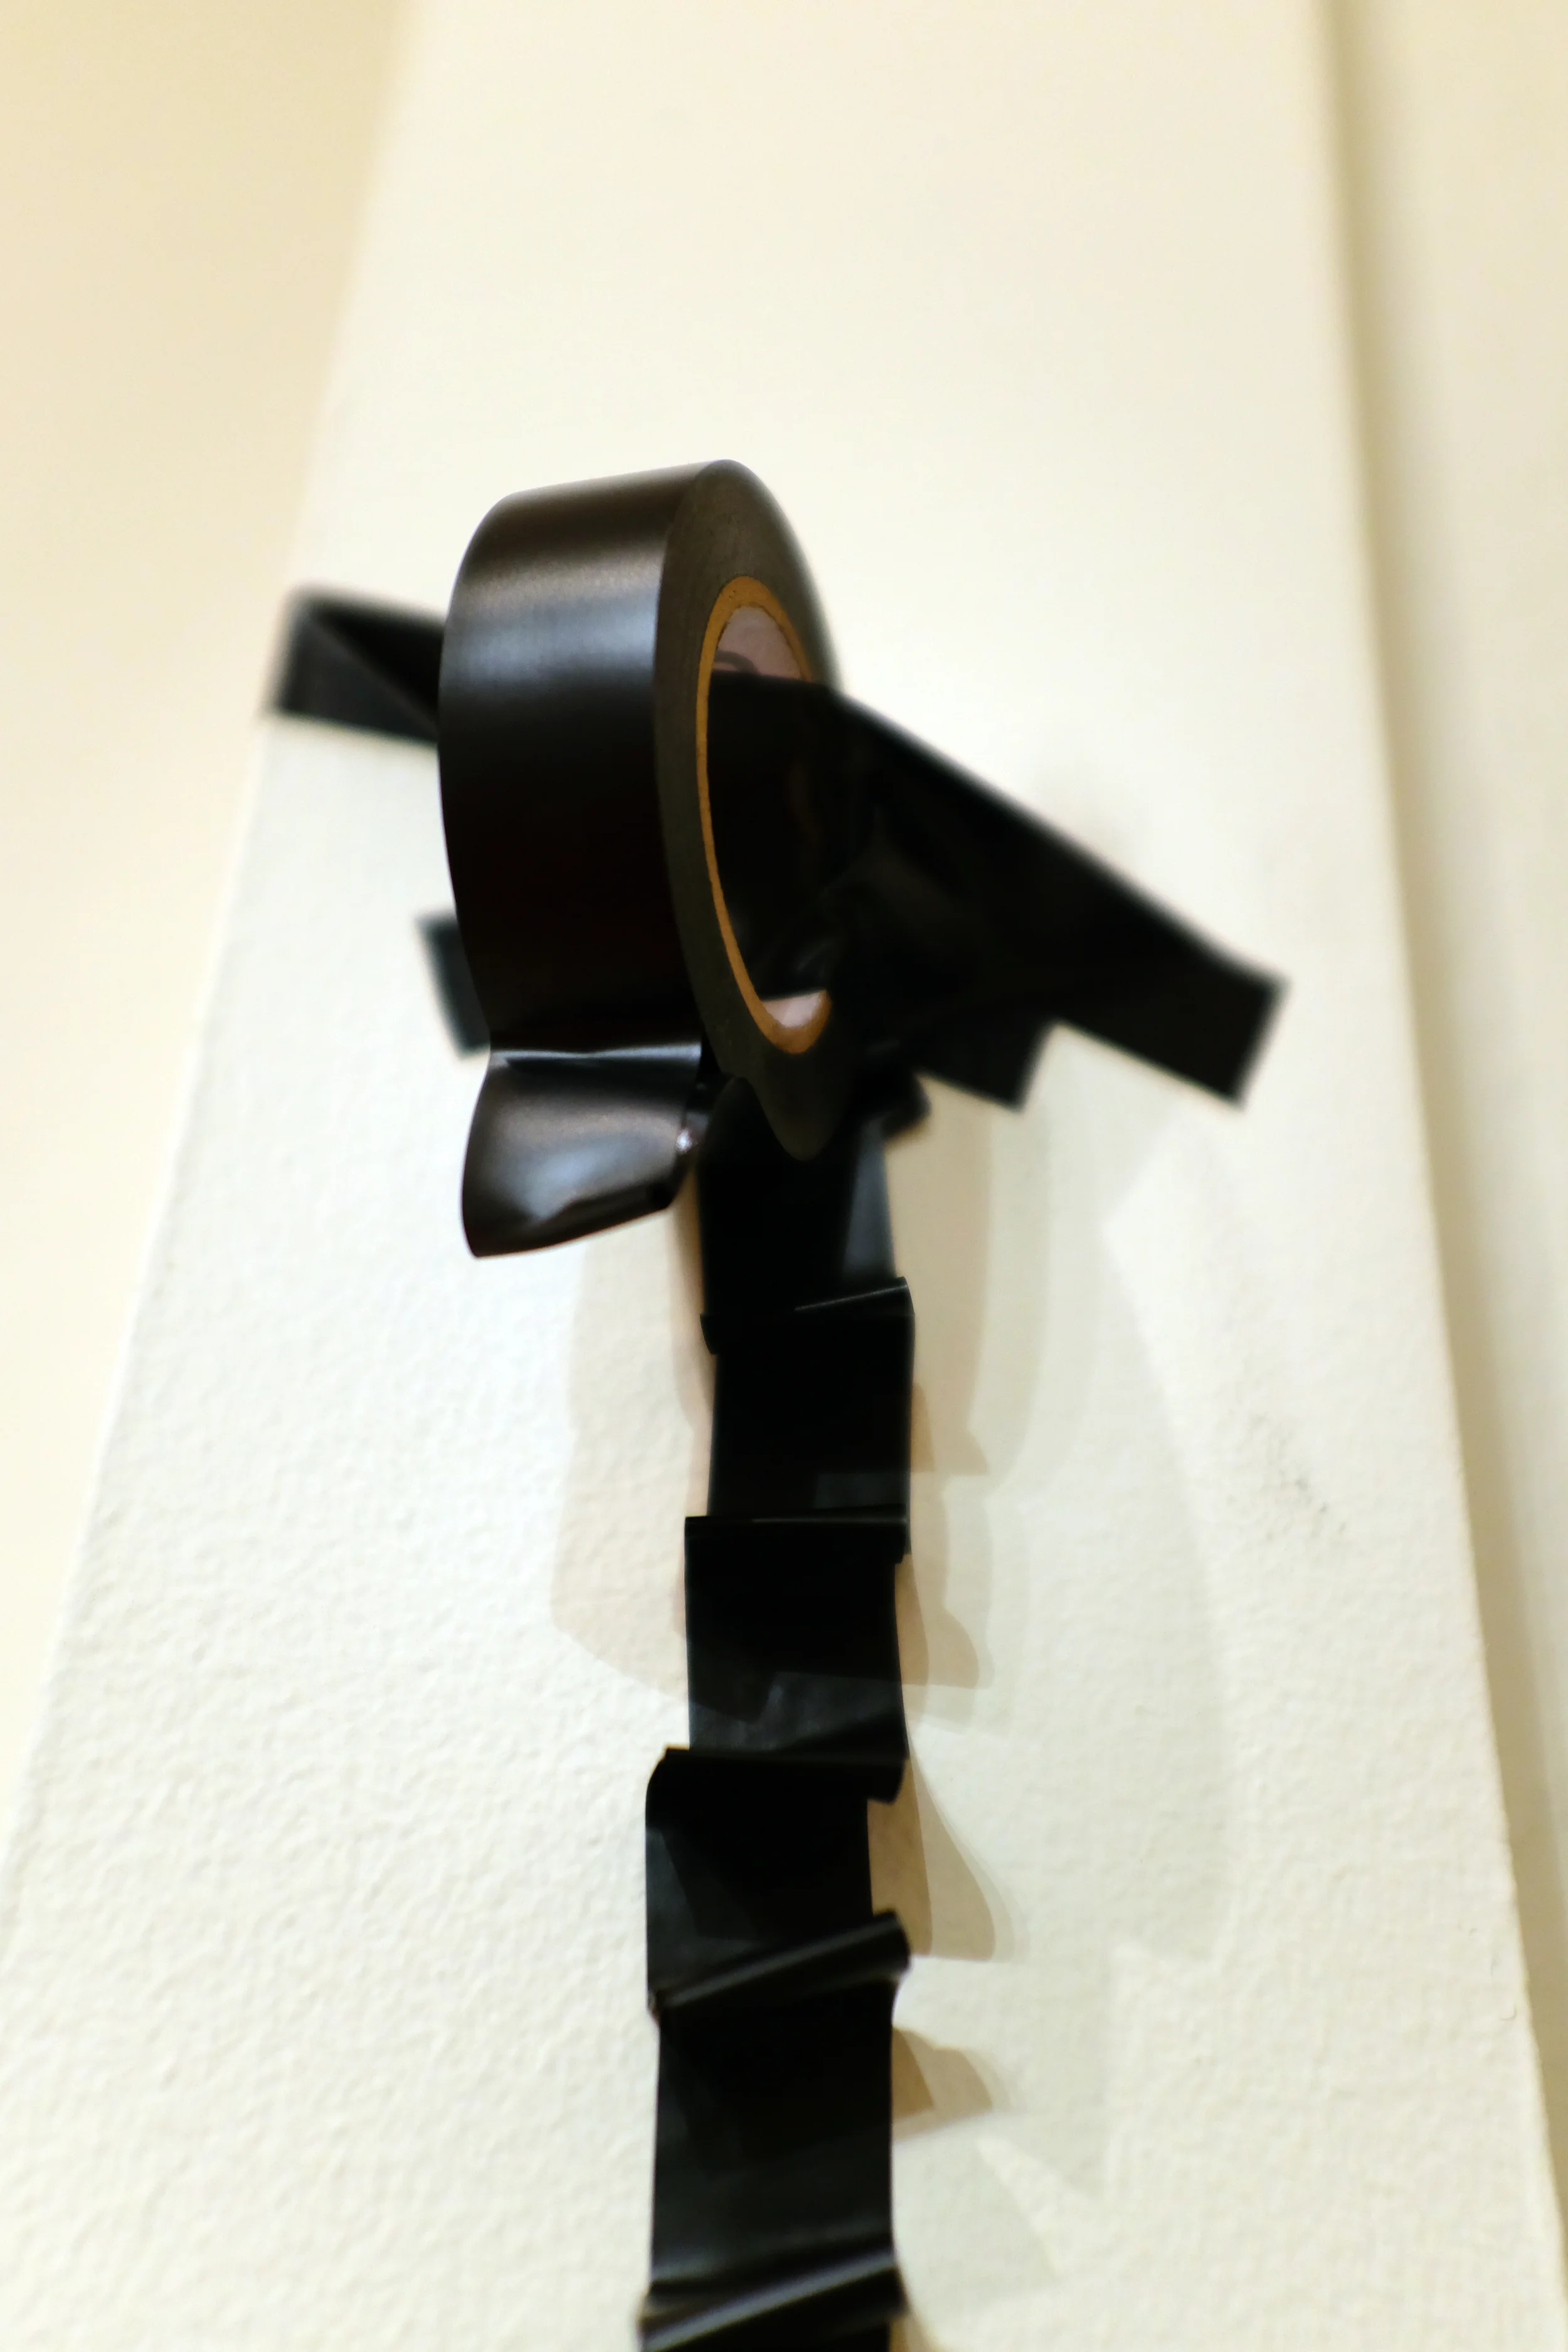
• Out Of Bounds
  • Work
  • About
  • Exhibitions
  • Press
  • Projects
  • Contact
Marlon Forrester

Artist, Athlete, Creative

  • Out Of Bounds
  • Work
  • About
  • Exhibitions
  • Press
  • Projects
  • Contact

Gallery

 Installation image of Center Court  Work With Me  2016  photo credit Jaypix Belmer 
 Installation image of Center Court  Work With Me  2016  photo credit Jaypix Belmer
 Installation image of Center Court  Work With Me  2016  photo credit Jaypix Belmer
 Installation image of Center Court  Work With Me  2016  photo credit Jaypix Belmer
 Installation image of Center Court  Work With Me  2016  photo credit Jaypix Belmer
 Installation image of Center Court  Work With Me  2016  photo credit Jaypix Belmer
 Installation image of Center Court  Work With Me  2016  photo credit Jaypix Belmer
 Installation image of Center Court  Work With Me  2016  photo credit Jaypix Belmer
 Installation image of Center Court  Work With Me  2016  photo credit Jaypix Belmer
 Installation image of Center Court  Work With Me  2016
 Installation shot of Center Court: E.S.G.T.L.  Digital print  2016  photo credit Jaypix Belmer
 Installation shot of Center Court: E.S.G.T.L.  Digital print  2016  photo credit Jaypix Belmer
 Installation shot of Center Court: E.S.G.T.L.  Digital print  2016  photo credit Jaypix Belmer
 Installation shot of Center Court: E.S.G.T.L.  Digital print  2016  photo credit Jaypix Belmer
 Installation shot of Center Court: E.S.G.T.L.  Digital print  2016  photo credit Jaypix Belmer
 Installation shot of Center Court: E.S.G.T.L.  Digital print  2016
 Installation shot of Center Court: E.S.G.T.L.  Digital print  2016  photo credit Jaypix Belmer
 Installation shot of Center Court: E.S.G.T.L.  Digital print  2016  photo credit Jaypix Belmer
 Installation shot of Center Court: E.S.G.T.L.  Digital print  2016  photo credit Jaypix Belmer
 Installation shot of Center Court: E.S.G.T.L.  Digital print  2016  photo credit Jaypix Belmer
 Installation shot of Center Court: E.S.G.T.L.  Digital print  2016  photo credit Jaypix Belmer
 Installation shot of Center Court: E.S.G.T.L.  Digital print  2016  photo credit Jaypix Belmer
 Installation shot of Center Court: E.S.G.T.L.  Digital print  2016  photo credit Jaypix Belmer
 Installation shot of Center Court: E.S.G.T.L.  Digital print  2016  photo credit Jaypix Belmer
 Installation shot of Center Court: E.S.G.T.L.  Digital print  2016
 Installation shot of Center Court: E.S.G.T.L.  Digital print  2016  photo credit Jaypix Belmer    
 Installation image of Center Court: Exploring Sacred Geometry through Line  Work With Me  2016
 Installation image of Center Court: Exploring Sacred Geometry through Line  pedestal, black tape on wall and floor  25'x17'x35'  2016
 Installation image of Center Court: Exploring Sacred Geometry through Line  pedestal, tape on wall and floor  25'x17'x35'  2016
 Installation image of Center Court: Exploring Sacred Geometry through Line  pedestal, tape on wall and floor  25'x17'x35'  2016
 Installation image of Center Court: Exploring Sacred Geometry through Line  pedestal, tape on wall and floor  25'x17'x35'  2016
 Installation image of Center Court: Exploring Sacred Geometry through Line  pedestal, tape on wall and floor  25'x17'x35'  2016
 Installation image of Center Court: Exploring Sacred Geometry through Line  pedestal, tape on wall and floor  25'x17'x35'  2016
 Installation image of Center Court: Exploring Sacred Geometry through Line  pedestal, tape on wall and floor  25'x17'x35'  2016
 Passing   Archival print   2015  photo credit Jerry Russo 
 Passing   archival print   2015  photo credit Jerry Russo
 Passing   archival print   2015  photo credit Jerry Russo
 Passing   archival print   2015  photo credit Jerry Russo
 Passing   archival print   2015  photo credit Jerry Russo
 Passing   archival print   2015  photo credit Jerry Russo
 Passing Series #7  digital print   2011  photo credit Darnell Jenkins
 Passing   archival print   2015  photo credit Jerry Russo
 Passing   archival print   2015  photo credit Jerry Russo
 Passing   archival print   2015  photo credit Jerry Russo
 Passing   archival print   2015  photo credit Jerry Russo
 Passing   archival print   2015  photo credit Jerry Russo
 Passing  archival print   2015  photo credit Jerry Russo
 Passing   archival print   2015  photo credit Jerry Russo
 Passing   archival print   2015  Photo credit Jerry Ruso
 Installation image of FullCourt   video still  2015
 Installation image of FullCourt   video still  2015
 Installation image of FullCourt   video still  2015
 Installation image of FullCourt   video still  2015
 Installation image of FullCourt   video still  2015
 Installation image of FullCourt   video still  2015
 Installation image of FullCourt   video still  2015
 Installation image of FullCourt   video still  2015
 Installation image of FullCourt   video still  2015
 Installation image of FullCourt   video still  2015
 Installation image of FullCourt   video still  2015
 Installation image of FullCourt   video still  2015
 Installation image of FullCourt   digital print  2015
 Offense  mixed media on glass  20x20"  2012
 Take One for The Team  plexi glass, 50mm bullet holes, mixed media on glass  20x20"  2012
 To Catch a Fool  mixed media on glass  20"x20"  2010
 Player in His Car  mixed media on paper  12"x8.5"  2012
 Player in Outer Space  mixed media on paper  12" x 8.5"  2012
 Player in Her Head  mixed media on paper  12" x 8.5"  2012
 Player in   mixed media on paper  12" x 8.5"  2012
 Player in   mixed media on paper  12" x 8.5"  2012
 Player in Cotton  mixed media on paper  12" x 8.5"  2012
 Player in Outer Space  mixed media on paper  12" x 8.5"  2012
 Player in Cool  mixed media on paper  12" x 8.5"  2012
 Player in His Own Head  mixed media on paper  12" x 8.5"  2012
 Throne to the Basketball Gods  stones, sneakers, wooden pedestal, basketball, cherry tree, spray paint  65"x 45"x 86"  2012
 Enthroned Basketball  tape, foam, wood, mechanical rats, wooden pedestal, spray paint  86"x6"x60"  2012
 Final Ascension II (Installation)  black vinyl, 2000 latex black balloons,  20'x15'  2014 
 Detail from Final Ascension II  paper, black vinyl,   2014   
 Detail from Final Ascension II  black vinyl, black latex balloons   2014
1555468_678514625504194_637813756_n.jpg
 Final Ascension II (performance)  black vinyl, black latex balloons, black robe   2014
 Audience from Final Ascension II  black vinyl, black latex balloons   2014
 White Night II  oil, ink, acrylic on paper   72"x56"  2013
 Audience from Final Ascension II  black vinyl, black latex balloons   2014
 Final Ascension II (performance)  black vinyl, black latex balloons   2014
 Detail from Final Ascension II  microphone, black robe,    2014
 322233  ink, paper on wood   10"x10"  2013
 23233  acrylic, ink, oil stick, on paper  2013
 Final Ascension II  performers Adler, Devonte  2014   
 Passing #1  digital print   2011  photo credit Darnel Jenkins
 Passing Series #2  digital print   2011  photo credit Darnell Jenkins
 Passing Series #3  digital print   2011  photo credit Darnell Jenkins   
 Passing Series #4  digital print   2011  photo credit Darnell Jenkins
 Passing Series #5  digital print   2011  photo credit Darnell Jenkins
 Passing Series #6  digital print   2011  photo credit Darnell Jenkins
 detail from Passing Series #6  digital print   2011     photo credit Darnell Jenkins
 Passing Series #12  digital print   2011  photo credit Darnell Jenkins
 detail from Passing Series #11  digital print   2011  photo credit Darnell Jenkins   
 Passing Series #10  digital print   2011  photo credit Darnell Jenkins
 Passing Series #8  digital print   2011  photo credit Darnell Jenkins   
 Passing Series #9  digital print   2011  photo credit Darnell Jenkins
 I Believe I Can Fly (performance) #1  rubber balloons, cotton  2015
 I Believe I Can Fly (performance) #2  rubber balloons, cotton  2015
 I Believe I Can Fly (performance) #3  rubber balloons, cotton  2015
 Activator #38  A Path: Drills for Flight  digital image  2015       
 Activator #36   A Path: Drills for Flight  digital image  2015 
 Activator #38 #35 #3  A Path: Drills for Flight  digital image  2015 
 Activator #3   A Path: Drills for Flight  digital image  2015 
 Activator #33 #38  A Path: Drills for Flight  digital image  2015 
 Activator #329  A Path: Drills for Flight  digital image  2015 
 Activator #28 #29  A Path: Drills for Flight  digital image  2016 
 Activator #33  A Path: Drills for Flight  digital image  2015 
 Activator #32  A Path: Drills for Flight  digital image  2015 
 Activator Cube  A Path: Drills for Flight  digital image  2015 
 Wall A and B  A Path: Drills for Flight  digital image  2016 
 Wall E  A Path: Drills for Flight  digital image  2016
 Wall B  A Path: Drills for Flight  digital image  2016
 Wall B and C  A Path: Drills for Flight  digital image  2016 
 Wall B   A Path: Drills for Flight  digital image  2016 
 Wall A and Time Clock  A Path: Drills for Flight  digital image  2016 
 Wall A  A Path: Drills for Flight  digital image  2016
 Detail image (Wall A)  A Path: Drills for Flight  digital image  2016
 Detail image (Wall A)  A Path: Drills for Flight  digital image  2016
 Wall A and B (interior)  A Path: Drills for Flight  digital image  2016
 Video recorder   A Path: Drills for Flight  digital image  2016
 Detail image (Wall B)   A Path: Drills for Flight  digital image  2016
 Detail image (Wall B)  A Path: Drills for Flight  digital image  2016
 Wall D  A Path: Drills for Flight  digital image  2016
 Video recorder, Wall C and D  A Path: Drills for Flight  digital image  2016
 Detail image (Wall D)  A Path: Drills for Flight  digital image  2016
 Detail image (Floor)   A Path: Drills for Flight  digital image  2016
 Detail image (Floor)   A Path: Drills for Flight  digital image  2016
 Detail image (Floor)   A Path: Drills for Flight  digital image  2016
 Detail image (Floor)   A Path: Drills for Flight  digital image  2016
DSCF3893.JPG
 Detail imag (Wall A)  A Path: Drills for Flight  digital image  2016
 Detail image (Wall A)  A Path: Drills for Flight  digital image  2016
 Detail shot (Wall A)  A Path: Drills for Flight  digital image  2016
 Guyana sail (PanAm Games)  acrylic on canvas   12'x3'x5'  2015 
Guyana 7 - Kuru Selvarajah.jpg
 Guyana sail (PanAm Games)  acrylic on canvas   12'x3'x5'  2015 
 Guyana sail (PanAm Games)  acrylic on canvas   12'x3'x5'  2015 
 Guyana sail (PanAm Games)  acrylic on canvas   12'x3'x5'  2015 
 Guyana sail (PanAm Games)  acrylic on canvas   12'x3'x5'  2015 

Powered by Squarespace.